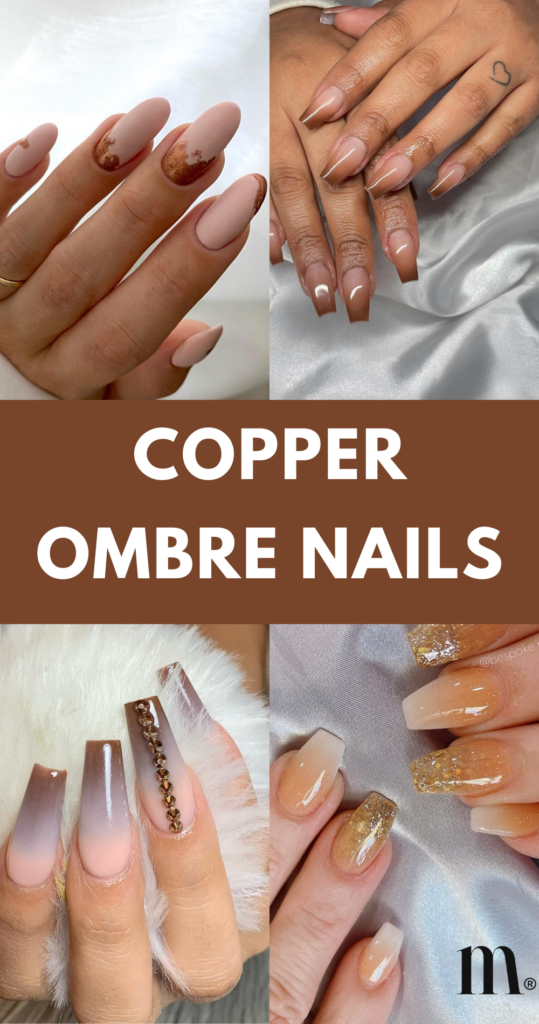
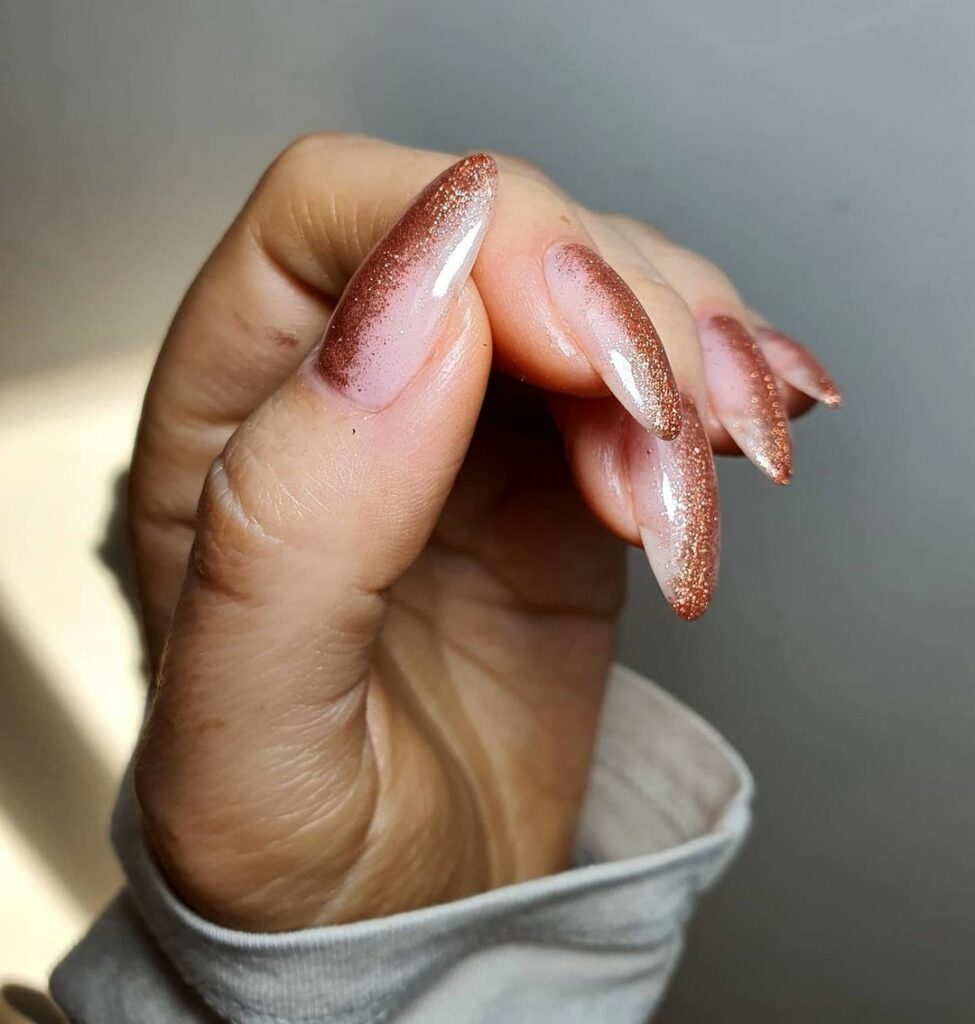
Today, we’re diving into the dazzling world of copper ombre nails!
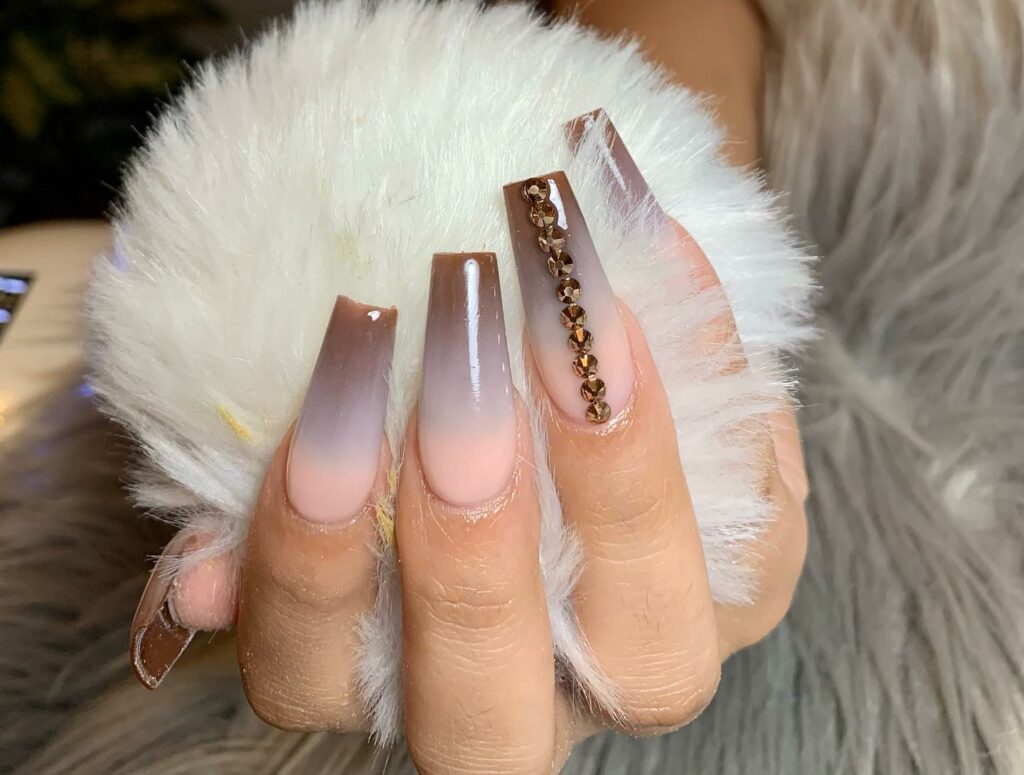
This trend, a seamless blend of warm copper tones cascading into softer hues, has taken the fashion and beauty world by storm.
It’s not just a nail style; it’s a statement.
Whether you’re a nail art novice or a seasoned pro, copper ombre nails offer versatility and elegance that can elevate any look.
In this article, we’ll show you over 33 designs how to pair these nails with various styles and occasions.
So, grab your favorite nail polishes, and let’s get started!
Video Tutorial: Copper Ombre Nails
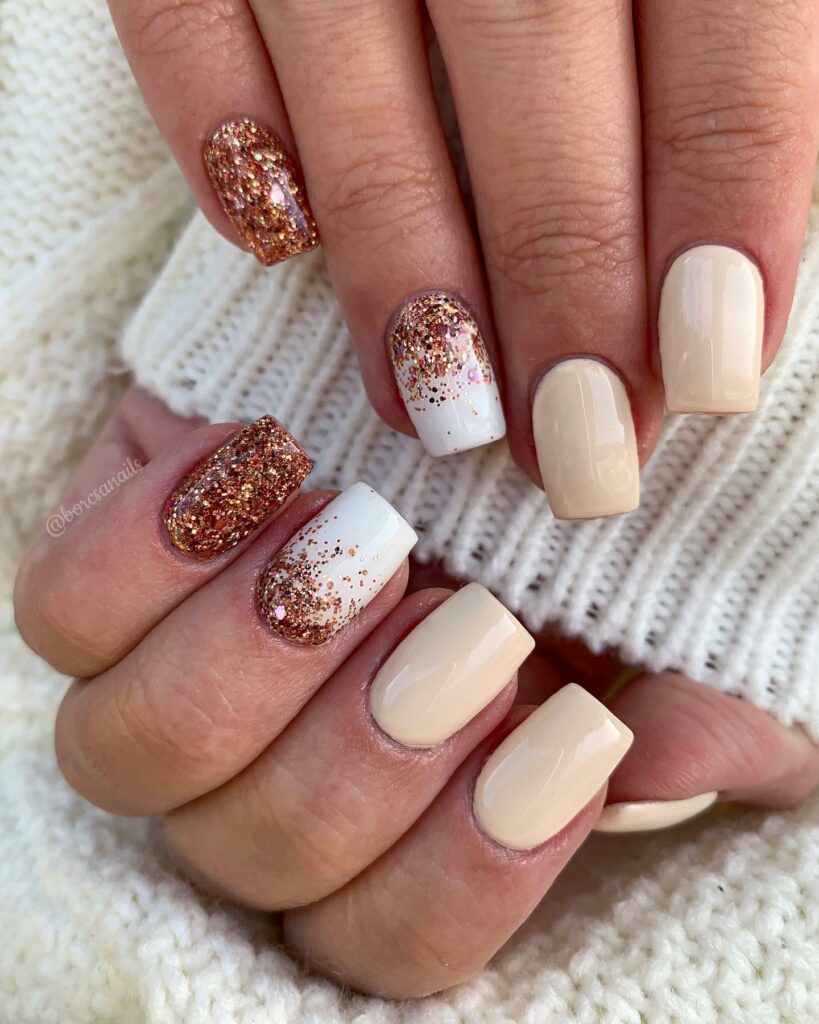
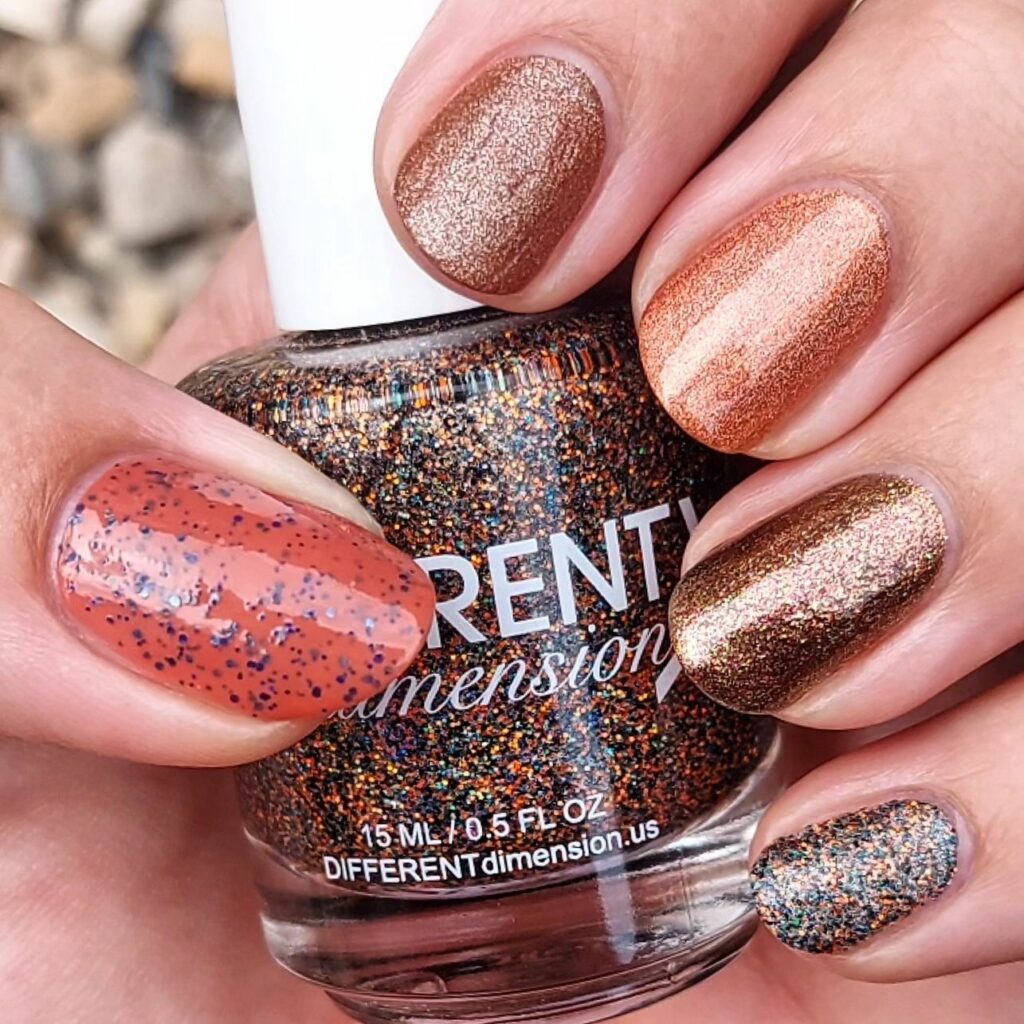
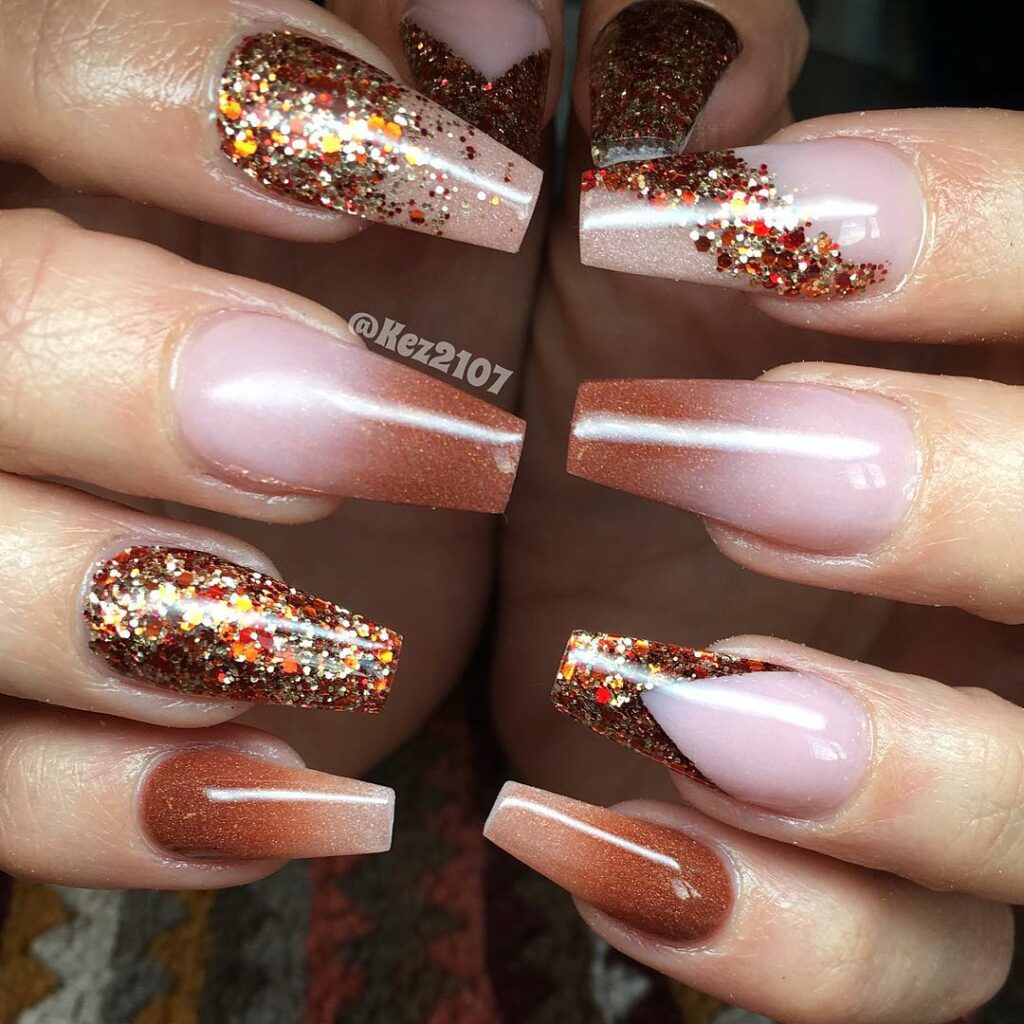
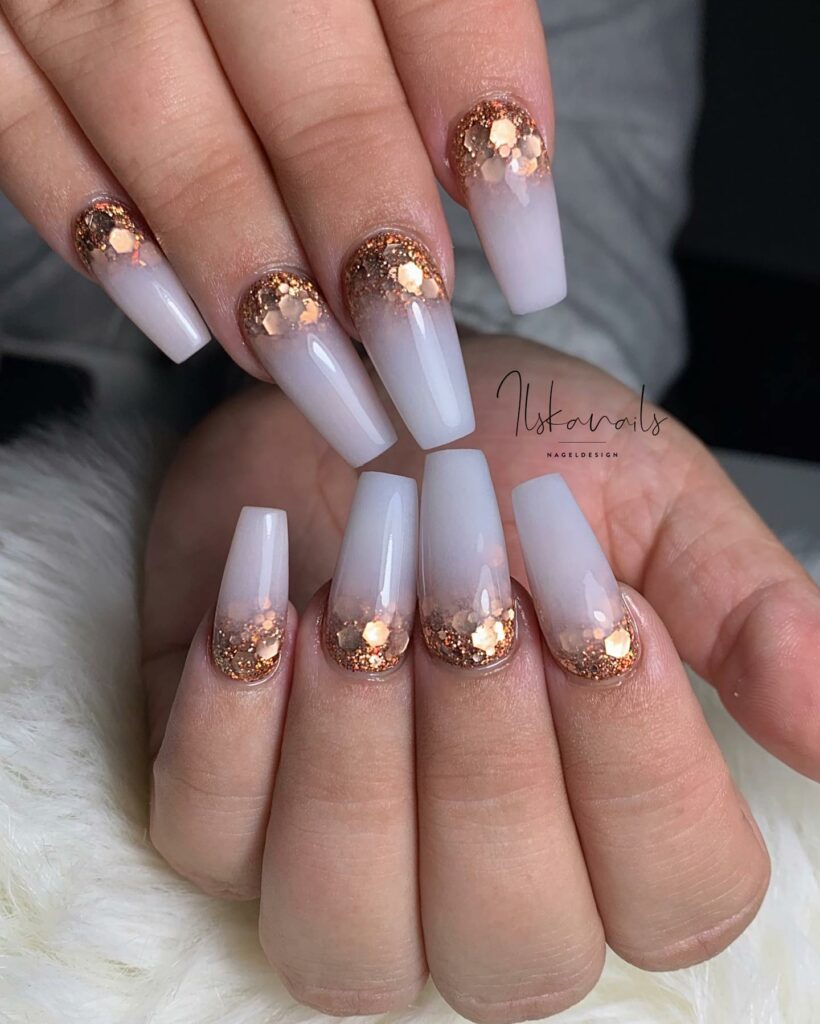
33+ Best Ideas for Copper Ombre Nails
If you’re looking to add some metallic flair to your manicure, you’re in the right place!










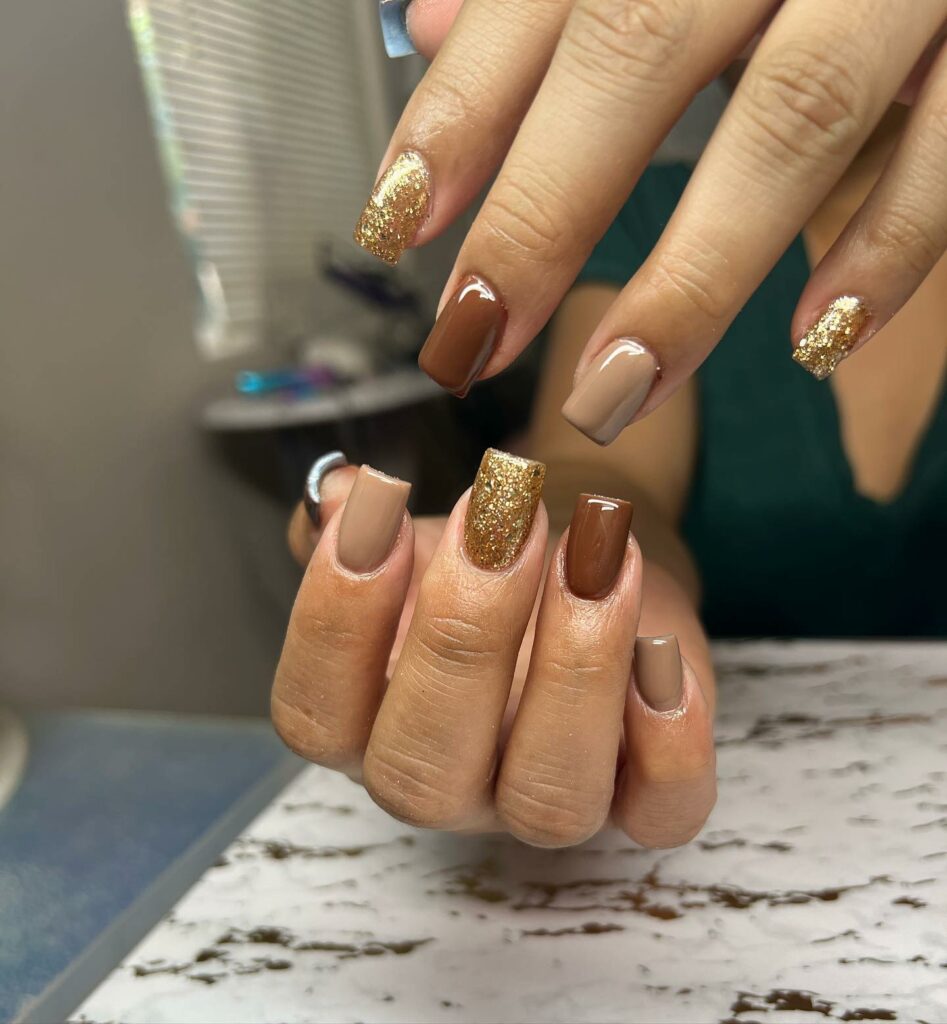

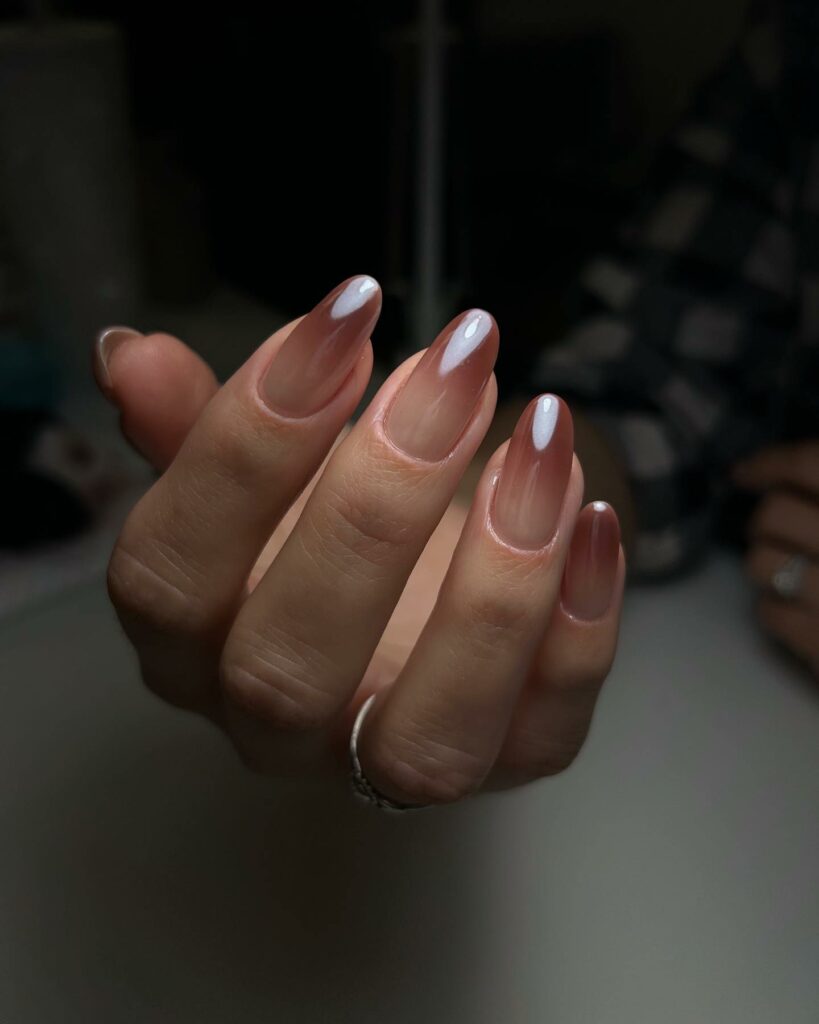

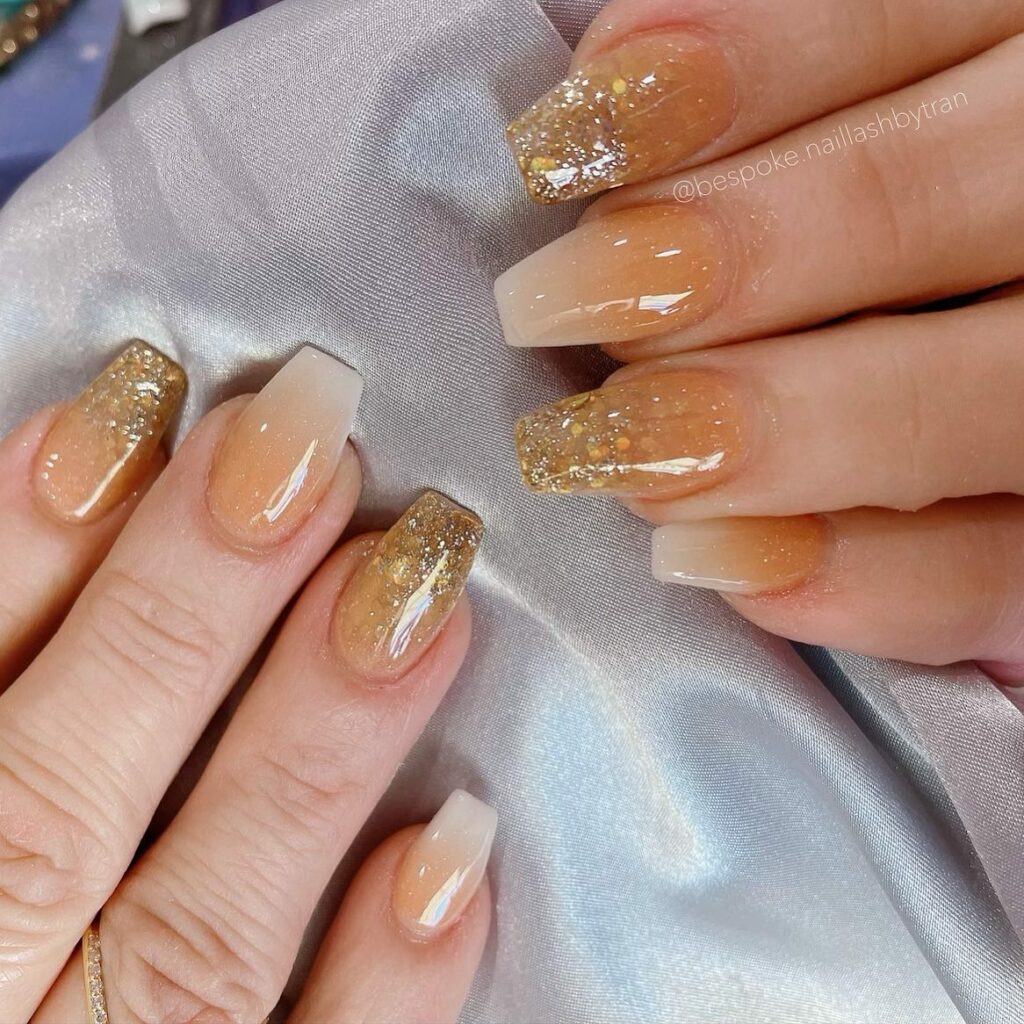
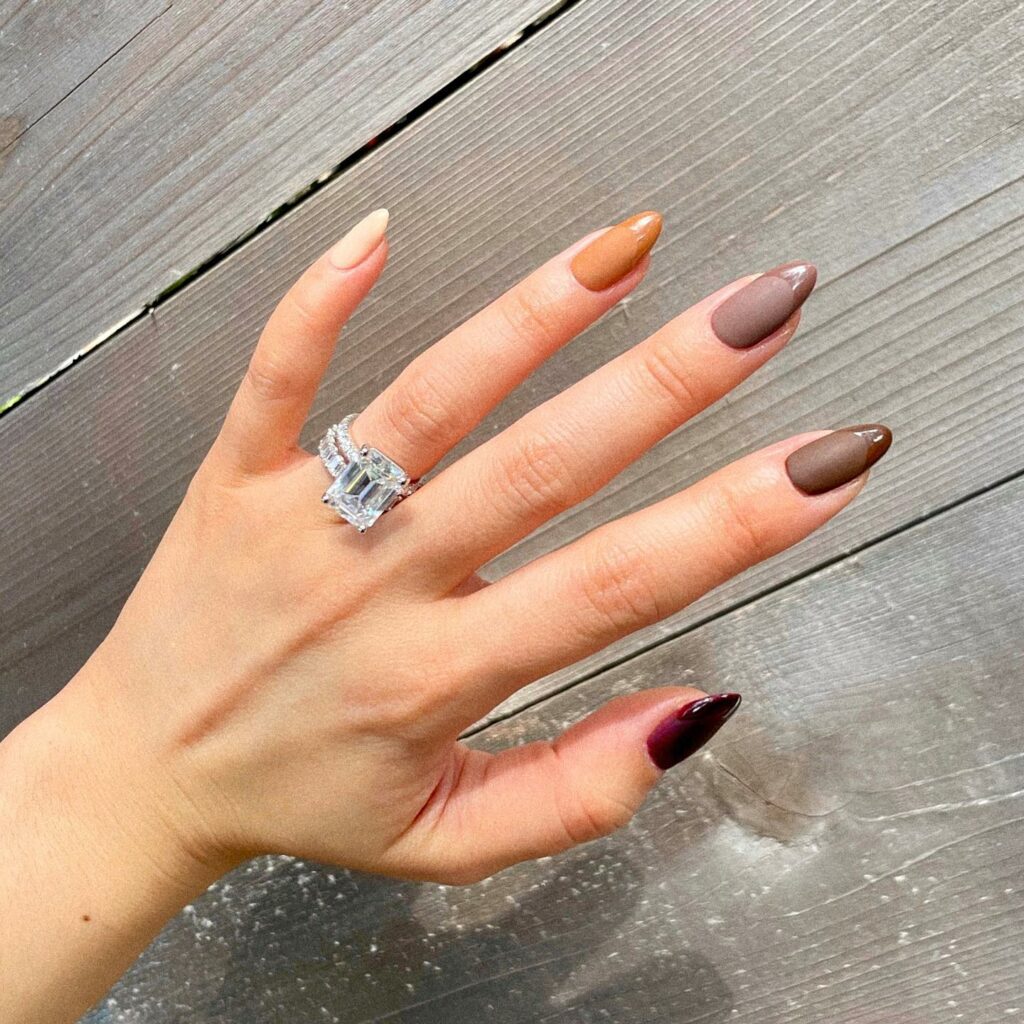




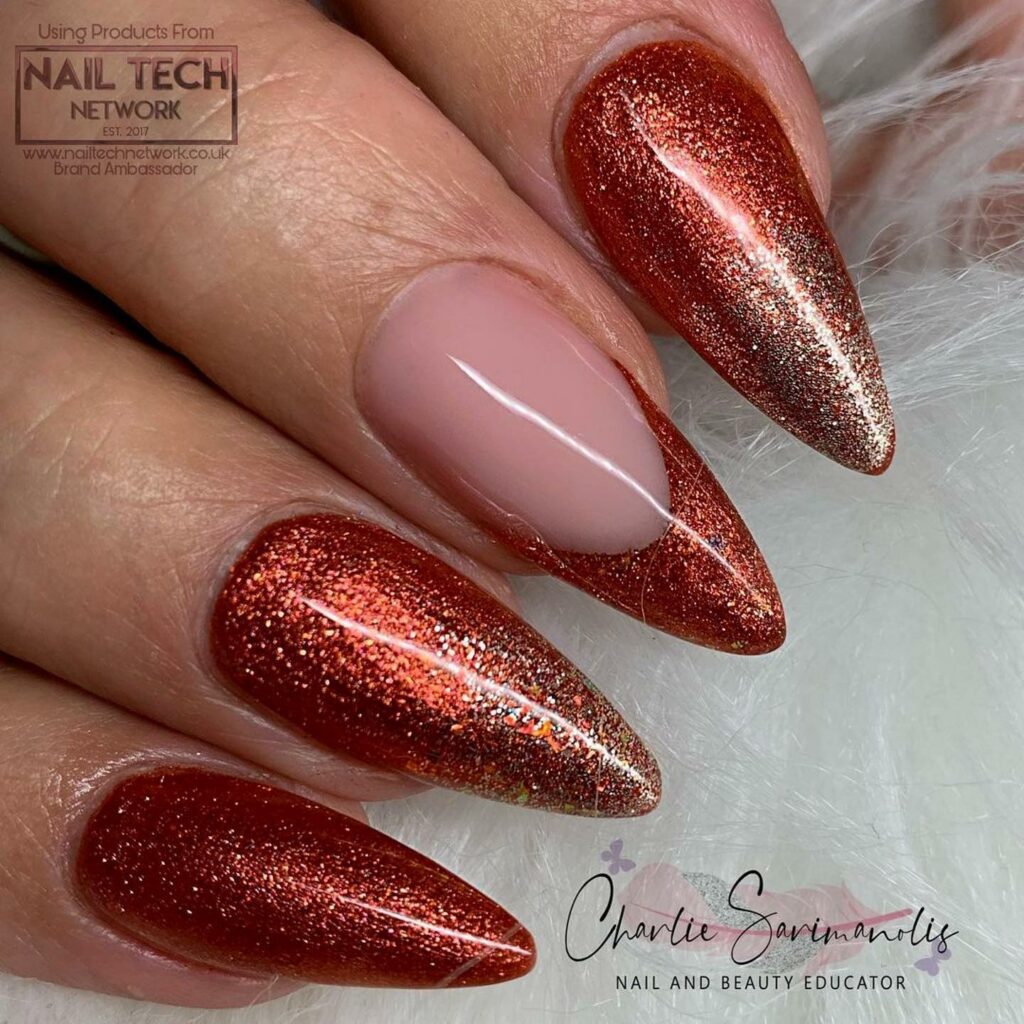

Understanding Copper as a Nail Color
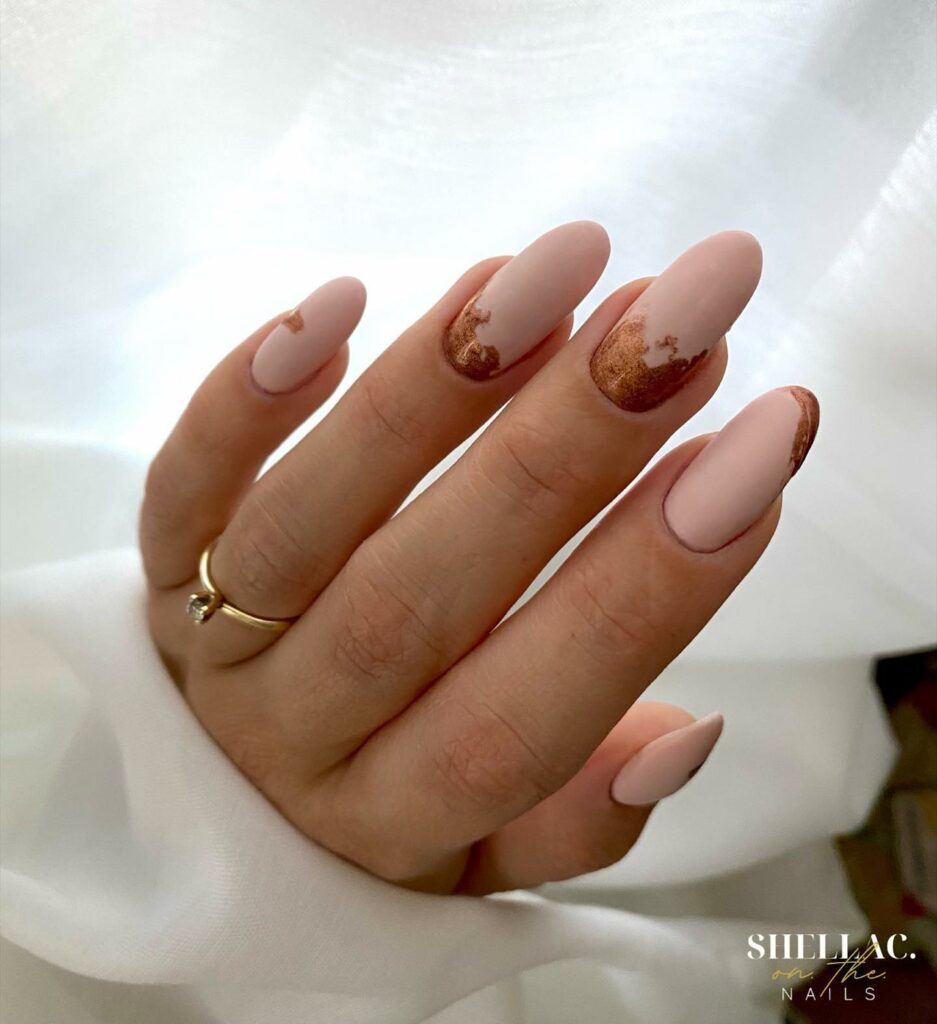
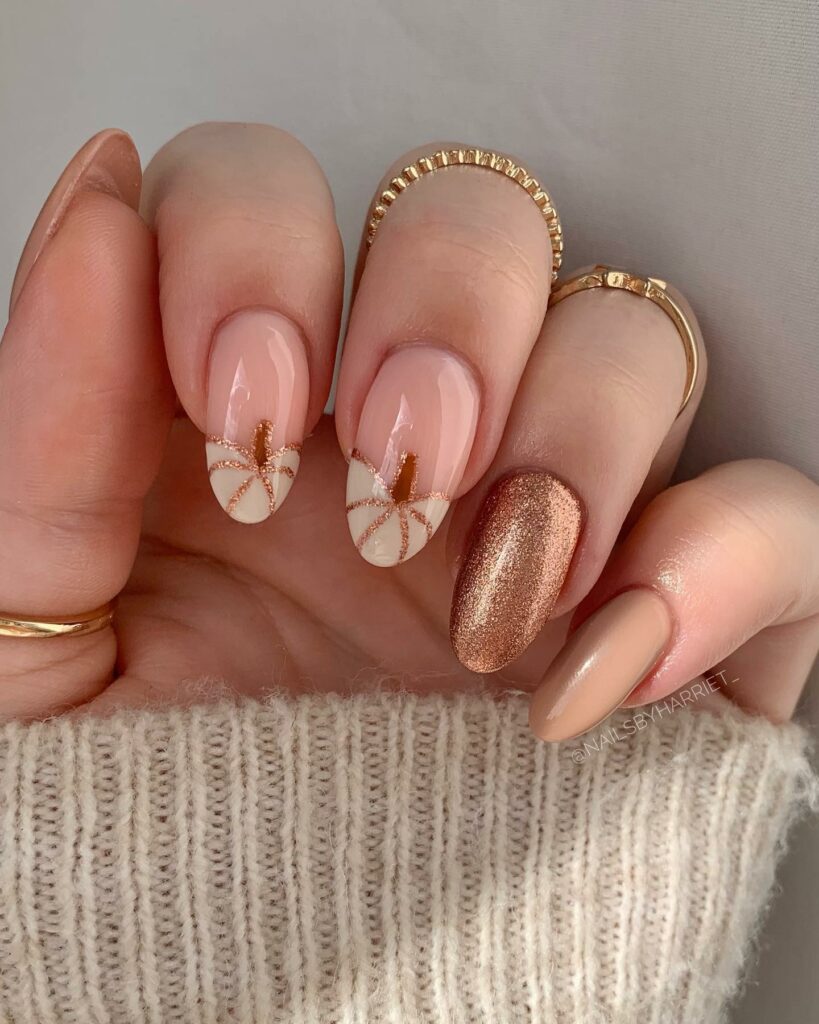
When it comes to nail colors, copper is an absolute charmer.
This shade boasts warm undertones that exude a sense of sophistication and elegance.
The unique metallic sheen adds a touch of glamour, making your nails truly stand out in the crowd.
Imagine twilight skies reflecting on serene lakes; that’s the kind of magic copper brings to your fingertips.
Its earthy yet radiant appeal is perfect for those who want a subtle yet striking look, effortlessly blending modernity with timeless beauty.
Its versatility makes it suitable for anyone who wants to embrace the charm of this mesmerizing shade on their nails.
Achieving the Perfect Copper Ombre Look
Preparing your nails for the ombre application process
Before diving into creating your stunning copper ombre nails, it’s crucial to give your nails some TLC.
Nail care and maintenance play a significant role in achieving a flawless manicure.
Start by removing any residual polish and meticulously clean your nails with a gentle nail polish remover.
This step ensures that you have a fresh canvas to work with.
After cleaning, gently push back your cuticles using a cuticle pusher or an orange stick.
Remember not to cut them, as this can lead to infection or damage.
Additionally, trim your nails to the desired length using high-quality nail clippers.
Proper filing and shaping techniques
To achieve polished copper ombre nails, filing and shaping play an essential role in creating the perfect canvas for your manicure masterpiece.
Opt for a soft grit file or buffer block that allows you to shape and smooth without causing damage to the nail surface.
Begin by shaping your nails according to your preferred style – round, square, almond – taking into account what suits the shape of your fingers best.
File gently in one direction, avoiding sawing back and forth which can cause splitting or peeling of the nail layers.
Step-by-step guide to creating copper ombre nails
Now that you’ve prepared and shaped your nails flawlessly, let’s embark on creating those captivating copper ombre nails!
1) Choosing the right base color for your skin tone: Consider both undertones and personal preferences when selecting a base color that will complement the richness of copper.
If you have cool undertones, opt for cooler shades such as pale pinks or icy blues as they provide an elegant contrast against copper hues.
For warm undertones, warmer neutrals like beige or peachy tones create a harmonious blend.
Ultimately, it’s essential to choose a shade that resonates with your personal style and enhances your natural beauty.
2) Applying the base coat evenly: To achieve a smooth surface for your ombre gradient effect, ensure you apply the base color evenly.
Begin with a thin layer of base coat, allowing it to dry completely before proceeding to the next step.
This not only helps in achieving an even application but also improves the longevity of your manicure.
3) Creating the gradient effect with copper polish: Dab a small amount of copper polish and one of your chosen base shades onto a makeup sponge.
Lightly press it onto the nail in quick tapping motions, gradually moving from nail tip to cuticle area.
Repeat this process until you achieve the desired gradient effect.
4) Brush strokes for more defined gradients: Using an angled brush, apply copper polish at the nail tip and carefully stroke downwards towards the cuticle area.
Clean off excess polish from the brush before each stroke to maintain control over color intensity.
Blend each stroke slightly using gentle sweeping motions until seamless transitions between colors are achieved.
With these steps, you’re well on your way to achieving stunning copper ombre nails that are sure to turn heads wherever you go!
Enhancing Your Copper Ombre Nails
When it comes to taking your copper ombre nails to the next level, nail art techniques are your secret weapon. Get ready to unleash your creativity!
Experiment with different designs that complement the warmth and radiance of the copper shade.
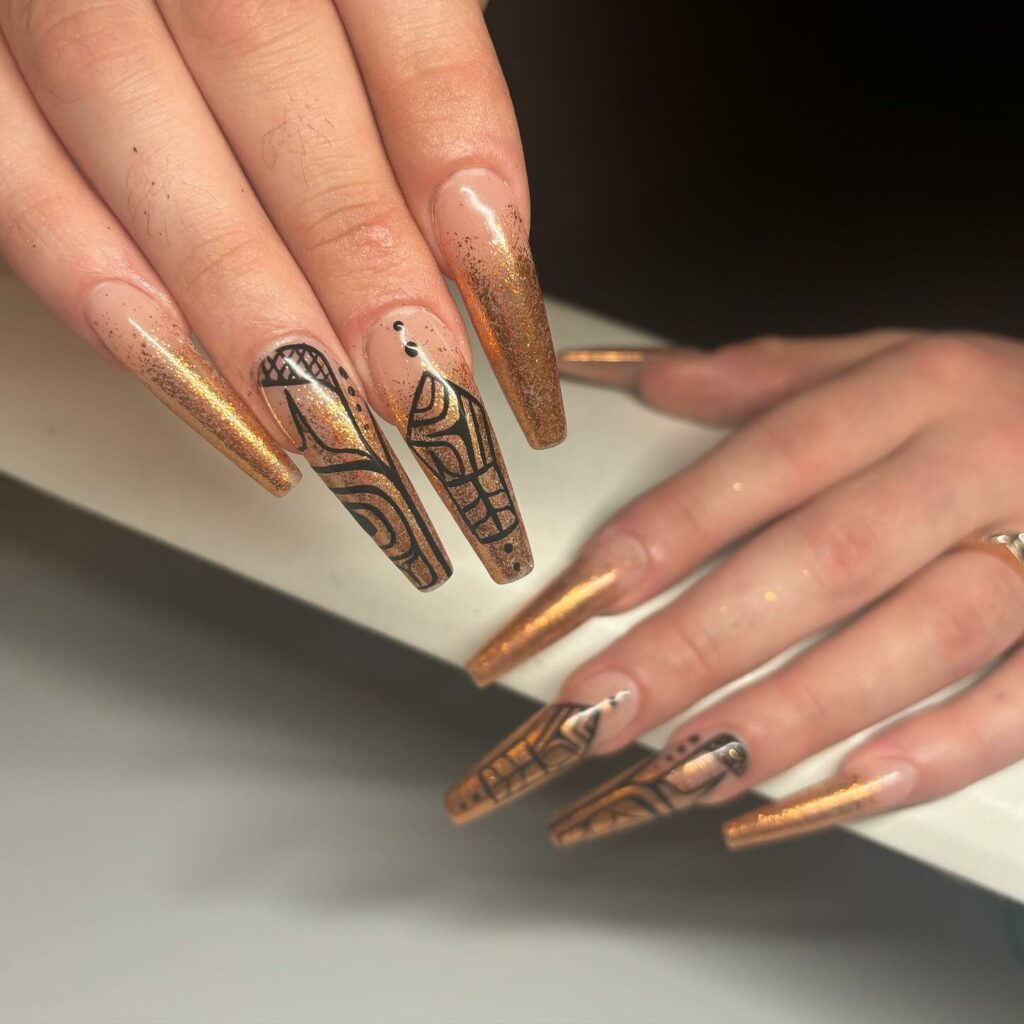
For a modern touch, try geometric patterns like chevrons or diagonals using contrasting colors such as black or white.
If you’re feeling more feminine, opt for delicate floral accents on one or two accent nails.
The combination of rich copper and dainty flowers will create an enchanting effect.
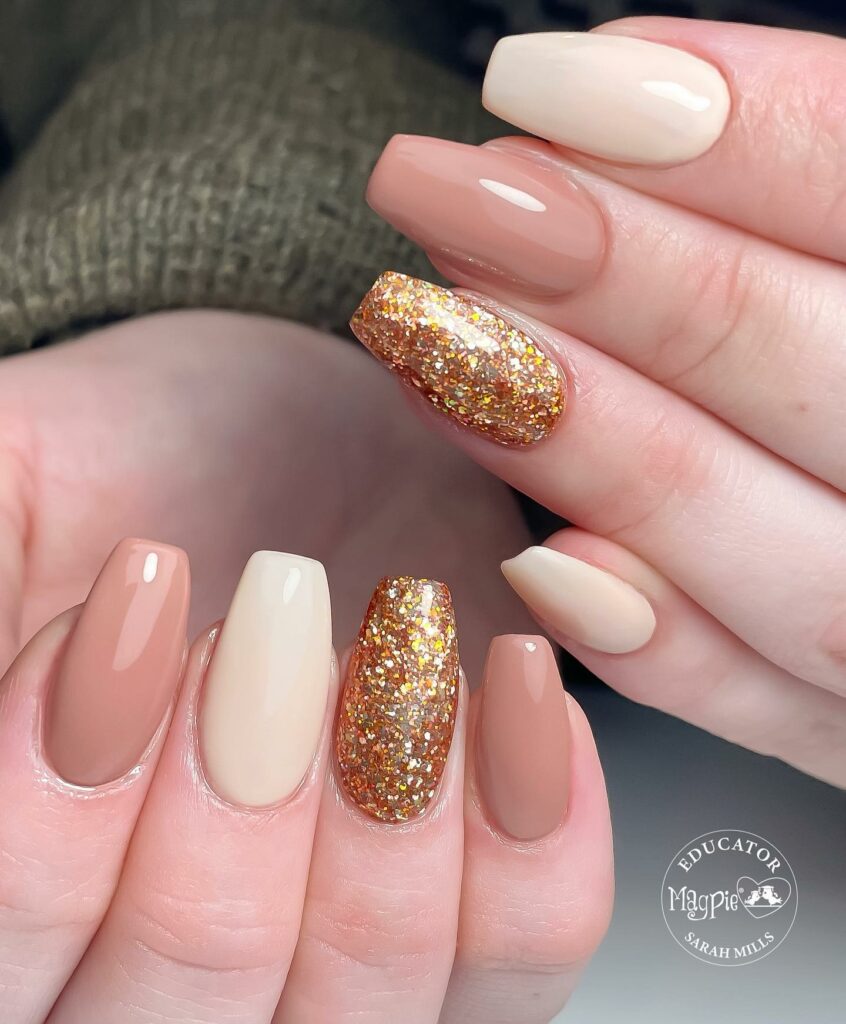
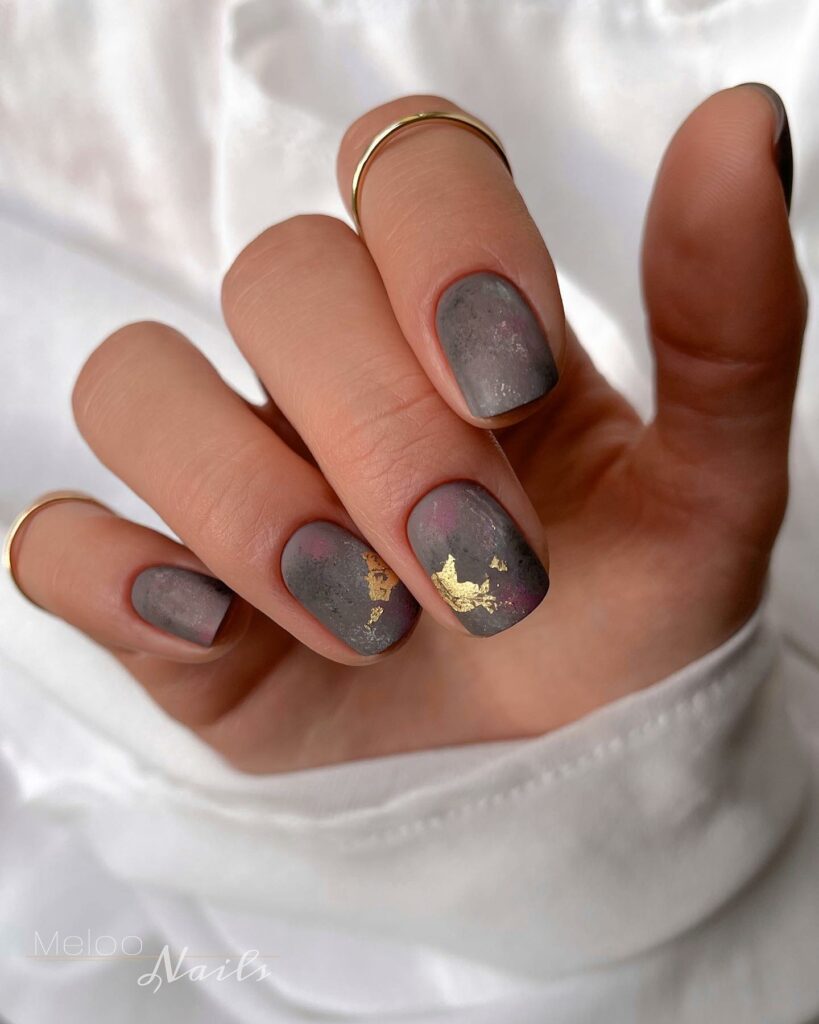
To add a touch of glamour and make your copper ombre nails even more extraordinary, embrace metallic accents or glitter.
Consider using a metallic gold polish to create stunning details like swirls or French tips.
This will enhance the opulence and elegance of your manicure.
If you prefer subtle sparkle, strategically apply fine copper glitter over specific areas like the base or tips of your nails for a tasteful shimmer.
Conclusion
Congratulations! You are now equipped with the knowledge to take your copper ombre nails from ordinary to extraordinary.
Don’t forget to experiment with metallic accents or glitter for a touch of glamour and sparkle that will make heads turn!
And last but not least, embrace your creativity, have fun, and let your copper ombre nails shine with confidence!


