Handbags have an exclusive place in the realm of fashion as more than just accessories. They make strong statements about identity, personality, and taste.
There is no comparison to the satisfaction of making your own purses with design inspiration. Discovering your creative potential through do-it-yourself (DIY) projects also gives you the skills to create one-of-a-kind, individualized items. Which expresses your own sense of style.
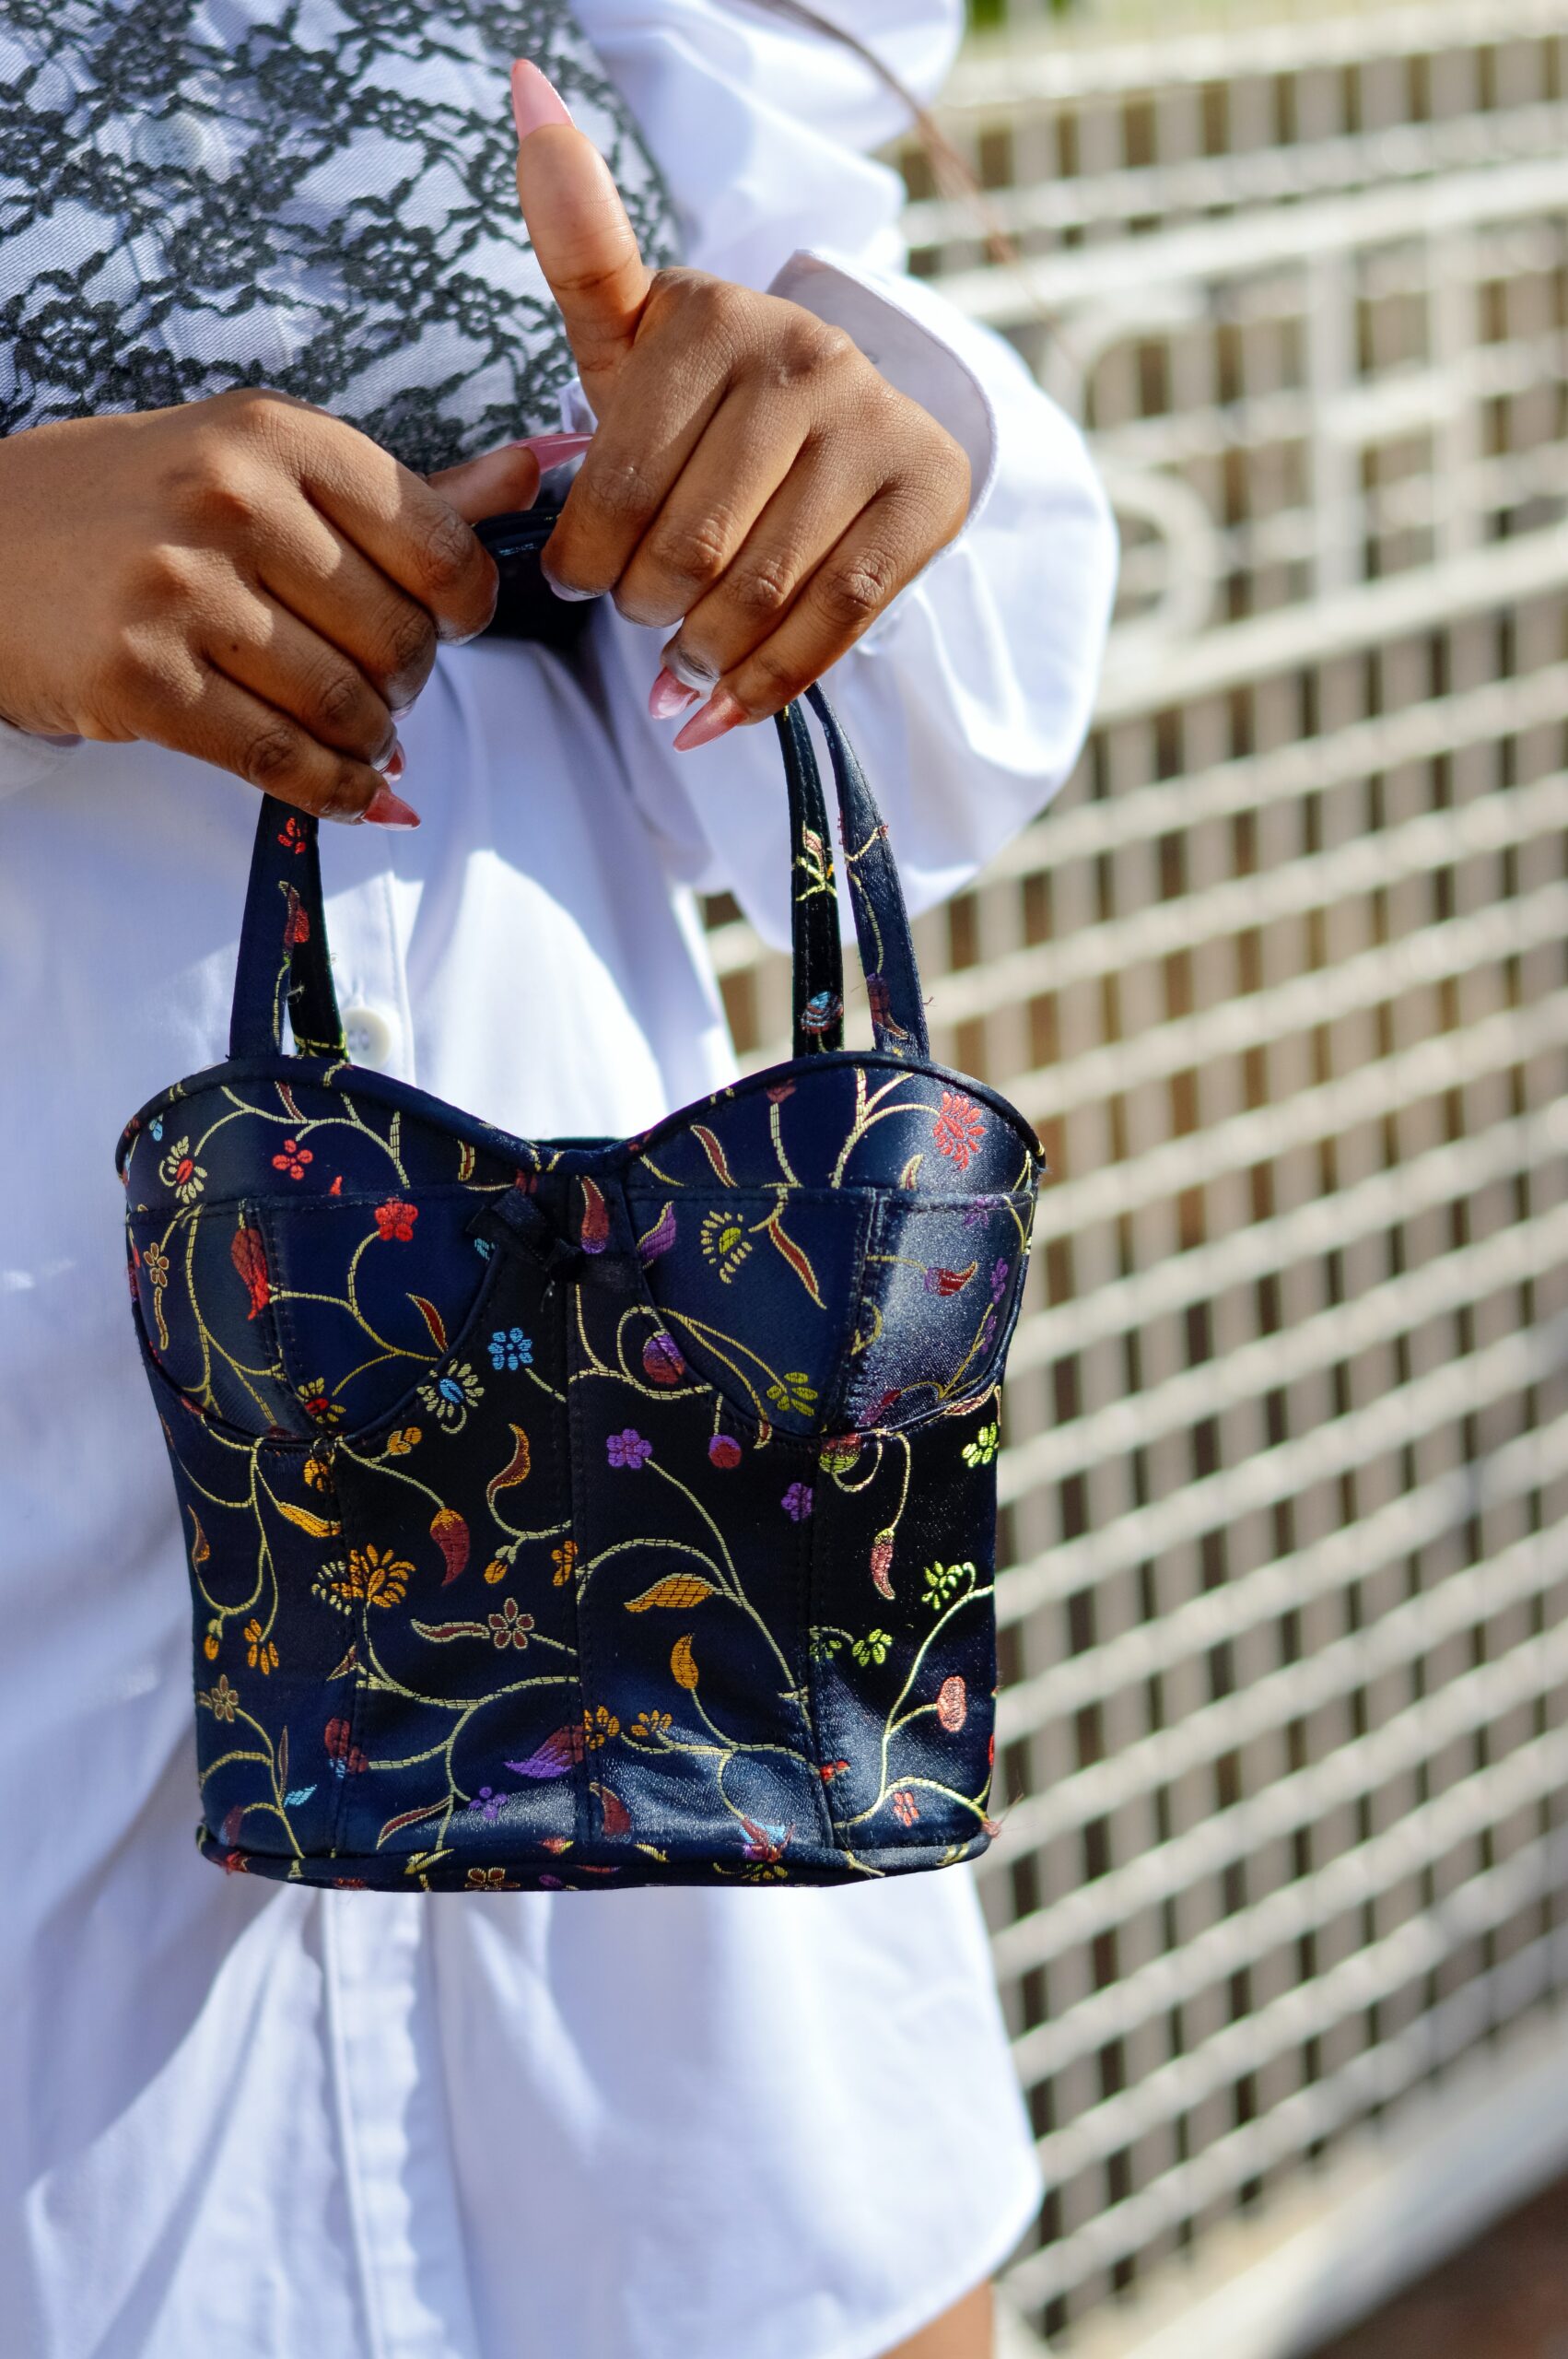
Making your designer-inspired handbags may be a fun experience for creative people. You have the chance to create original and fashionable bags that express your particular taste.
It may be difficult to replicate the identical designs of high-end fashion labels. You may demonstrate your ingenuity and fashion-forward attitude by making your designer-inspired handbags using the instructions in this DIY guide.
Step 1 of 5: Browse for Inspiration
Gathering inspiration from many designer handbags will be essential before beginning anything. You can get inspiration from browsing the newest trends and popular designs. You can also explore fashion magazines, websites, and social media channels.
Make sure to pay attention to the details while browsing. You need a clear idea of the shape, materials, handles, etc.
You should also consider which sewing techniques you’re gonna use. Like the denim stitching techniques for DIY bags.
Step 2 of 5: Gather Materials
In this step, you have to find the required supplies in order to make your designer-inspired handbags. Start by choosing high-quality cloth that is in line with your design ideas.
Depending on your tastes and level of expertise, take into account the materials. Such as leather/imitation leather, canvas, or heavy-weight upholstery fabric. Remember that the fabric’s strength and texture are essential components in getting a polished appearance.
Hardware components that improve your handbag’s beauty and use are also necessary. Look for metal accents, such as buckles, zippers, D-rings, and clasps, that complement your style of design.
If you want handles or straps, think about whether you want leather straps for a classic look. Or chain straps for a more modern touch.
Make sure the hardware you pick is of good quality and matches the cloth you have chosen.
Remember to collect other necessary sewing equipment. which includes thread, needles, scissors, measuring tape, and pins.
Step 3 of 5: Create a Pattern
It’s time to make a pattern specific to your vision. Using the resources you have on hand and your creative inspiration.
You may break down an existing handbag that replicates your intended design to make a pattern. As an alternative, you may locate designs that go with your style in craft supply stores or online.
If you want to take a risk, draw your own design on paper. Be sure to indicate seam allowances and locations for pockets, zippers, and other embellishments.
The secret to creating a genuinely distinctive handbag is customization. If necessary, consider changing the location, size, or design of the pockets. To add a unique touch, you can experiment with various closures or hardware configurations.
Keep in mind that this is your chance to express your originality through your design.
Step 4 of 5: Cut and Prepare the Fabric
Now it’s time to cut the fabric according to the pattern. Apply the shapes to your cloth using your pattern, then carefully cut them out.
To guarantee accuracy, pay close attention to the marks on the pattern. It’s crucial to cut the inner fabric as well. Because it will give the interior of your handbag a polished and finished appearance.
Cut out the required shapes in line with any additional elements your design may include. Such as pockets or inner compartments. Stitching will go more quickly and smoothly if the cloth components are prepared and ordered properly.
Step 5 of 5: Sew the Bags
The exciting part is about to begin. Time to sew your purse! A good thing is you don’t need much higher-level experience in sewing for this.
Assemble the bag’s outer shell first. Start by pinning and sewing the bag’s sides together.
Making sure the correct sides are facing each other. Either by following the instructions that are included with the pattern or by using standard sewing methods. To make the next steps easier, leave the top open.
Attach any exterior pockets or finishing touches that align with your design when the sides are firmly in place.
Boxing the corners of the bag might produce a polished finish. Create a triangle by aligning the side seam and bottom seam. Then stitch across the triangle, stopping about 1-2 inches from the tip. To lessen weight, trim the extra cloth.
And you’re done. If you’re a beginner at sewing consider this your first lesson in sewing machine techniques for mastering the craft.
Conclusion
Now, what’s stopping you from embarking on this journey? Grab a pair of scissors and start cutting your way to a designer handbag.
It’s an experience you’ll never forget. And the best part about this is you can show off your inner creativity with pride.


