Widow repair is a delicate process that should only be attempted by those who know what they are doing. Improperly repairing a window can lead to further damage and even safety hazards.
And while it may be tempting to simply tape up a broken window or board it up with plywood, these are only temporary fixes that will not hold up in the long term.
Therefore, in this article, we will discuss the proper way to fix a broken window safely and effectively so that your home is secure and your windows are as good as new.
Assess the Damage
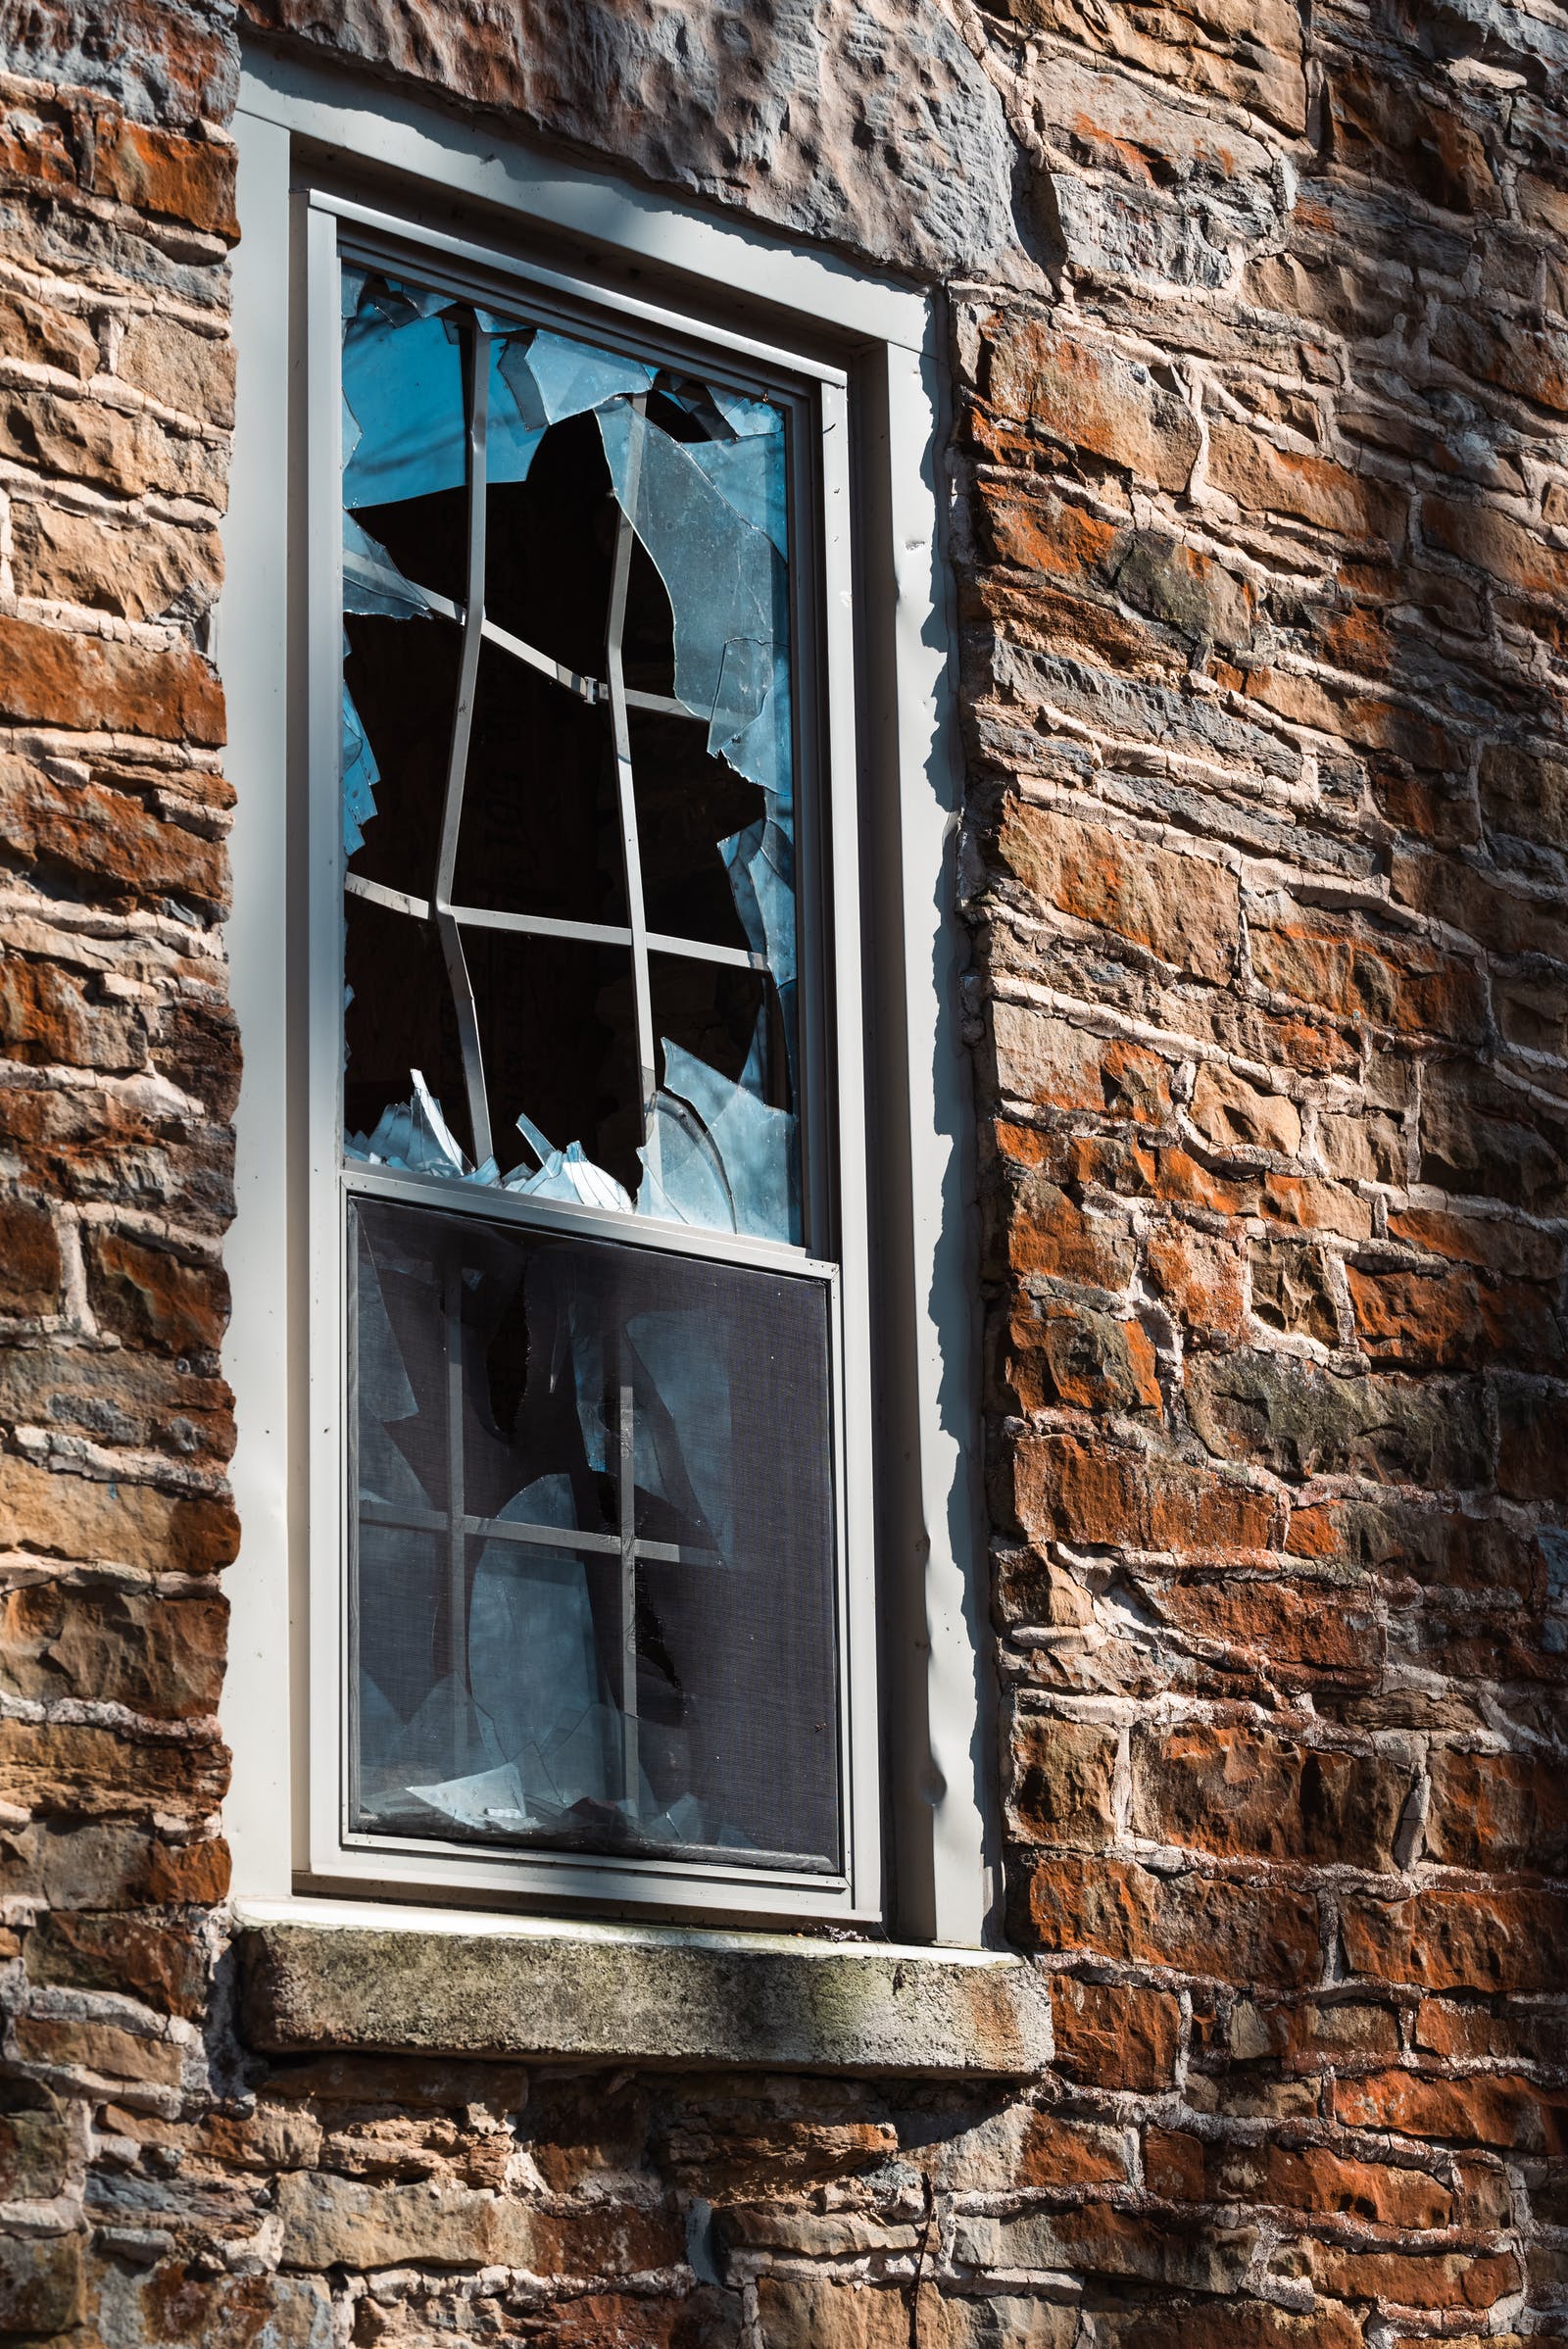
The first step in repairing a broken window is to assess the damage. This will help you determine what supplies you will need and how much work the repair will require.
If the damage is minor, such as a small crack or chip, then you may be able to repair it with a simple kit from your local hardware store.
However, if the damage is more significant, such as a large crack or hole, contacting professional window repair services might be your best bet.
The last thing you want to do is make the problem worse by attempting a repair that is beyond your capabilities.
Gather Your Supplies
Once you have assessed the damage and determined what kind of repair is necessary, you can gather the supplies you will need.
For minor cracks and chips, all you will need is a glass repair kit, which can be purchased at most hardware stores. These kits usually come with a type of epoxy or resin that will fill in the damaged area and bond the glass back together.
However, if the damage to your window is more significant, you will need to purchase a piece of replacement glass from your local hardware store.
You will also need to gather some tools, including a hammer, screwdriver, putty knife, and clean clothes.
Remove the Damaged Glass
If the damage to your window is minor, you can simply fill in the crack or chip with the epoxy or resin from your repair kit.
However, if the damage is more significant, you will need to remove the damaged glass before proceeding. To do this, use a screwdriver or putty knife to loosen and remove any existing putty around the perimeter of the glass.
Next, use a hammer to gently tap on the glass until it pops out of the frame. Be careful not to damage the frame as you do this.
Once the glass is out, use a vacuum cleaner with a brush attachment to remove any shards or debris from the frame.
Install the Replacement Glass
If you are using a piece of replacement glass, you will need to cut it to fit the frame of your window. To do this, measure the opening of the frame and use a glass cutter to score a line around the perimeter of the glass.
Next, place the scoring tool on the edge of a table or counter and snap the glass along the scoreline. Be sure to wear gloves and safety goggles when cutting glass.
Once you have cut the replacement glass to size, it’s time to install it in the frame. Start by applying a bead of putty around the perimeter of the opening.
Next, set the piece of glass into place and press it firmly into the putty. Use a putty knife to smooth the putty around the glass and create a seal.
Let it Dry
After you have installed the replacement glass and smoothed the putty into place, it’s important to allow the putty to dry completely before moving on.
This usually takes 24-48 hours. Once the putty has dried, use a sharp knife to trim away any excess. Finally, use a clean cloth to buff away any fingerprints or smudges.
By following these simple steps, you can fix a broken window safely and effectively.
Remember, if the damage is too significant for you to handle on your own, don’t hesitate to contact professional window repair services. They will be able to help you get your windows back in working order in no time.


