Certain photoshoots have more complex narratives than others. Food photography is undoubtedly among the more complicated kinds of photography.
But that shouldn’t discourage you at all because we’re here to help you capture some delicious goodness on your camera roll.
The below-mentioned 6 tips will certainly help!
1. Highlight the Hero
When you shoot from the front, try to maintain a good background and foreground to experiment with. Some good food photography backdrops will enhance your food story and add the depth it needs.
Place your main meal in a grouping of the ingredients and other items that form a part of the food. You can use props like the ingredients, sauces, oil, cooking equipment, etc.
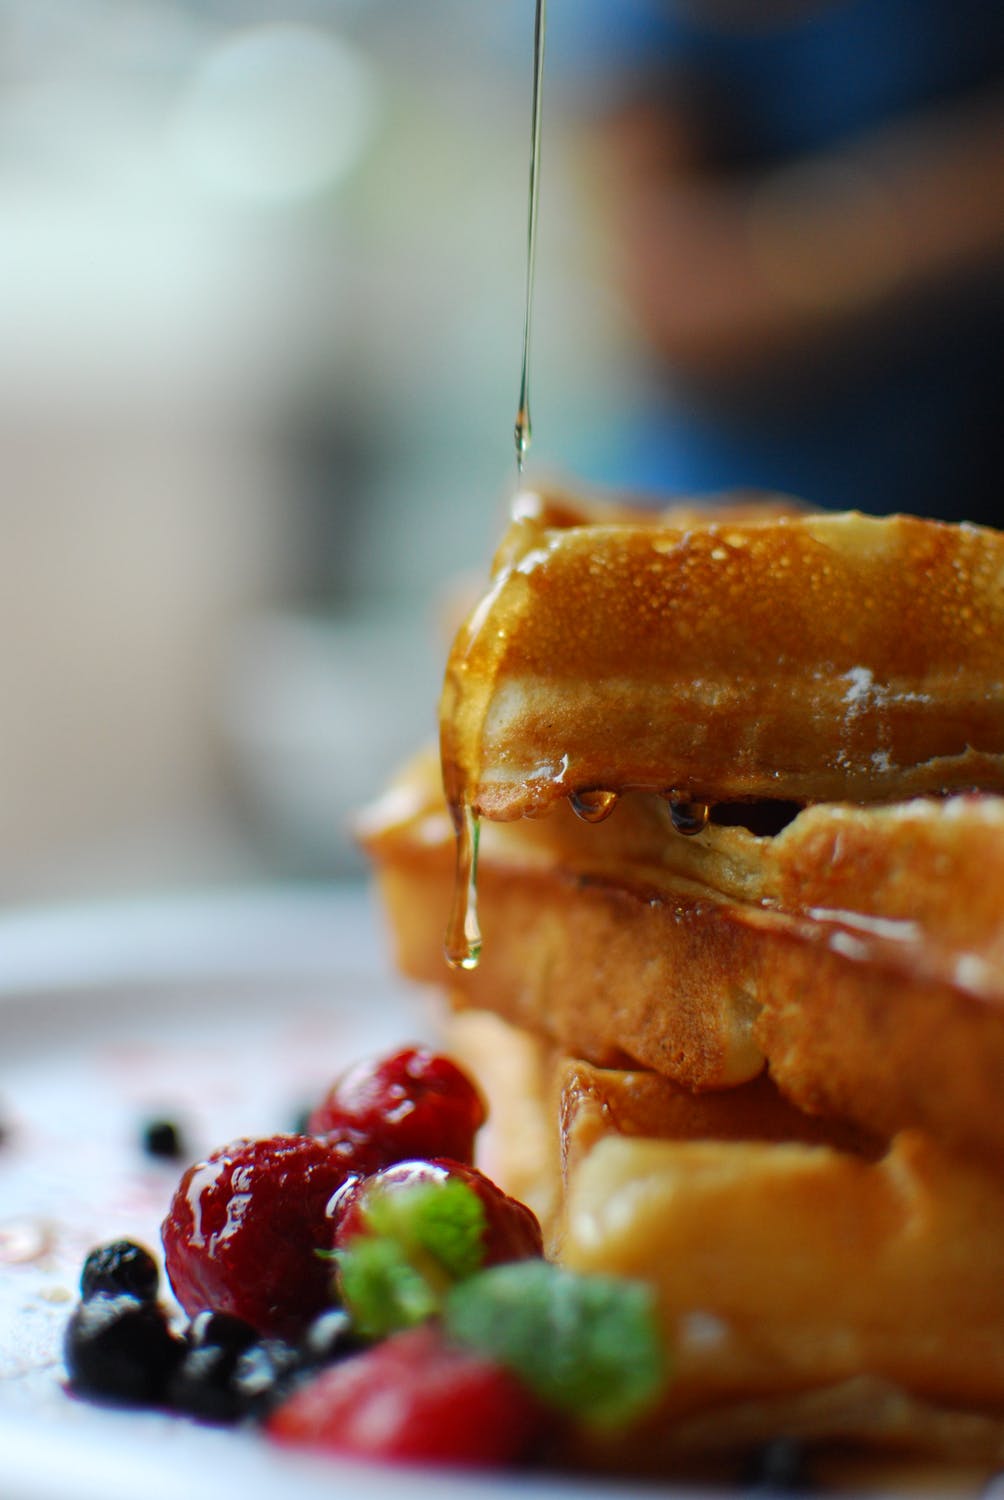
2. Lines and Layers
With all the items and props lying on the table, convince the audience to take an interest in the food story by using the line and layer technique.
A layering effect directs your eyes towards the main hero of your story. You can use several props or ingredients to create lines and layer effects within your photographs.
3. Add Colors
It is good to use bright and colorful props and tableware for your photos. However, If you are not careful, these colors can overshadow your food.
So when choosing items for your food photos, try picking neutral colors and a background that allows the food to stand out. A neutral backdrop enhances the natural food hues and makes the dish look tempting.
4. Use Natural Light
Lighting is an essential element in a photograph. It is not just about the brightness and darkness but also the mood, tone, and ambiance.
So, it’s essential to regulate the lighting to create the most pleasing appearance, texture, and brightness on your subject.
Direct sunlight can create rigid and well-defined shadows. Installing a diffusor between your food table and the window is the first thing to do.
Working in direct sunlight will significantly improve the lighting quality by softening the shadows and bright highlights.
The use of black and white cards also gives you a lot of control overshadows. You can create these with foam core boards which can be purchased from any craft retailer.
Their size depends on your requirements. Use white cards to bounce light onto shadows to reveal crucial details. Go for a black card to achieve an excellent contrast.
Sometimes, the natural light hits your backdrop in a way that it becomes much brighter than your subject. Since viewers always look at the brightest part of your photograph first, even when it’s not the subject, it could hurt the entire food story.
It is better to use black cards to prevent the light from striking areas that compete against your topic.
5. Try Multiple Angles
The position of your camera will impact the type of story you want to convey to your audience. Imagine the food before you eat it. It’s shape, size, or height; what is unique about it?
Then place the camera where you think it will highlight the best aspects of these features. When photographed from the front, certain dishes look stunning, while others demand a top shot.
Dishes with multiple ingredients should be shot from above to better view the whole platter.
6. Have Patience
There will be several occasions when the photos you click might not be as expected. You might also get distracted by flies or sneezes.
However, don’t let such distractions play with your concentration. Don’t get frustrated and keep trying. Once you get a nice shot, it will be worth it!
Conclusion
The art of photographing food is much more complex than it appears. We hope that these techniques will help you improve your food photography.


