Does your little one have an enormous dinosaur collection that’s driving you mad? Or perhaps you have some of these relics saved from your old childhood? It’s time to give them a new life!
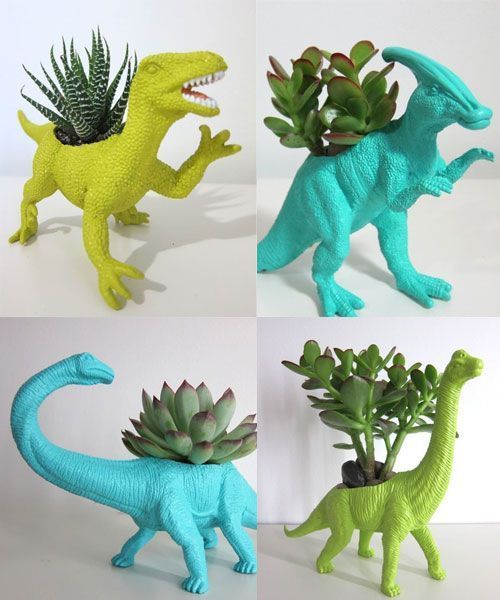
Dinosaur planters are a super cheap and quirky way to upgrade your room decor in just a few minutes. Even for those with very limited DIY skills, this project is super easy to pull off, and most of all – so much fun!
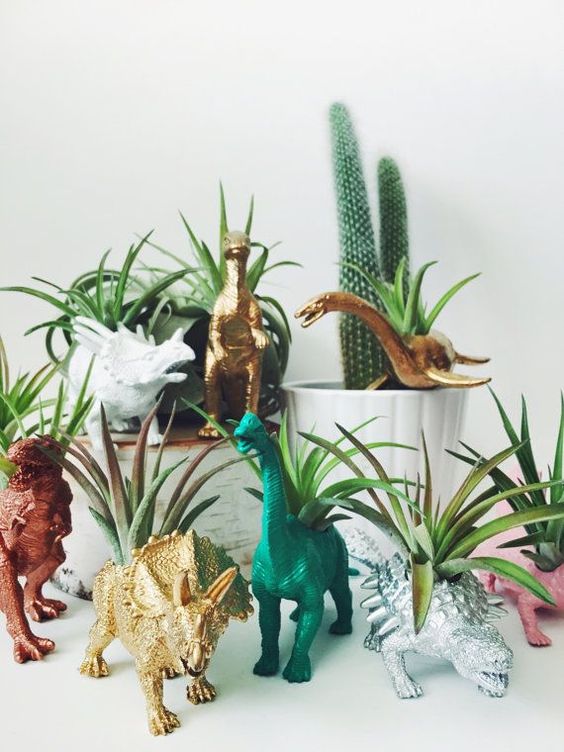
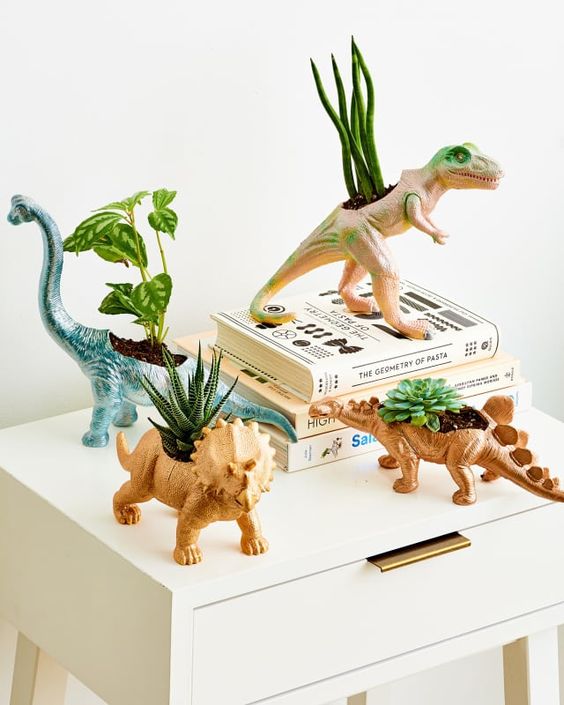
Collect the plastic toys and choose the ones that will turn into big enough home for a succulent, small plant or a cactus. Dig a hole big enough to insert the planting soil (don’t forget a small drainage hole at the bottom) and insert a jungle friend of your choice.
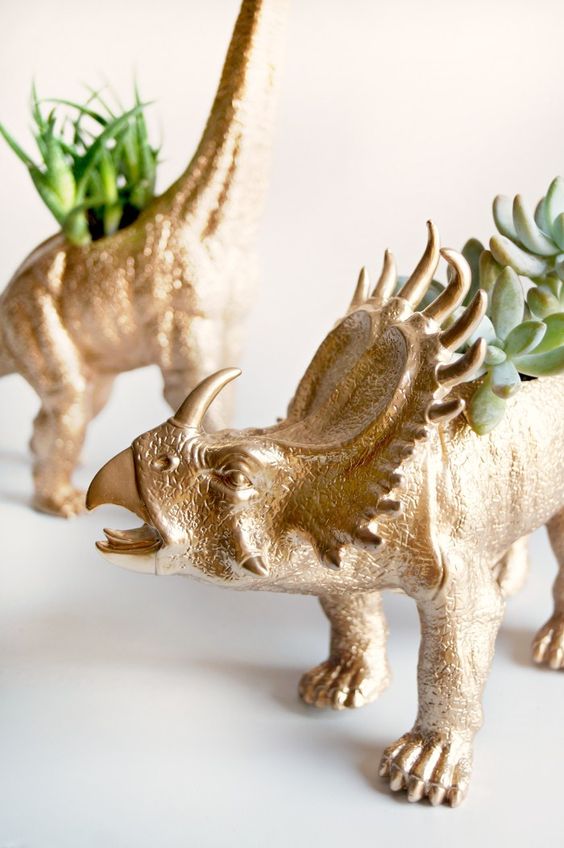
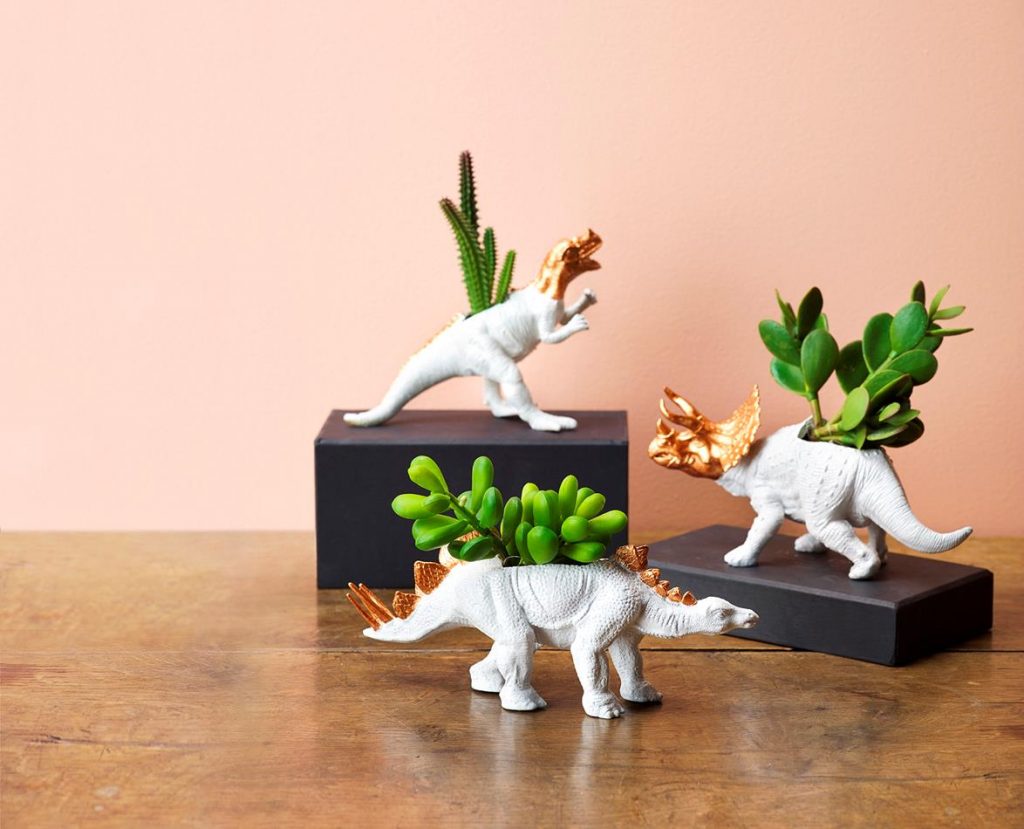
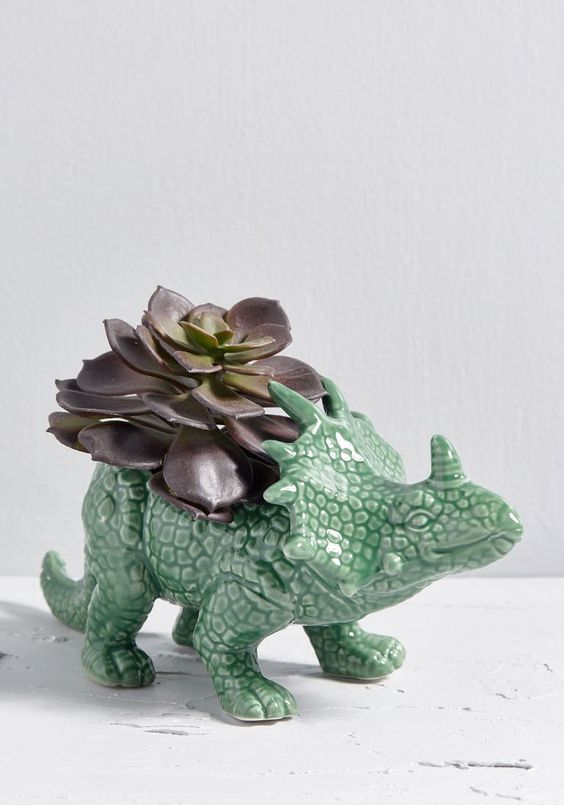
If you want to get fancy, you can spray paint the dinosaur for a more sophisticated and polished look – or opt for a ceramic one from the shop.
Add a bit of jungle fever to your home with this simple DIY project for the weekend – here we present you with some of the best examples we found on Pinterest! Don’t forget to follow us here!
Since time immemorial, dinosaurs have held the fascination of people of all ages, serving as a source of inspiration for imaginations and numerous creative endeavors.
One way to incorporate these ancient creatures into your home is by designing a dinosaur platter.
Such do-it-yourself projects involve various kinds of crafting such as ceramics, crochet, and clay modeling leading to production of a blend of art that is both whimsical and functional.
If you are looking for some fun activities to undertake with kids, or just want an outlet for your own creativity then making a dinosaur platter can be an interesting process.
In this blog post we will guide you through different steps to create your own dinosaur platter involving things like succulent planters, egg designs and dinosaur skulls.
Dinosaur Platter Ideas
1. King of the Jungle
2. Shockingly Stylish Dinosaur Planter
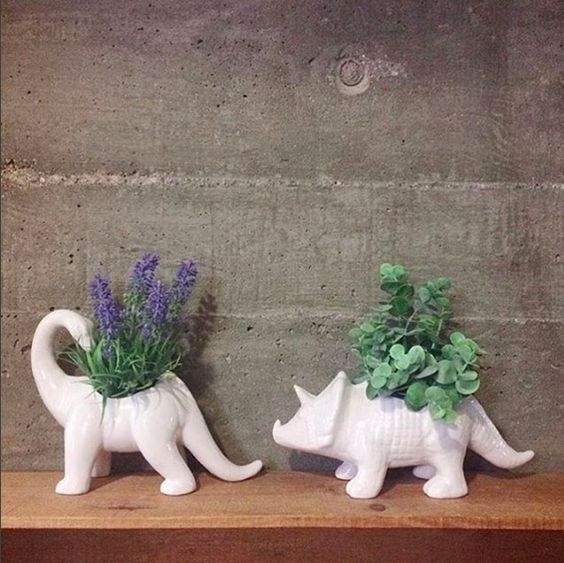
3. Ceramic Dinosaur Planter

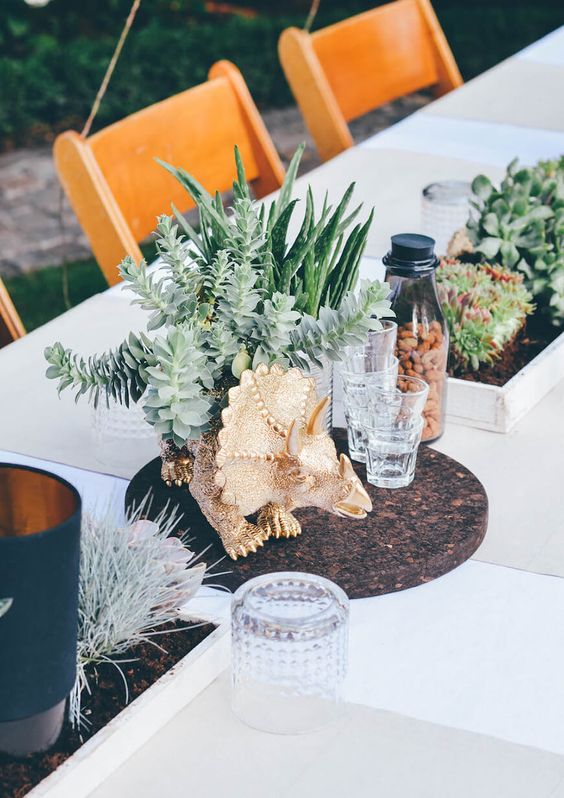
4. Gold Succulent Dinosaur Planter
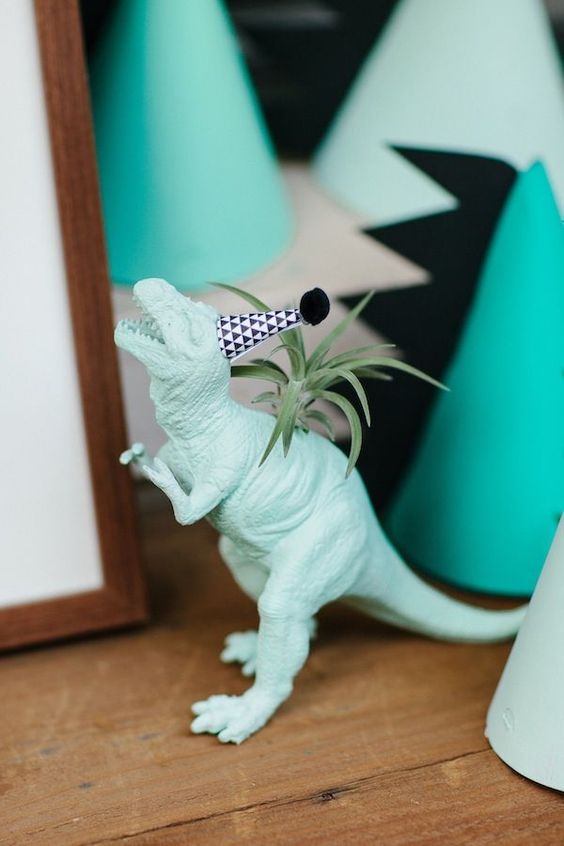
5. Blue & Green
6. Gold & White
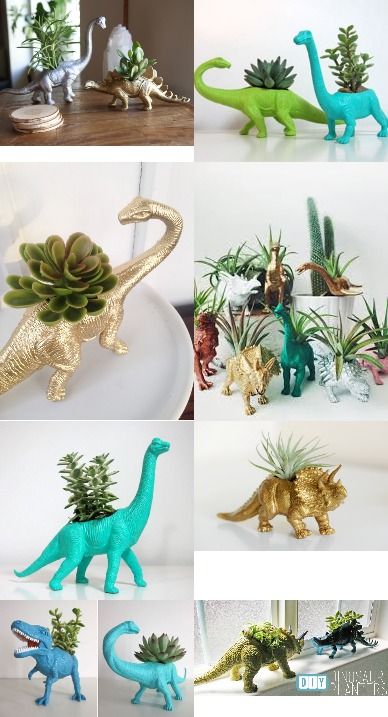
7. All Sizes Inspiration
8. Ceramic Triceratops
9. Don’t Be Scared of Pink
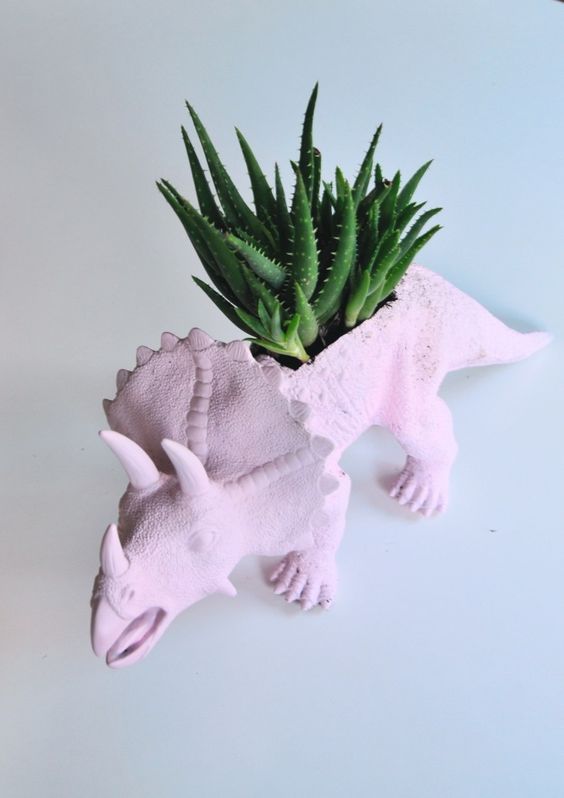
10. Half Painted Dinosaur Planter
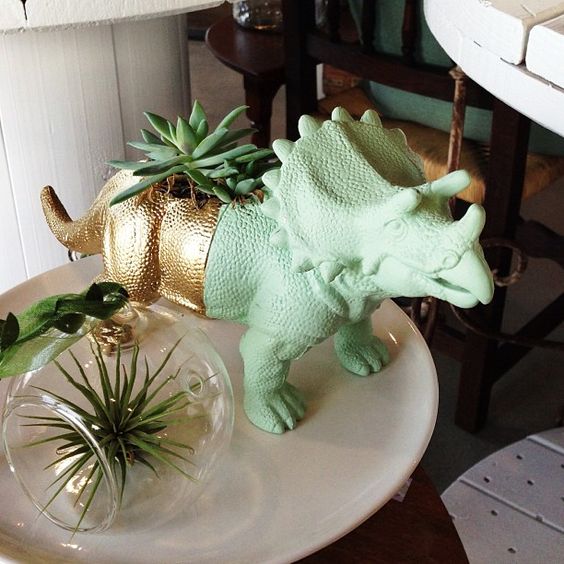
11. The Whole ZOO

12. T-Rex Twins
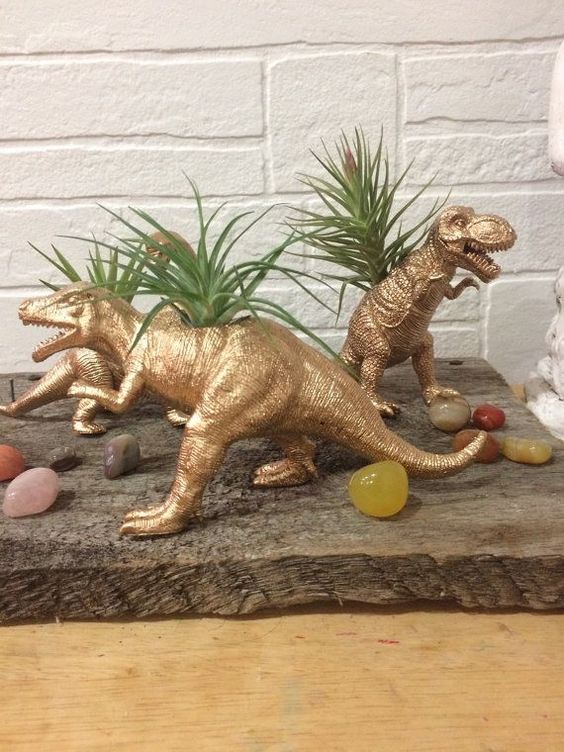
13. Gold Family
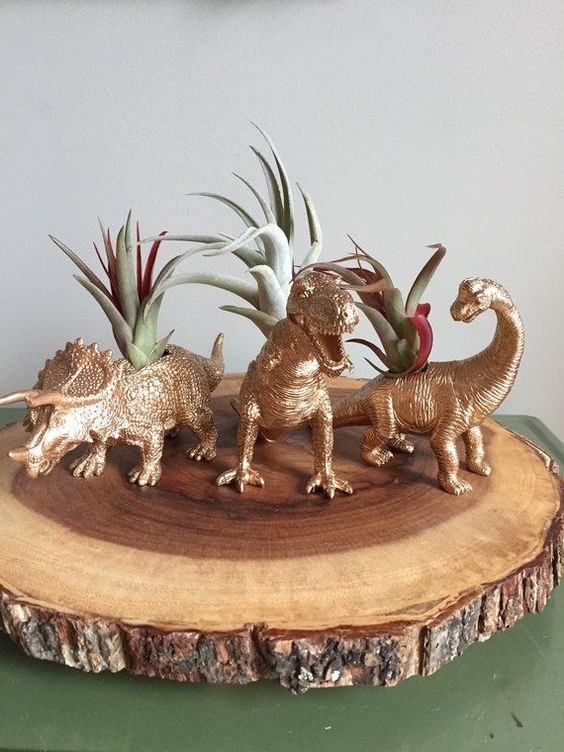
14. Standing Dino
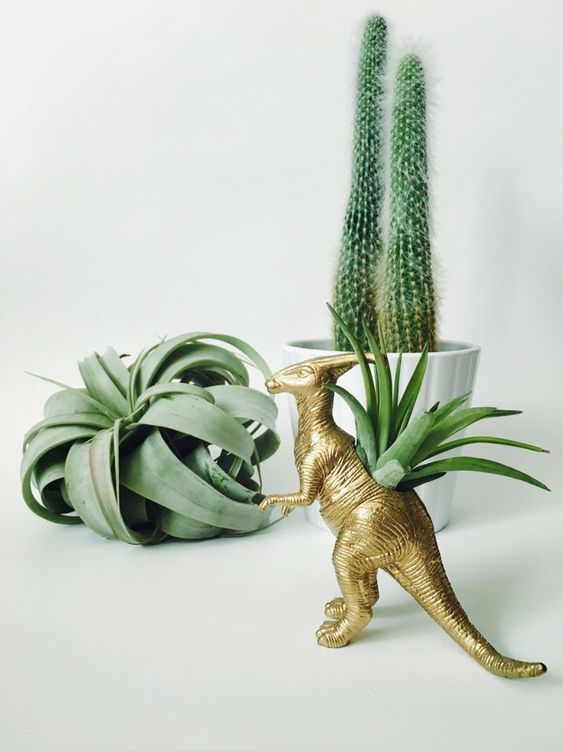
15. Pretty in Pink Dinosaur Planter
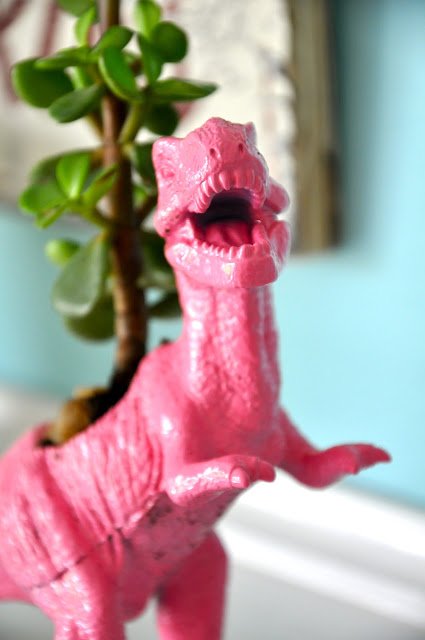
16. Cactus Planter
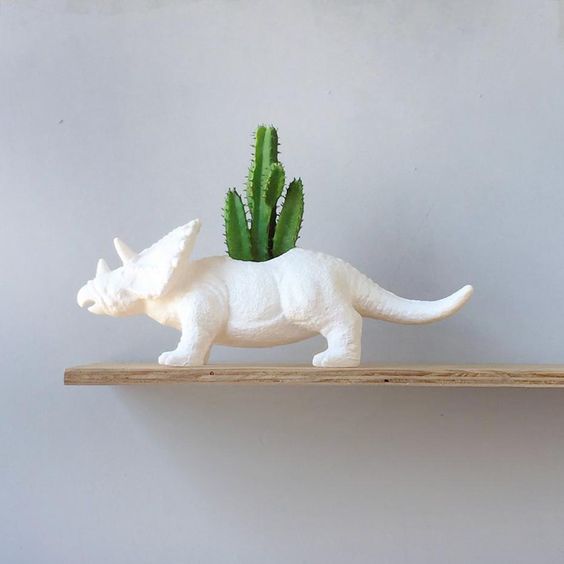
17. Old Toy RePurpose
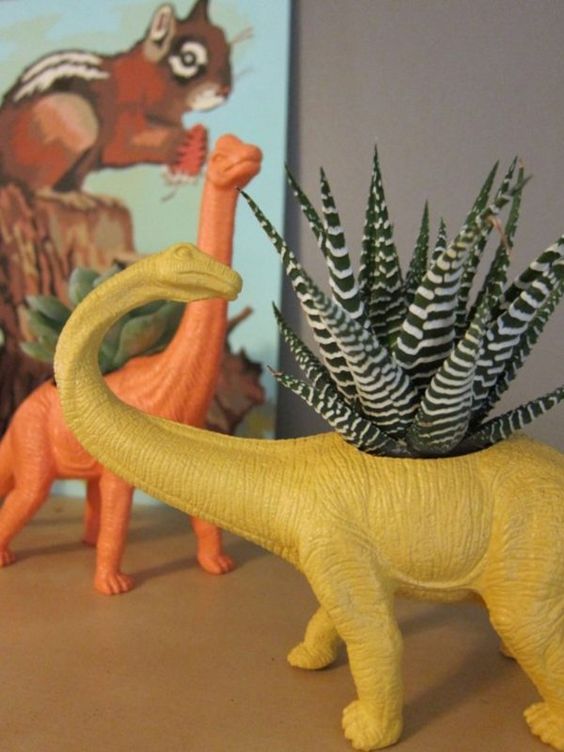
18. Party for Two
19. Party Favors

20. Centerpiece
21. Party Mode On
22. Hello Yellow

Dinosaur Platter: A Fun DIY Project
Materials Required:
Before starting on the project gather up the following:
- Ceramic platter or pot: Any plain ceramic platter or pot serves well as the base for your project.
- Air-dry clay: Used in making dinosaurs figures, eggs and other embellishments.
- Acrylic paint and brushes: These help in brightening up your creations.Crochet hooks and yarn: These are used when doing crochet dinosaurs toys or accents.
- Succulents: These small plants will add green color to your platter.Craft glue: Sticking together pieces that make up your work.
- Clear sealant: This preserves finished piece from damage.Sculpting tools: For molding clay.Dinosaur toys or skull models (optional):
- Additional decorations if necessary.
Step-by Step-Guide
- Preparing the Ceramic Base- Begin with either a plain ceramic pot or plate; it’s what you use as a canvas for creating something with theme relating to dinosaurs. Moreover if there isn’t any available one at home they can be found easily at craft stores or alternatively recycled from old dishes which aren’t being used anymore.
- Cleaning surface – Ensure that the ceramic base is clean and dry.
- Priming if necessary – If the surface is glossy, you may want to consider priming it with ceramic primer thus helping paint to stick better.
Creating Clay
- Dinosaurs and Eggs-Now make use of air-dry clay so that you can be able to form miniature dinosaurs figures and eggs. It provides opportunity for a lot of creativity as well as personalization.
- Molding Dinosaurs – Utilize clay in forming small dinosaur figures. Some popular choices include T-Rex, Triceratops, and Stegosaurus. Employ sculpting tools for including scales, eyes or claws.
- Creating Dinosaur Eggs – Roll the clay into little egg shapes. You could do smooth eggs or even add texture towards making them appear more realistic.
- Drying and Painting – Leave the clay figures as well as eggs to dry completely. When they are dried acrylic paints should be used so that color can be added. Concerning your choice of color, feel free; dinosaurs do not have to conform to historical accuracy!
Crafting Crochet Accents
Crochet lovers will also find this idea interesting by adding crochet accents that would give their platter a soft textured touch; this could mean making some small dinosaur toys, plants or any other decorative things.
- Be careful in planting: Put the succulent plants directly in the ceramics pot if you had a ceramic base.
In this case, it is better to use small individual pots for each of the plants that can be fixed on top.
- Arrange aesthetically: Place your mini clay dinosaurs and eggs among the colorful succulents to create a prehistoric landscape of miniature proportions.
Adding Dinosaur Skulls and Toys
To make them look more genuine, add tiny dinosaur toys or skulls. These materials can be made of clay or bought from toy stores.
- Place strategically: The skulls and toys should be organized in such a way that they correspond with the general design plan. They may also serve as points of emphasis or subtle accents.
- Secure in place: Apply craft glue on these items so that they get firmly attached to platter.Painting and Final TouchesAfter everything else has been set up, proceed to paint your work and add finishing touches.
- Paint the base: At this stage, you will need to paint your ceramic base if it was not done before. You might want it to look like realistic ground with browns and greens or prefer an artsy feel with vibrant colors.
- Detail the elements: Now go further into adding extra detail onto your clay designs and crochet pieces which may include highlights, shadows or any other forms of texture that will enhance their overall appearances.
- Seal the piece: Protect your work using clear sealant especially if there are any painting on it because this can help retain its color as well as other features.
Assembling the Platter
Now that all individual pieces are ready; let’s bring them together!
- Arrange the elements: There should be some space for placing clay dinosaurs, eggs, succulents and crochet items on your platter.
Play around with arranging them until you find something appealing enough for you.
- Glue if needed: If you would like these objects to remain intact, just apply craft glue on them.
Ensure that the glue dries up and bonds each element well.
- Display proudly: Find a suitable place in your house where you can show off your dinosaur platter. It can be put at the center of the dining table, used as one of room decorations or even added to a child’s room for fun.
Tips for Success
- Take your time: Do not hasten any process. Enjoy every single step right from molding the clay to painting by adding fine details on it.
- Be creative: There is no limitation; therefore, you should make this platter yours by tailoring it according to your style and preference.
- Get the family involved: This project is also meant to be a family activity. Kids will have fun shaping clay and painting it making it memorable.
Conclusion
Making a dinosaur platter is a delightful DIY project that blends different crafts into one item. Whether you are an experienced person in crafting world or just starting out, this project allows you to explore your creativity and create something that completely stands out.
The final product serves as both an appealing decoration and demonstrates how creative and hardworking you are.
Therefore, gather everything needed, open up your mind and proceed with making dinosaur platter today; happy crafting!


