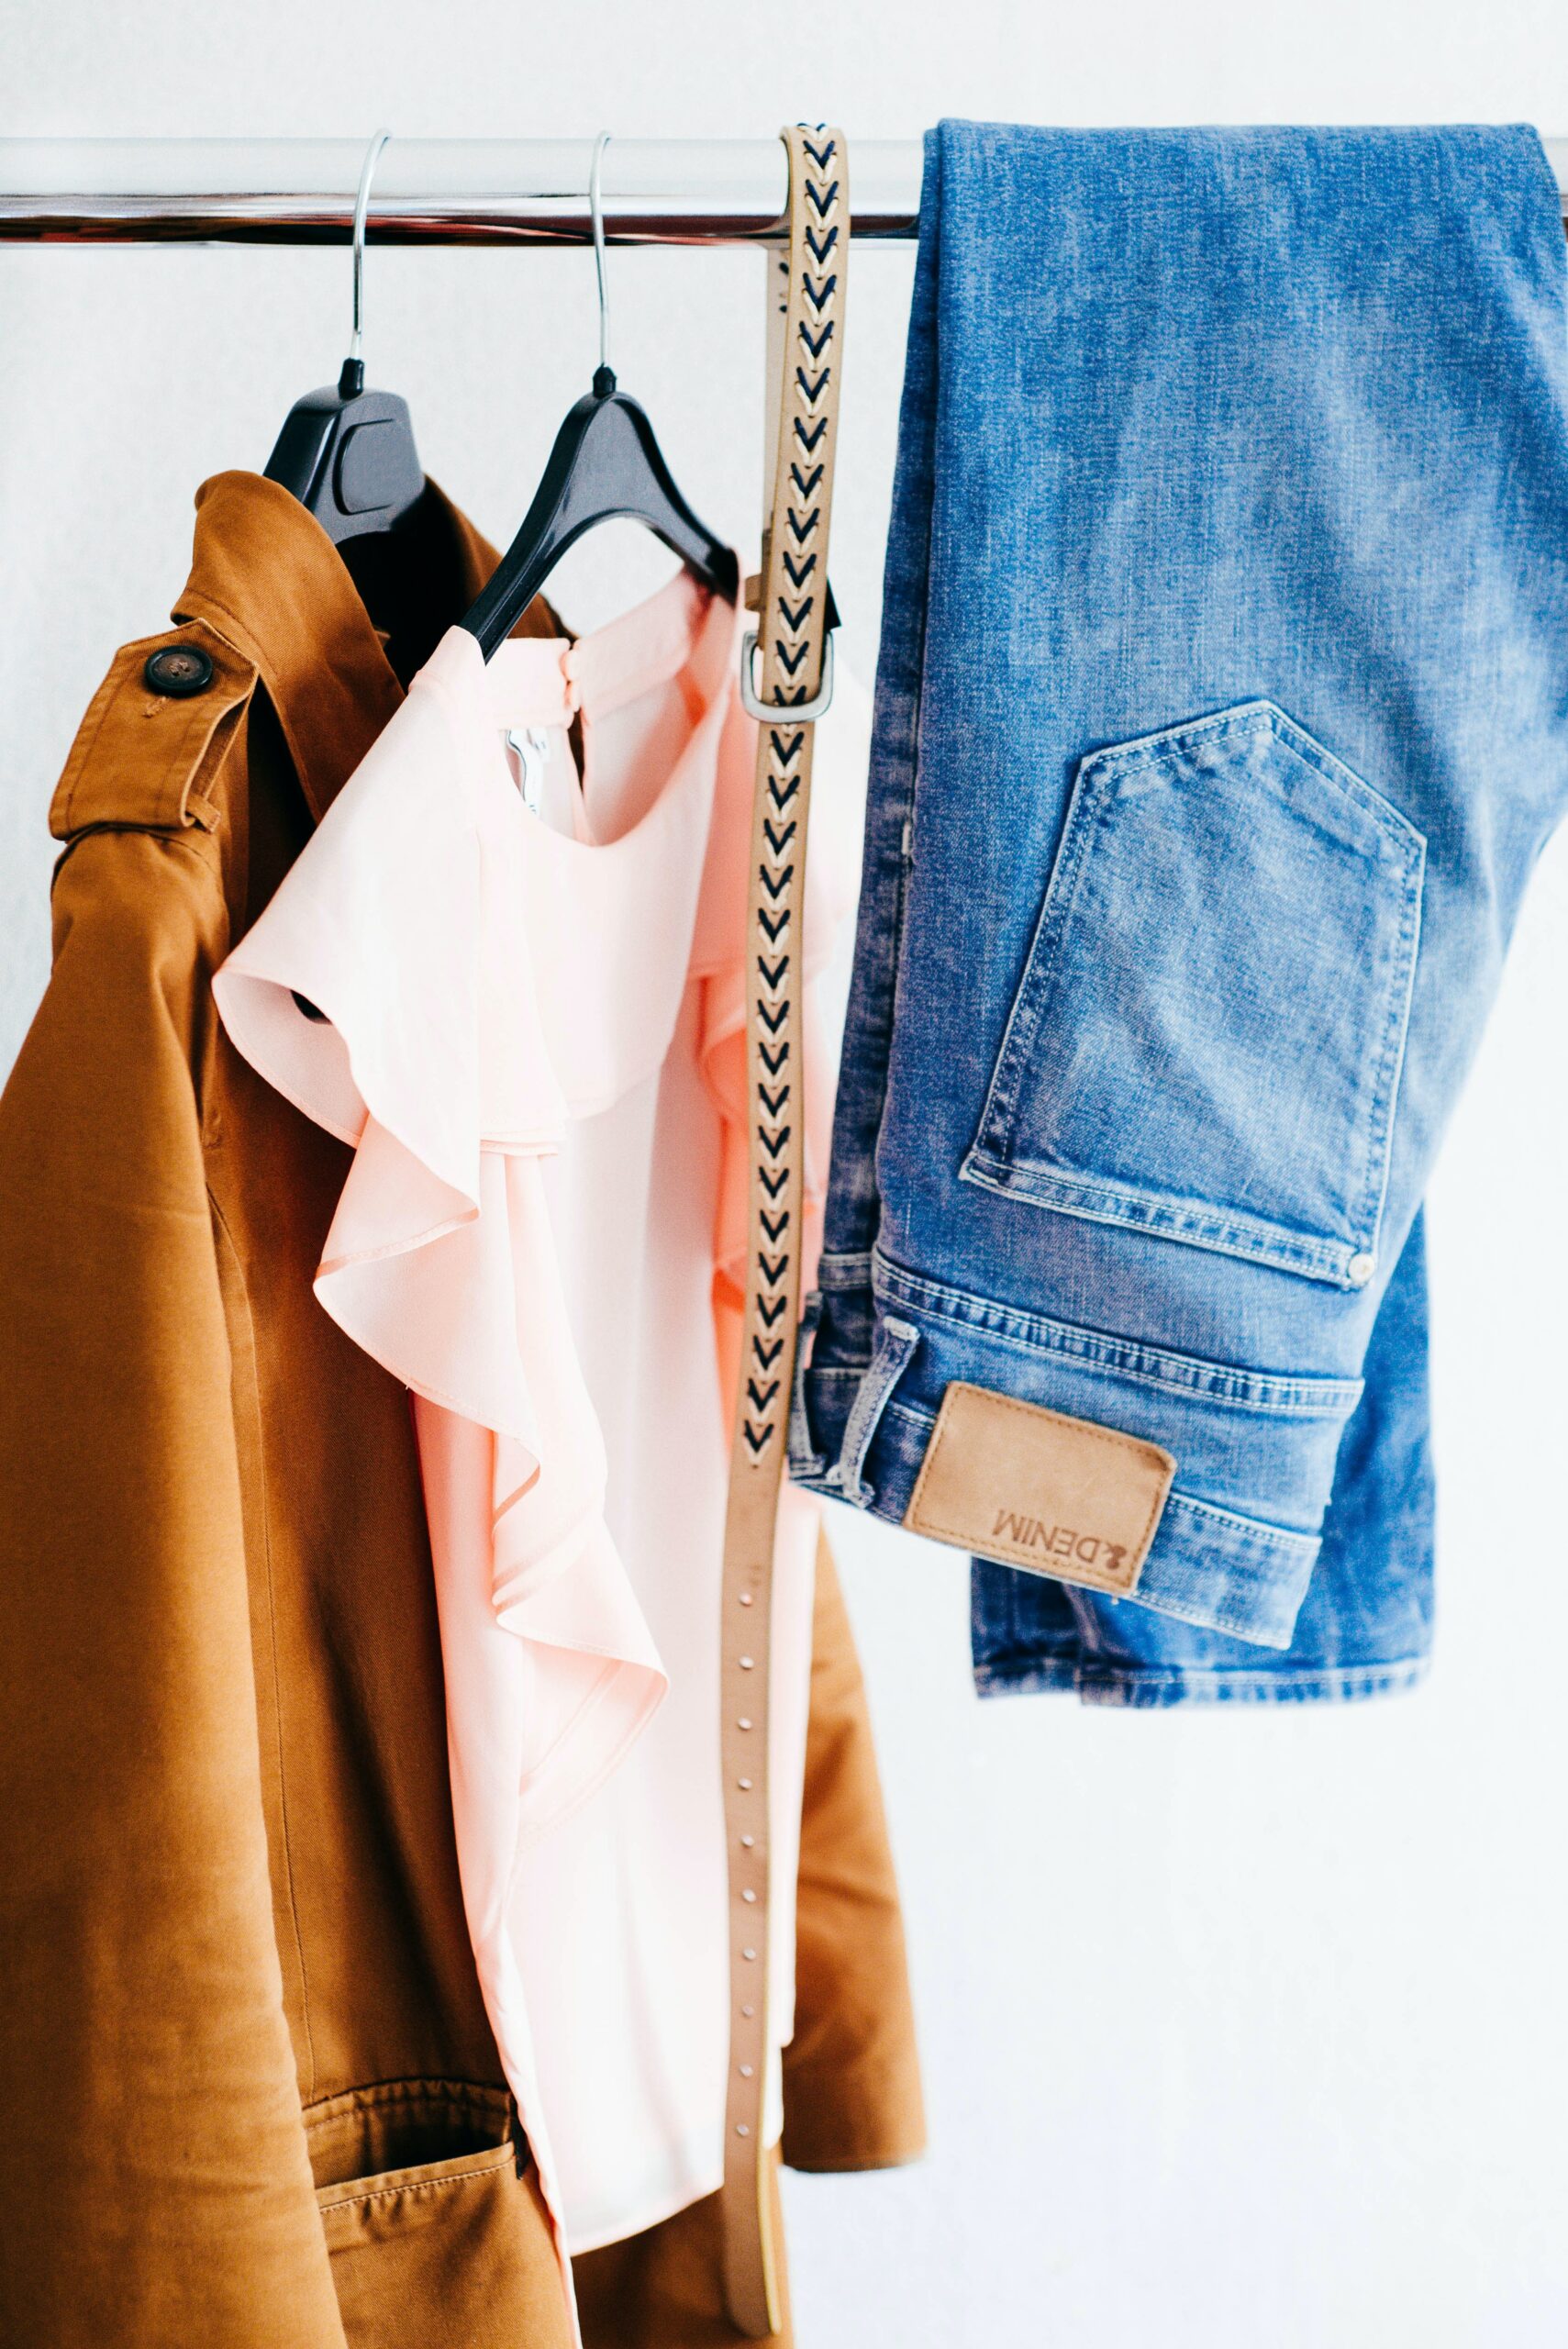
Painting on fabric is an easy, fun, and inexpensive way to refurbish your old and out-of-style clothes, canvas shoes, or handbags.
You can also try painting on basic pillowcases or tablecloths to make them unique. However, even though the entire process is relatively simple, you should know exactly what paints or tools you will have to use for different types of fabric in order to get the best results.
The more you know beforehand, the fewer mistakes you’ll make in the painting process, especially if you’re a beginner. Here are our 14 tips for painting on fabric permanently.

1. Choosing the Right Paint
Choosing the right paint for your fabric before you begin is crucial. You’ve got several options that you can use to paint on fabric and with all of them you will get amazing results.
- You can use textile fabric paint – this paint is specially created for fabric painting and it’s very easy to use even though it’s a little more expensive. This paint adheres to all types of fabric and after painting the fabric remains soft and flexible to the touch.
- Acrylic paint is one of the most popular options because it’s cheaper, more versatile, and dries faster. However, acrylic paint cannot be used on its own because it will cause cracking and chipping of the painted design, therefore it requires an acrylic fabric medium. The medium can turn any acrylic paint into fabric paint and will make the material more flexible.
- You can also use stencils or spray paints. Fabrics ideal for stencil or spray painting includes cotton, linen, silk, and rayon.
2. Choose Your Fabric
Choose your fabric carefully – natural cotton and canvas are much easier to paint than the other fabrics. But, that doesn’t mean that you can’t paint on other types of fabric.
3. Prepare the Fabric
Prepare your chosen fabric for painting first by wetting it with clean water.
This simple step will help the colors to flow into each other, but be careful and don’t add too much water. The fabric should be damp, not soaking wet.
4. Work with Natural Light
When it comes to fabric painting, light is definitely your best friend. Make sure to work with a natural light source such as a window or overhead lighting, so that you can actually see what you’re doing.
Always check if the light is warm or cool – keep in mind that cool light will create warm shadows and warm light will create cool shadows.

5. Get Your Painting Tools Ready
Layout all of your tools such as brushes, paint colors, sponges, stencils, and fabrics in advance.
6. Test the Paint
Do a quick sketch of the design you want to paint before you actually start painting on your fabric. If you like the design, then you can use a pencil to lightly and carefully sketch on your fabric as well.
7. Choose the Right Brushes
Make sure to use the right brushes for your designs. Use large brushes for big sections and smaller brushes for tiny sections.
A flat brush works amazing for straight shapes, while a pointed brush can outline any design.
8. Do not Forget the Paint is Permanent
Keep in mind that fabric paint is permanent which means that it’s impossible to be removed.
So, if you make a mistake it will stay permanently on the clothing piece you’re painting.
9. Use a Cardboard
Always have a piece of cardboard on hand.
The fabric paint will probably bleed through, so prepare cardboard to put underneath your garment when you’re painting on it.
10. Work in Small Sections
Work in small sections at a time, especially for detailed fabrics such as lace. It is easier to fix mistakes in smaller areas.
11. Use Stencils
Stencils can make painting on fabric much easier. The best thing about stencil painting is that you can create beautiful and intricate designs in less time than it would take you to create them by hand.
Start by applying the paint with a sponge to keep the paint from leaking out under the stencil. After the first coat has dried, add a second coat with a brush in order to get maximum coverage.
12. Use Foam Roller
If you’re painting a large piece of fabric, it’s best to use a small foam roller.
The foam roller will dispense a nice amount of color, while the nap roller will dispense too much color and can cause bleeding.
13. Dry Out
After you’re done painting, set the design with heat to protect it.
You can hold a hot iron over the painted garment without actually touching the paint, or you can turn your garment inside out and iron over the fabric for a couple of minutes.
You can also use a hairdryer set on low for this purpose. However, make sure to wait at least 24 hours after painting – your fabric should be completely dry.
14. Hand Wash
Hand washes your painted fabric.
You can put it in the washing machine, but the best thing to do is to gently wash it by hand with some soap and hang it to air dry.


