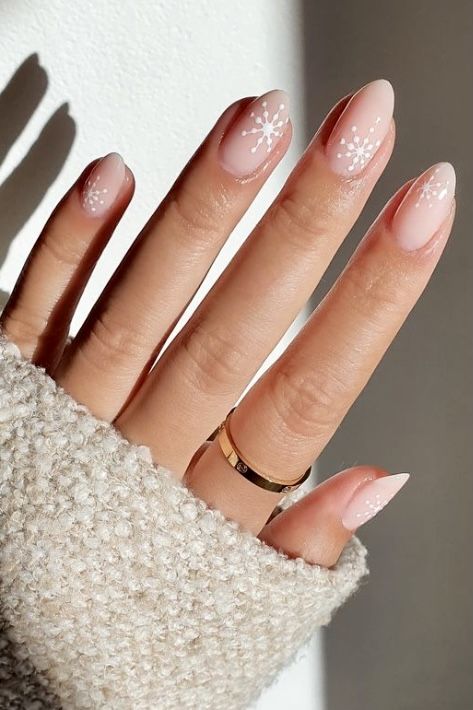
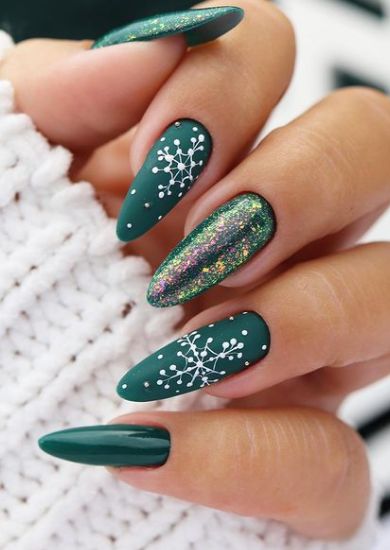
Hey, girl. Are you looking for a new nail look but unsure what to get?
With spring on the horizon, you might be looking for something soft and elegant – and creamy peach nails are the ultimate answer.
Creamy peach nails have an immediate luxurious appeal that’s impossibly sophisticated and feminine.
Plus, the color is *very* spring-friendly, ensuring you match the changing season’s beauty.
Think that creamy peach nails may be in your “nail future?”
Don’t take the plunge without finding out *everything* you need to know about this gorgeous color.
Below, we’re discussing everything from tips for perfecting the look to how to maintain those lovely creamy peach nails.
Video Tutorial
Some babes prefer to do their *own* nails at home.
Is this you, and are you considering going with creamy peach nails?
Check out this excellent, step-by-step video tutorial that perfectly demonstrates how to achieve creamy peach nails at home.
33+ Best Ideas for Creamy Peach Nails
Are you looking for some creamy peach nails design inspo?
As always, we’ve got you covered!
Check out these creamy peach nail ideas that are *peachy keen* (sorry, I had to make that little joke – I know you giggled!).


Tips for Perfecting the Look
If you’re planning to do your creamy peach nails at home, you need to make sure you’re doing them correctly.
Otherwise, you’ll be left with nails you don’t *love.* And what’s the fun in that?
To ensure you’ll be flaunting your creamy peach nails with *confidence,* here are my top tips for perfecting the look:
Start With Nail Preparation
Plenty of girls (including myself) don’t take the extra time to prep the nails before applying the polish.
While this *does* save time, it’ll actually cause the polish to fade and come off quicker – which *doesn’t* save time in the long run.
But how are you supposed to prep your nails?
I promise you, honey, it’s easy and can be done in four simple steps.
Start by getting rid of any leftover nail polish. Trying to stack a new color on top is *never* going to work!
Once you’re polish-free, trim and shape your nails as desired.
The best way to do this is to use a nail file and your pair of handy dandy nail clippers.
From there, push back your cuticles using an orange stick.
Yes, this might seem *scary.* But it shouldn’t hurt. If it does, then you know you’re being too rough.
The key here is to be as gentle as possible. You do *not* want to cut or damage this area!
Lastly, you need to buff and hydrate!
Use a buffer on the top of your nail bed to make things nice and smooth.
Then, apply some cuticle oil.
This will hydrate your nail bed to ensure your nails are healthy, strong, and ready for creamy peach nail polish!
Never Forget the Base Coat!
Another thing you should always remember? The base coat!
I know this is another one of those “Ugh, do I have to?” moments – but the answer is yes, you do.
A base coat will help your creamy peach nail polish adhere to your nail bed for a longer-lasting finish.
When applying the base coat, keep it *very* thin!
It’s Time for the Creamy Peach Nail Polish!
OK, so enough with the prep! It’s time to apply that lovely new shade, girlfriend!
Start by rolling the bottle in your hands. I know it’s tempting to shake it, but please don’t.
Then, apply a *very* thin layer to your nail bed.
Thicker layers seem better, but they’re more prone to clumps, chips, scratches, and fading.
When the first layer is dry, go ahead and tack on another *very* thin layer of polish.
This will help to make the color smoother and more vibrant!
If you need another layer, go for it.
Otherwise, use a cotton swab with nail polish remover to remove any polish that may have ended up on your skin. (Don’t worry—this happens to all of us.)
Don’t Forget the Top Coat!
Base coat isn’t the only “coat” you must have in your arsenal.
A top coat is just as important.
It will seal in the color, add impeccable shine, and ensure your lovely new creamy peach nails last a long time.
Accessorizing Your Creamy Peach Nails
While your creamy peach nails are definitely beautiful on their own, there’s nothing wrong with highlighting them with the perfect accessories!
When choosing accessories to pair with your creamy peach nails, consider these colors:
- Brown
- Beige
- Gold
- Blue
- Nude
- Olive Green
- White
- Baby Pink
- Mustard Yellow
These colors can be used for all accessories, from bracelets to handbags and beyond!
Transitioning Nail Designs
While the colors mentioned above are ideal for everyday wear, you might wonder how to transition your creamy peach nails for a seductive night look.
Don’t worry, babe. It’s a *cinch* – even though it may seem like creamy peach nails are more of a “daytime” type of shade.
To make your creamy peach nails a nighttime knockout, consider pairing them with rhinestones or metallic accents.
These will provide glam while highlighting the glorious peach shade.
Maintaining Your Creamy Peach Nails
Earlier, I described how to create creamy peach nails at home.
But there’s no point in doing all that work if you won’t maintain them for longevity, hon.
Again, it’s not complicated. Just do the following:
- Do touch-ups as necessary, but keep the layers thin!
- Apply a top coat a few times weekly to help stave off chips and fading.
- Keep your nails nice and hydrated by utilizing cuticle oil and hand creams.
- Refrain from using your nails as “tools,” for example, to open a soda can.
- Avoid ultra-hot water and harsh chemicals that could damage your lovely polish.
Conclusion
Needless to say, creamy peach nails are versatile, chic, and lovely.
They’re a great option for springtime and can easily go from day to night with the right accessories.
Ensure you’re taking the proper steps to apply and maintain creamy peach nails to keep the color vibrant, long-lasting, and beautiful!


