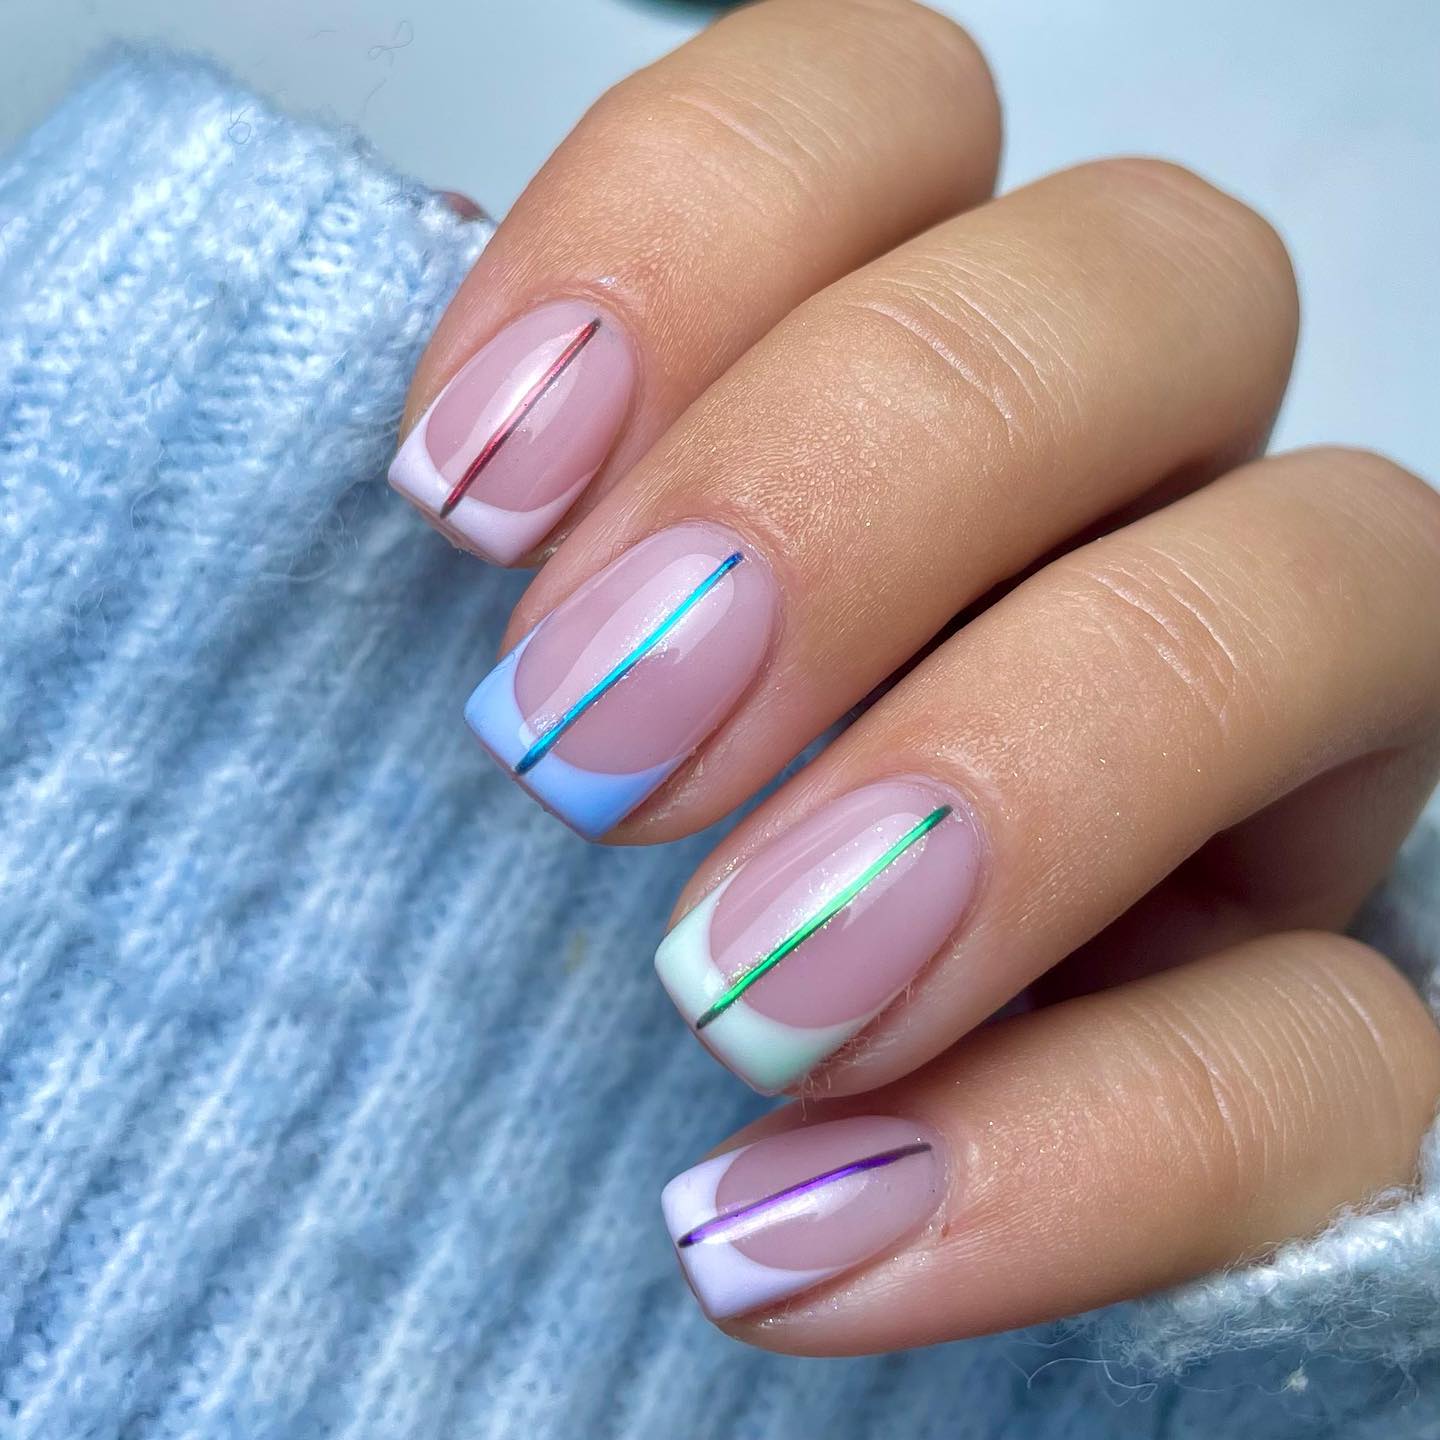
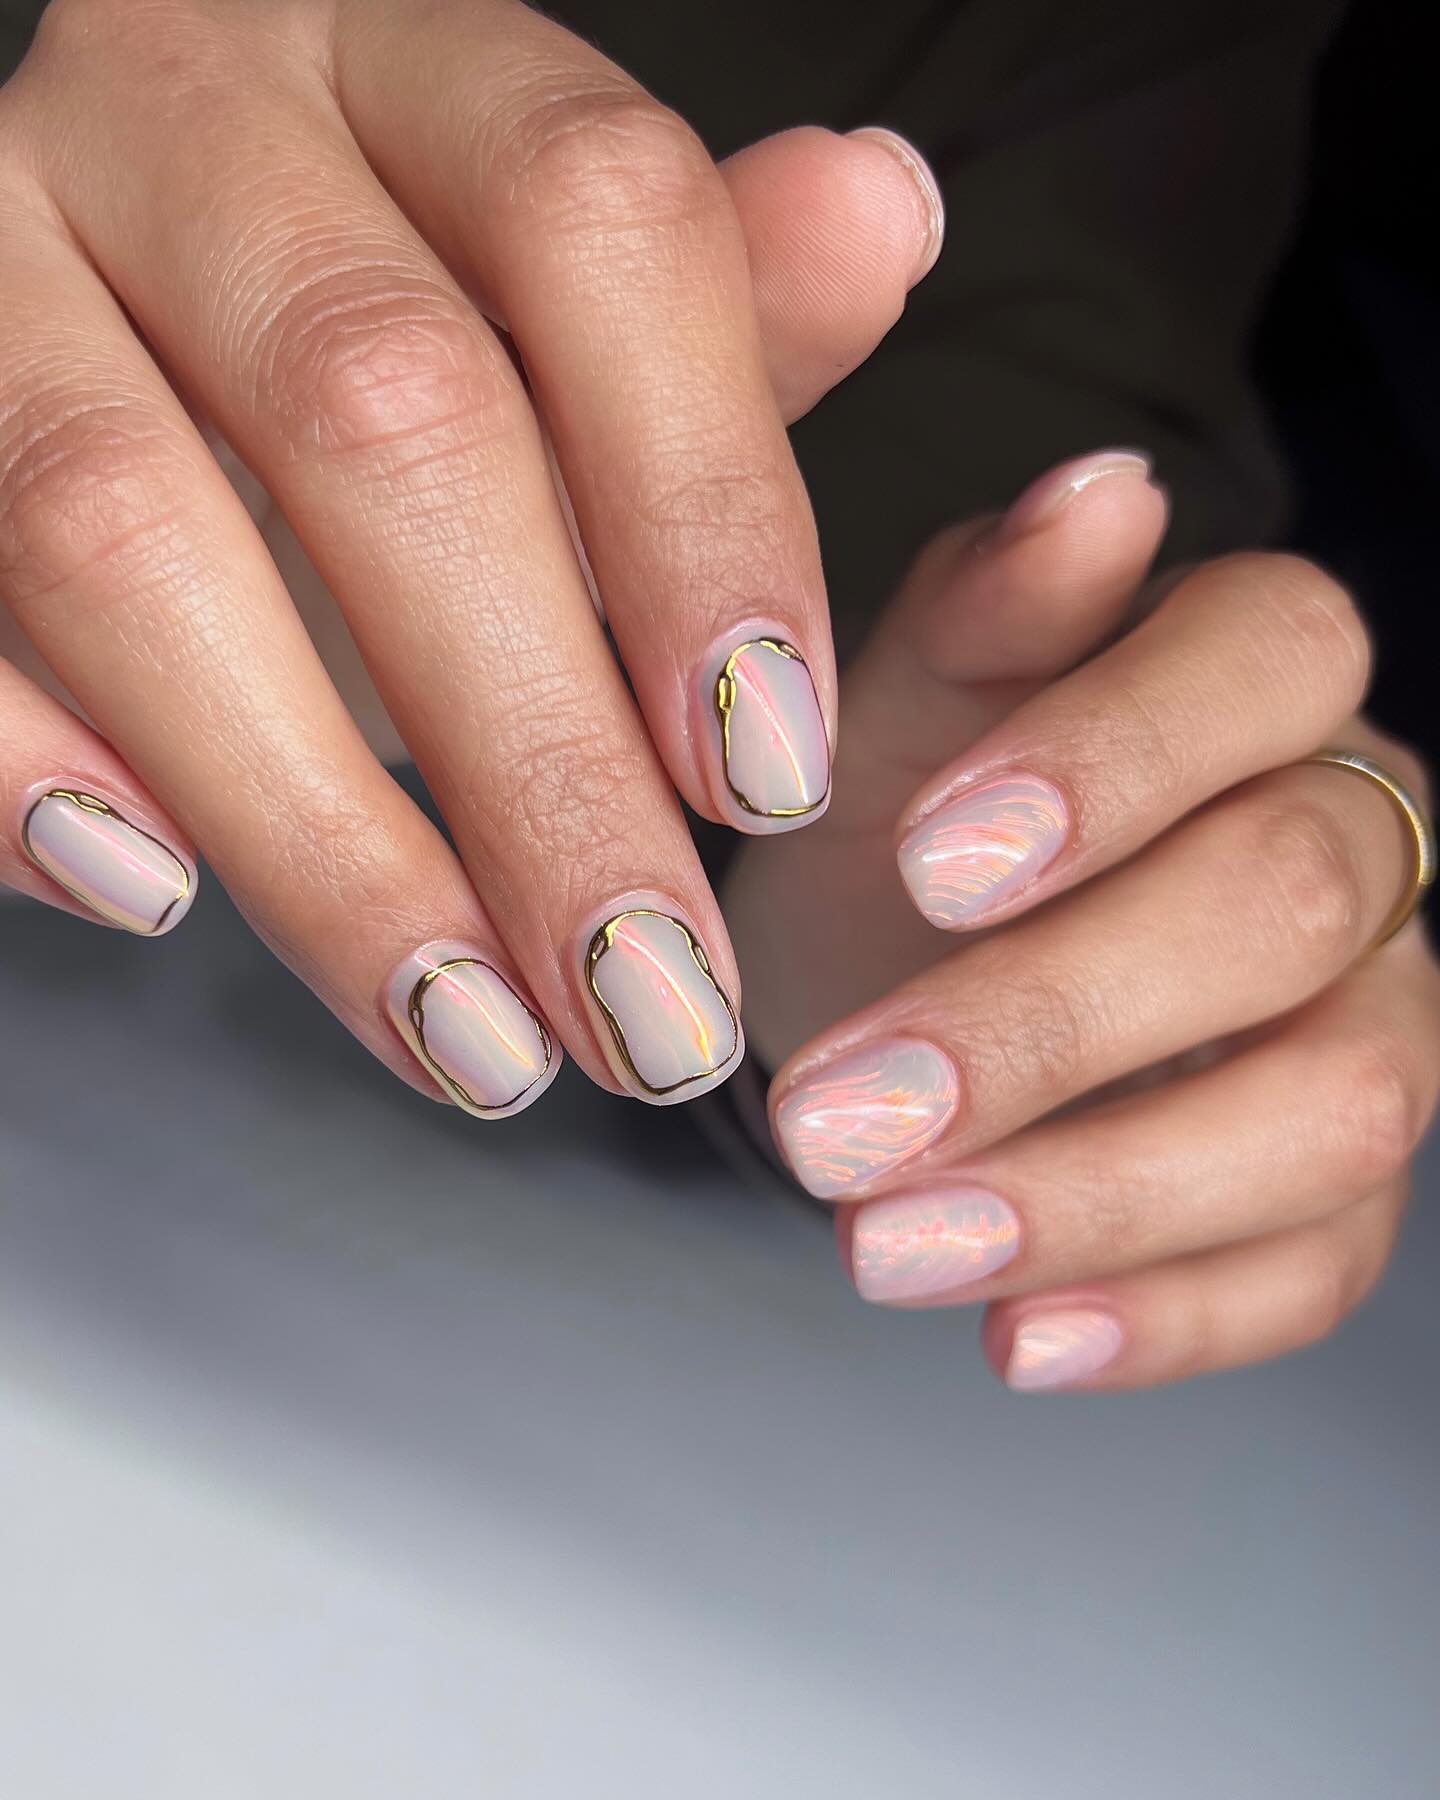
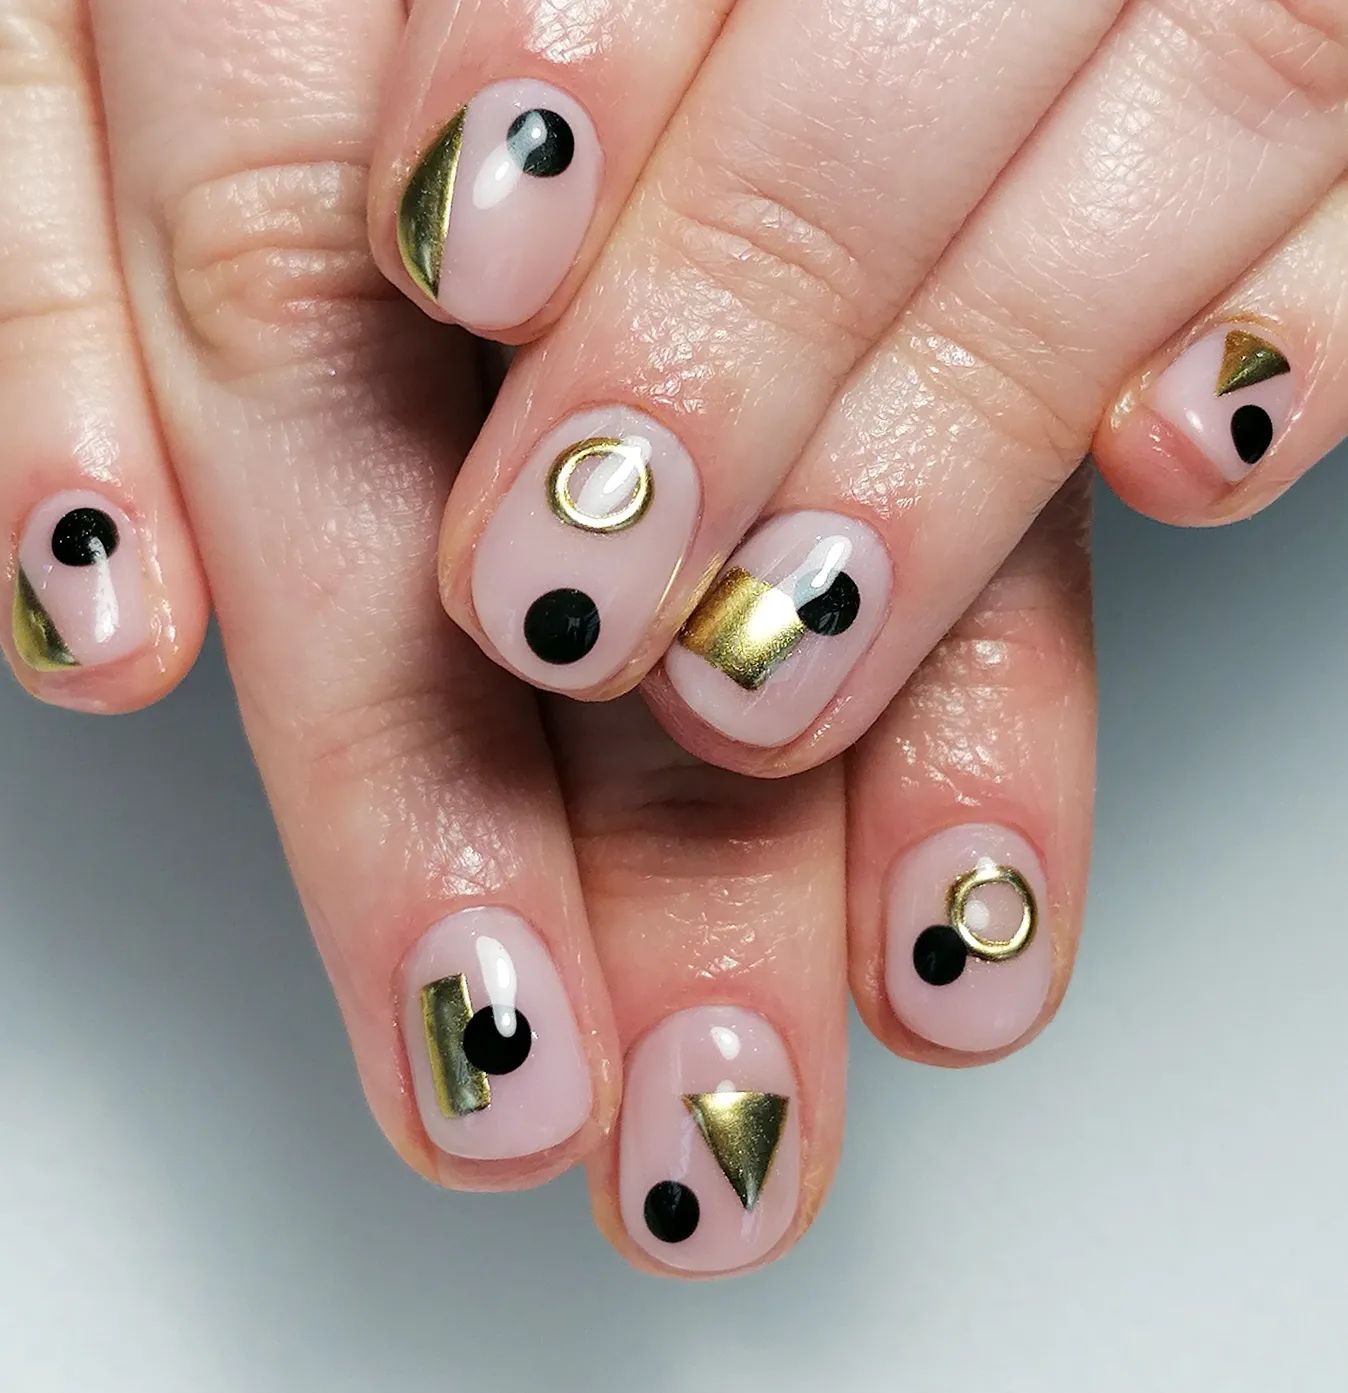
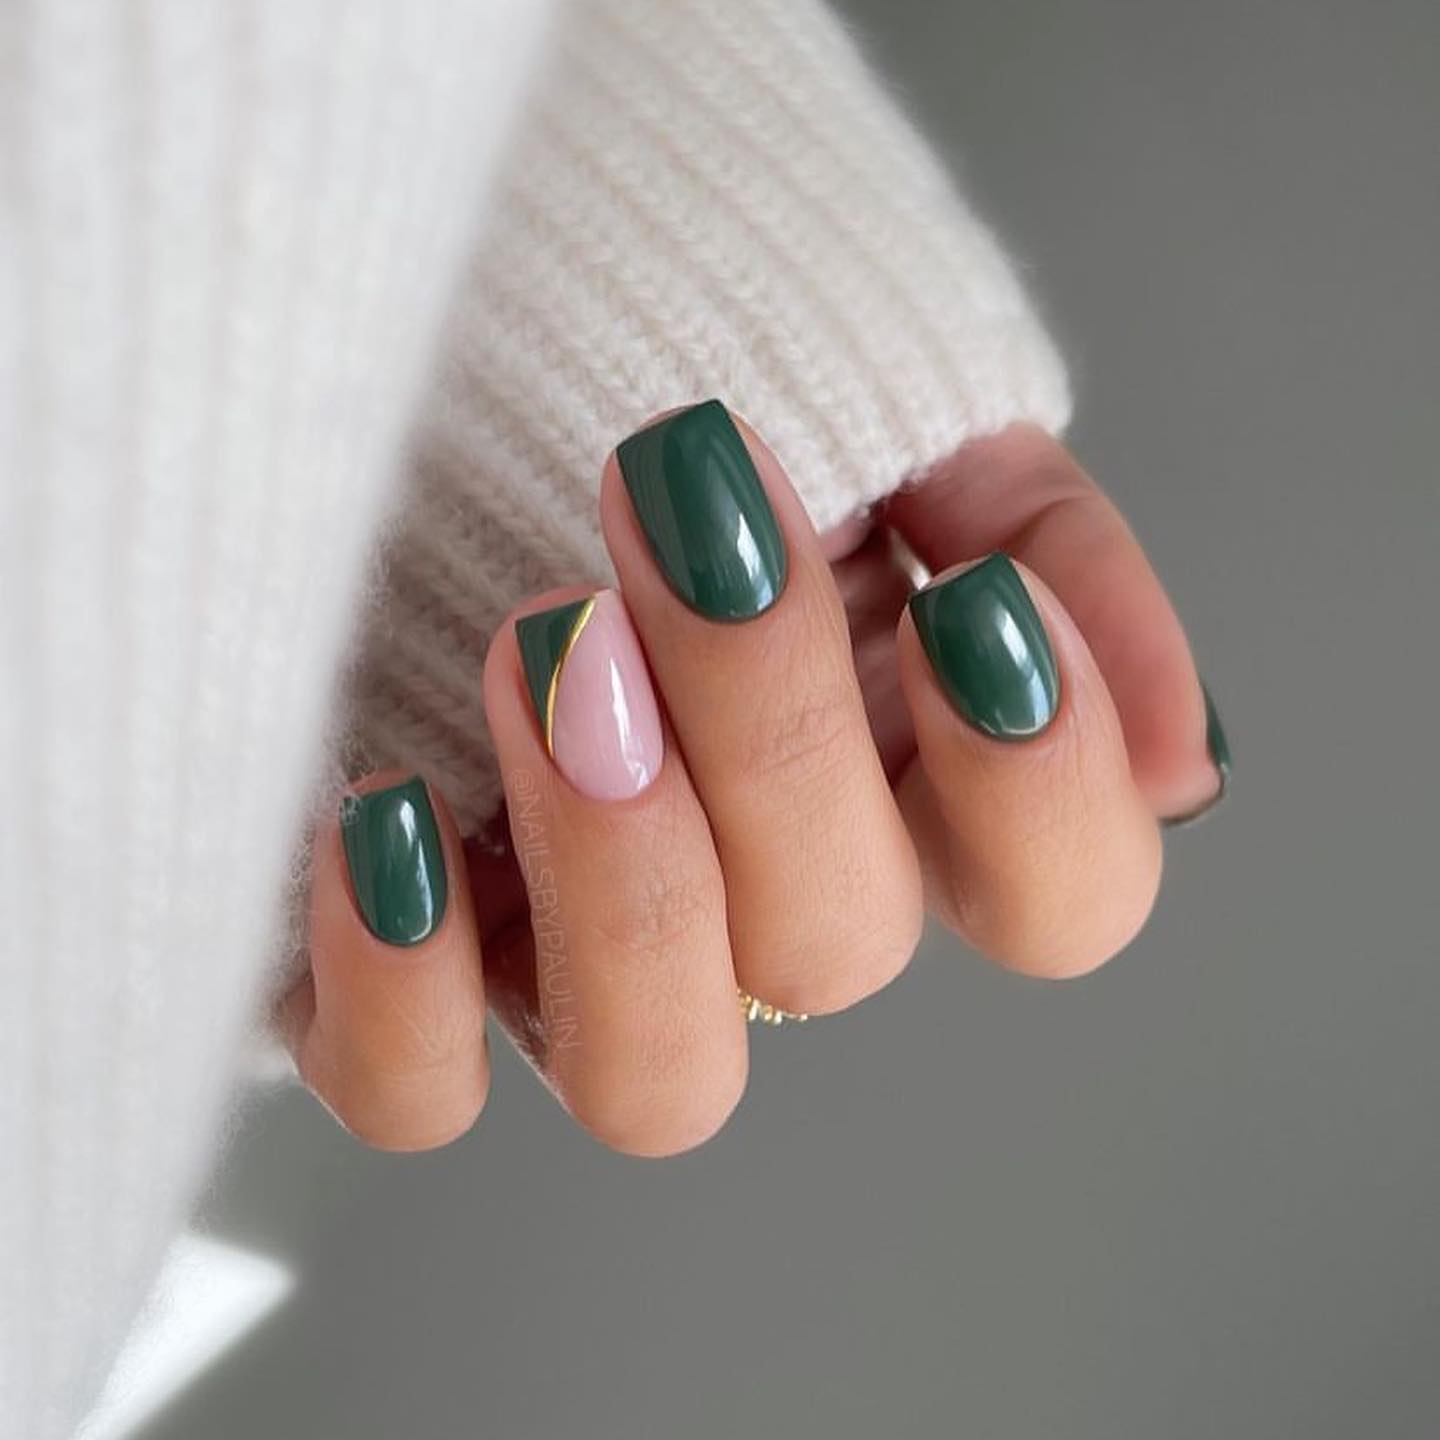
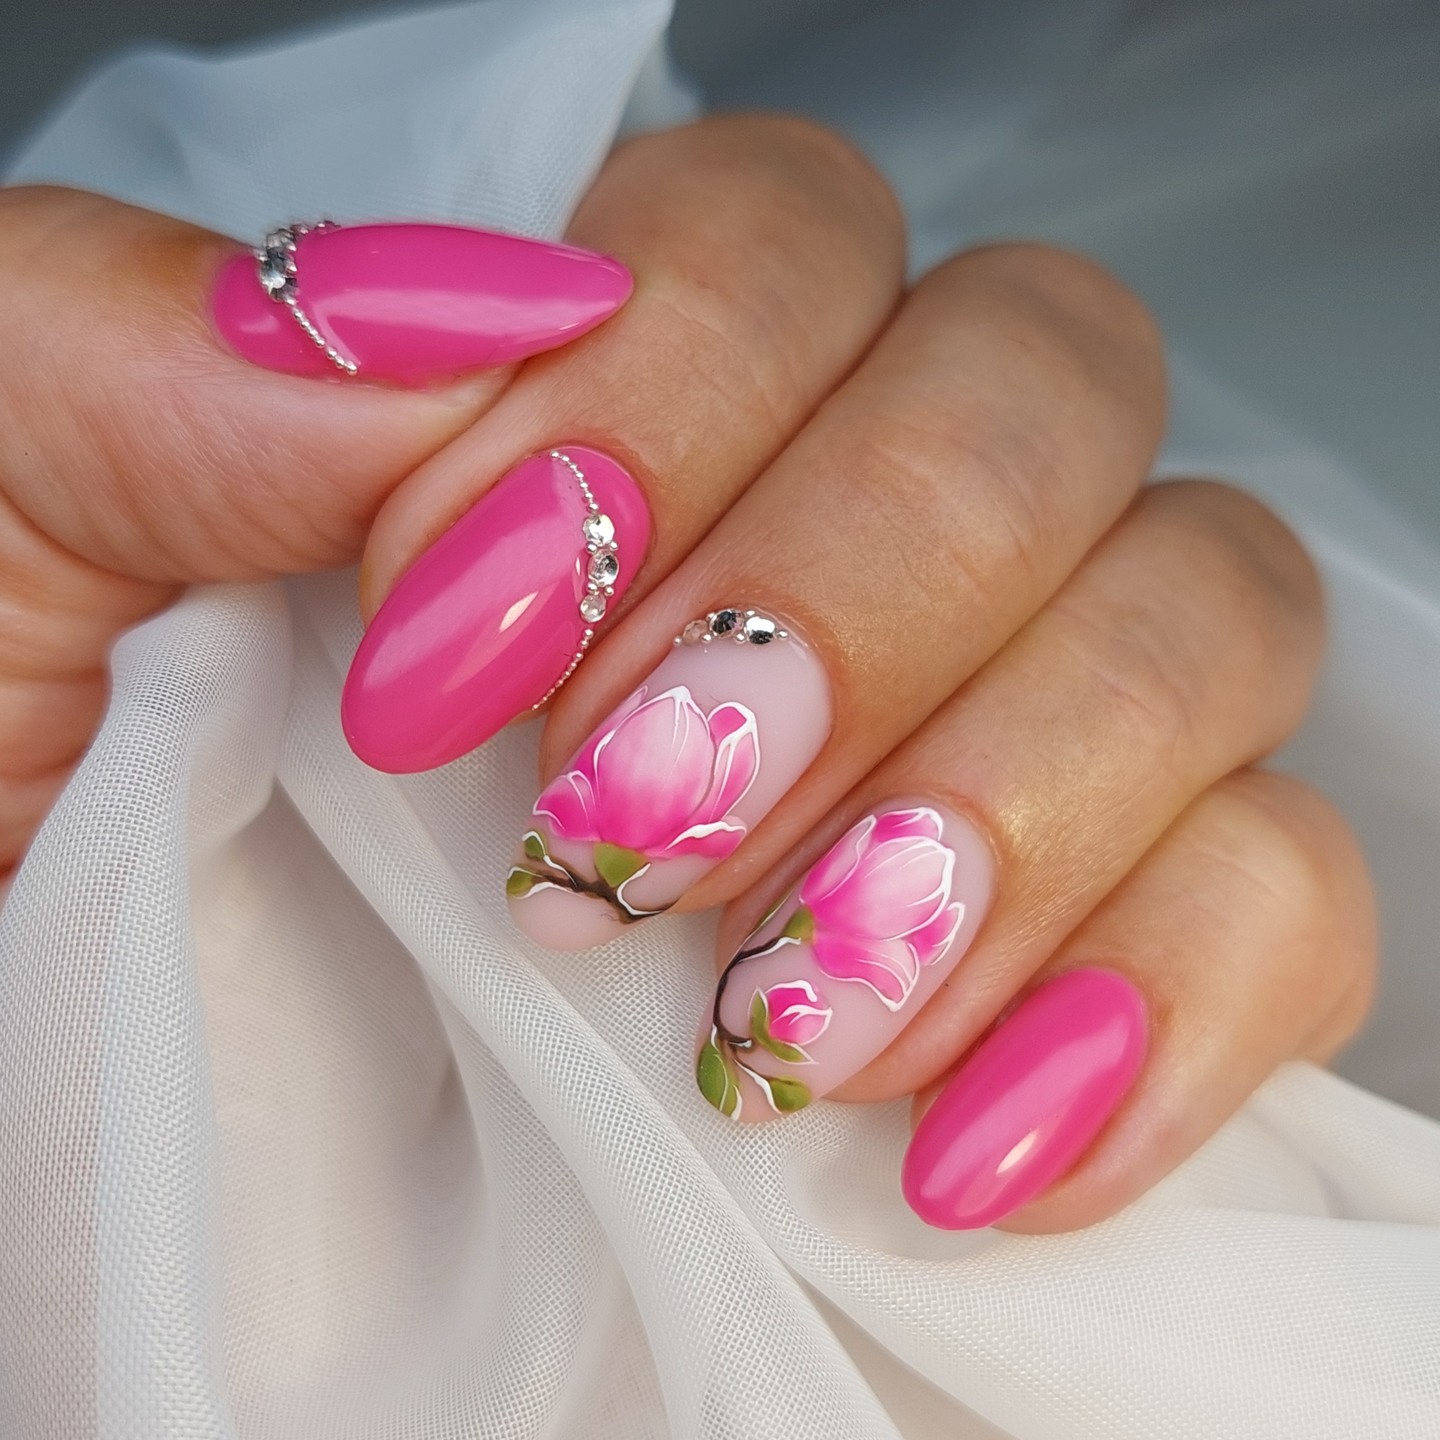
Summer ombre nails to hit the beach this season!
Summer is the best time to experiment with your style. Especially when it comes to makeup, hairstyles, and nails.
Usually, fashion trends in nails and makeup change extremely quickly, and sometimes it is difficult to choose the hottest trends. That’s why we’re here to inspire you with what’s really trendy and give you some tips on how to achieve this summer hit called the ombre nails.
For more beauty hacks and tips, do not forget to visit our dedicated Pinterest board.
How to Do Summer Ombre Nails
Ombre nails are based on the same technique used for the ombre hairstyle – a simple color gradation. Or, in other words, polishing with colors in transitional shades is combined and in this way, ombre nails are obtained.
The best thing about the ombre nail technique is that is excellent for both long and short nails, and it’s no surprise that it’s among the best nail trends this season.
Best Tools for Summer Ombre Nails
- Acetone for removing nail polish
- Nail base
- White nail polish or the lightest shade you have chosen for your ombre nails
- Nail polish sponge
- A darker shade of nail polish
- Some water
- Top nail polish
In order to achieve the best ombre effect on your nails, all you need to do is follow a few steps.
Do not forget that your excellent ombre nails need more practice.
There are two main methods for getting ombre nails: ombre nails with a sponge and glitter nails with the ombre technique.
- Choose colors and shades- When it comes to ombre nails, the main color of the nails should always be the lightest shade that you will use or a classic white polish. Paint all nails with a thin layer of the base color, wait for it to dry well, and paint them once more.
- Apply nail polish and nail base- add a thin layer of nail base. It will protect your nails, but it will also increase the durability of your nail polish. The color of your nails will last much longer.
- Ombre nails with the sponge technique- Use a small sponge, cut it to the size of your nails if it is too big so that it does not stain around the nails, and dip it in some water. This step is essential both so that the sponge does not absorb too much nail polish and that the nail polish that you will later apply does not dry too quickly. You only have to be careful that the sponge is not too wet.
Summer Ombre Nails Trending This Year
1. Watermelon Summer Ombre Nails
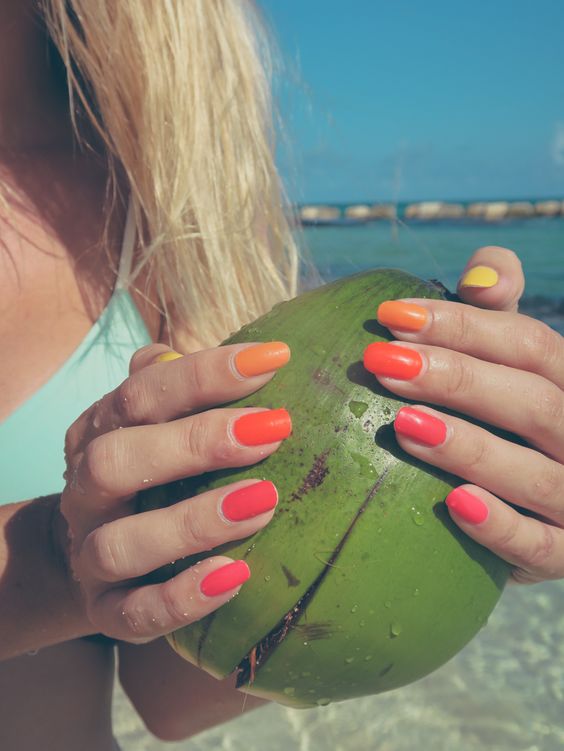
2. Sorbet Summer Ombre Nails

3. Unicorn Ombre Nails

4. Ocean Ombre Nails

5. Sunset Blues
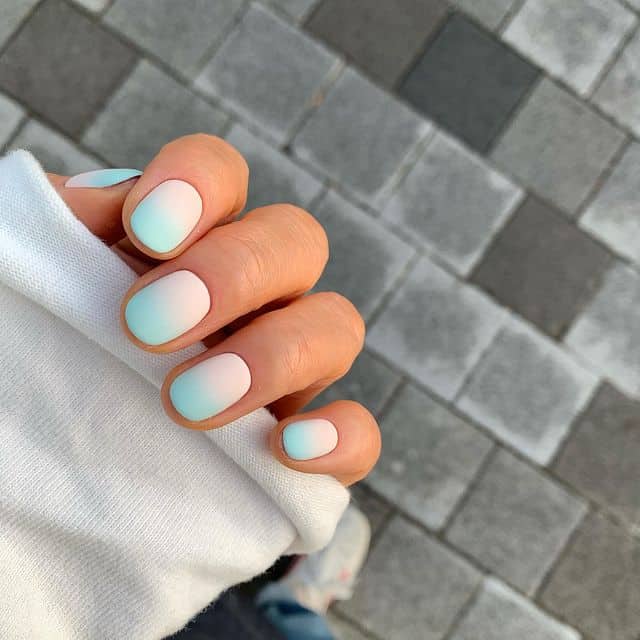
6. Coral Summer Ombre Nails
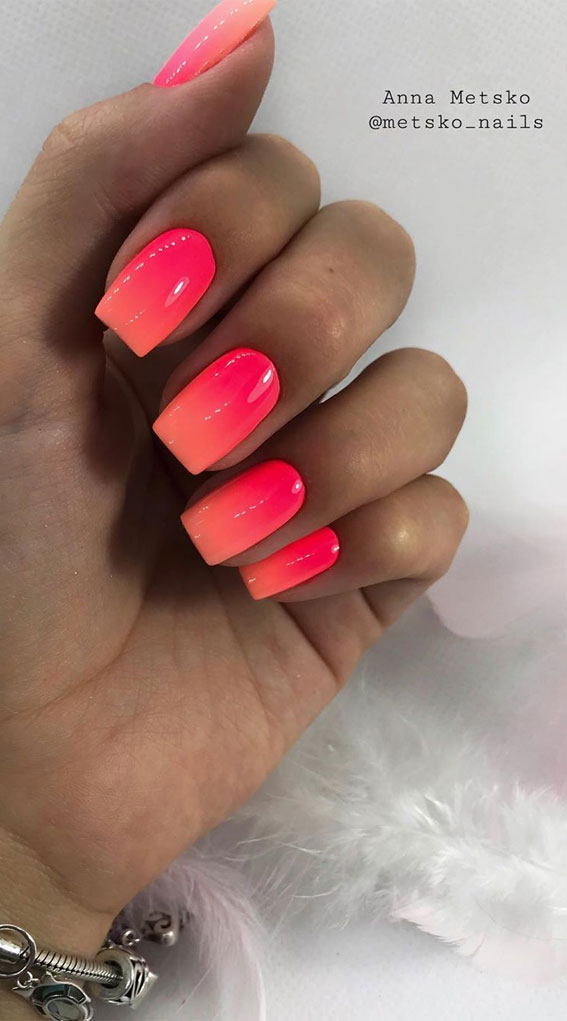
7. Soft Pink Ombre
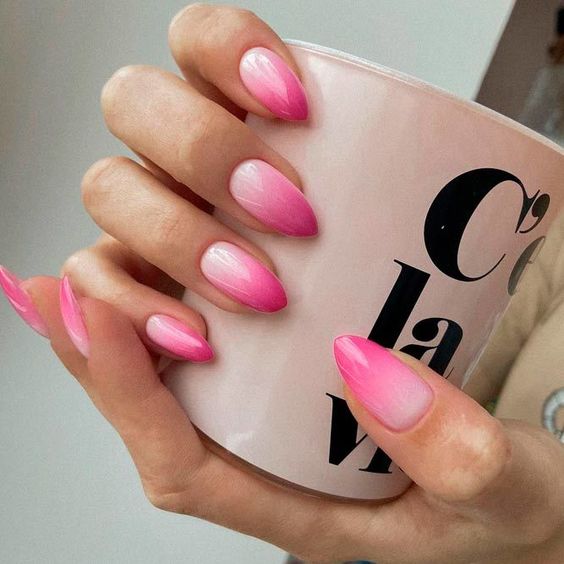
8. Neon Ombre Nails
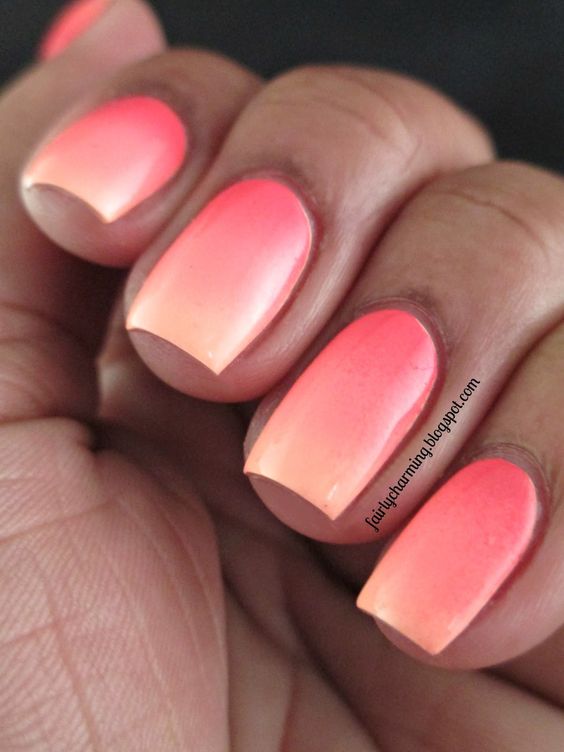
9. Pastel Ombre Nails

10. Ocean Blue Ombre
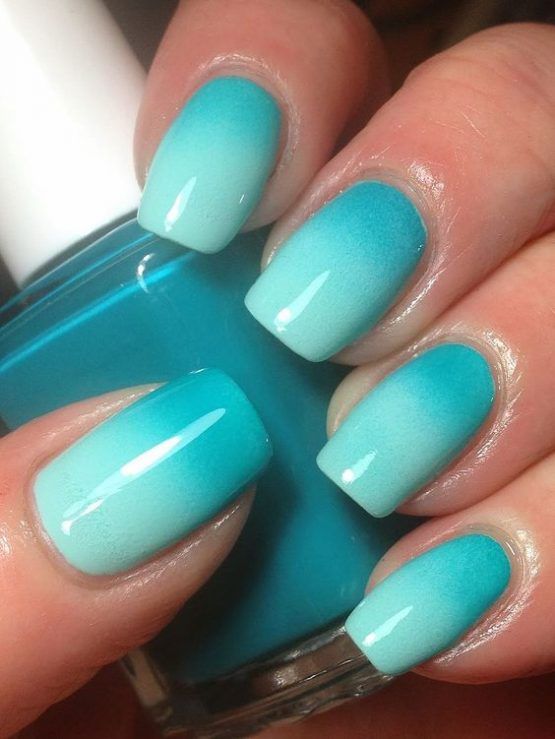
11. Nude Ombre Nails
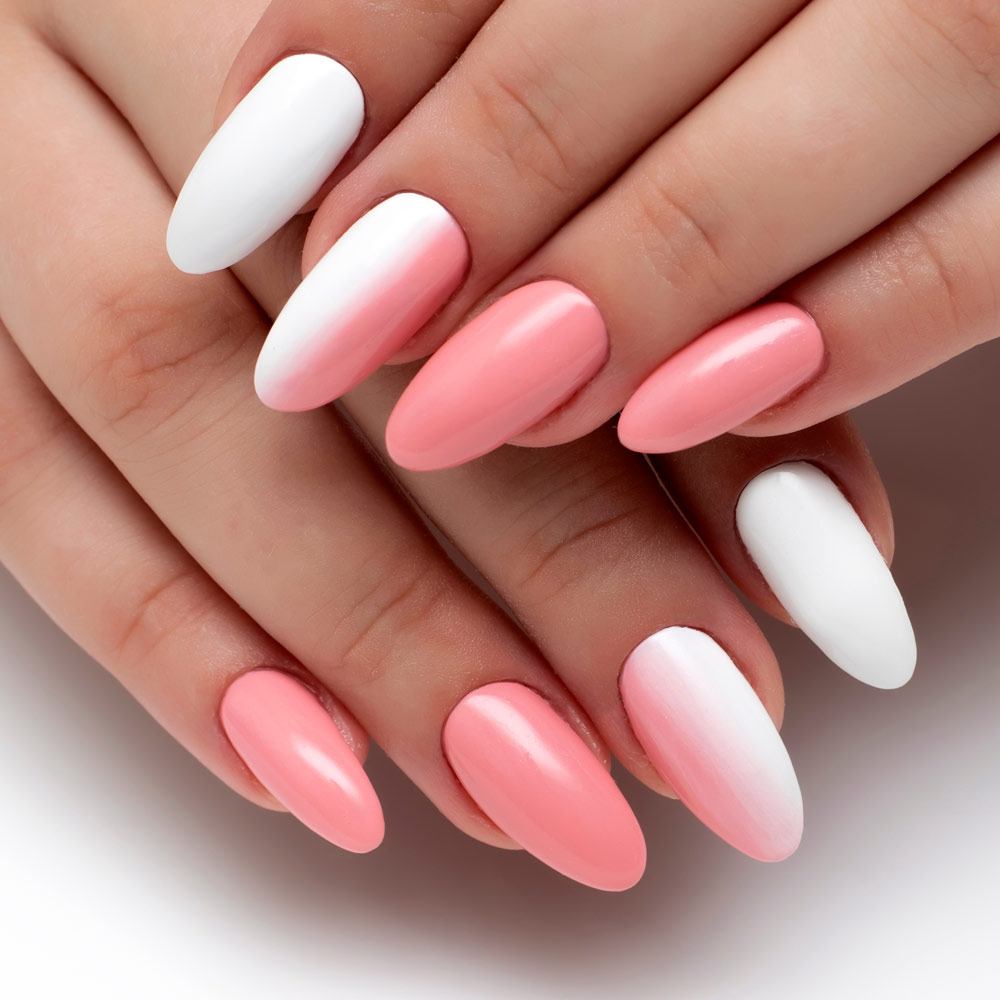
12. Shimmer Milk and Pink Ombre Nails
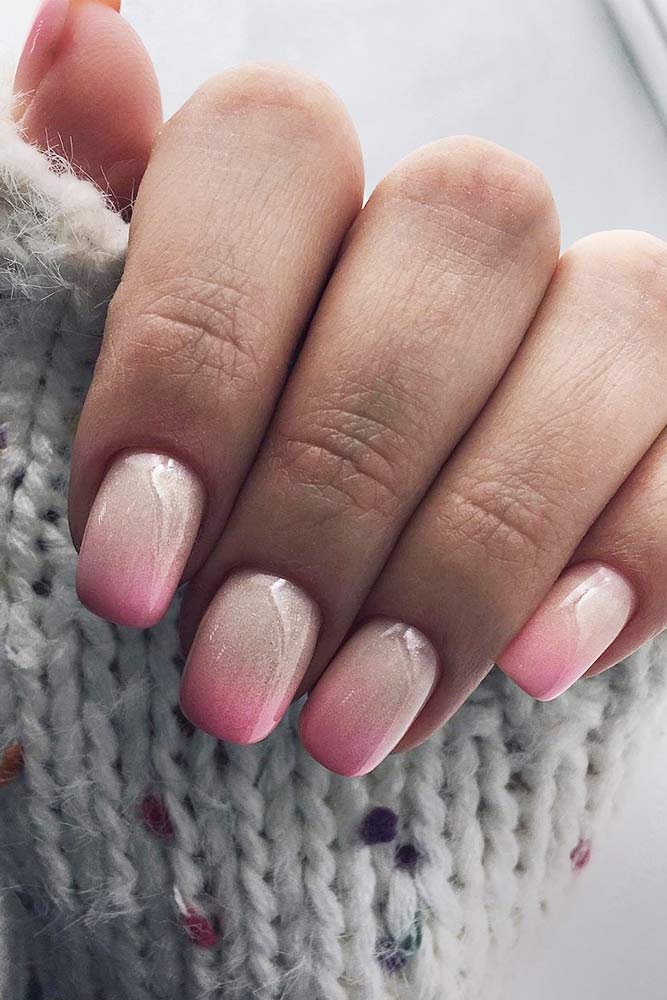
13. Nude And Neon Ombre Nails

14. Gold Dots Ombre Nails
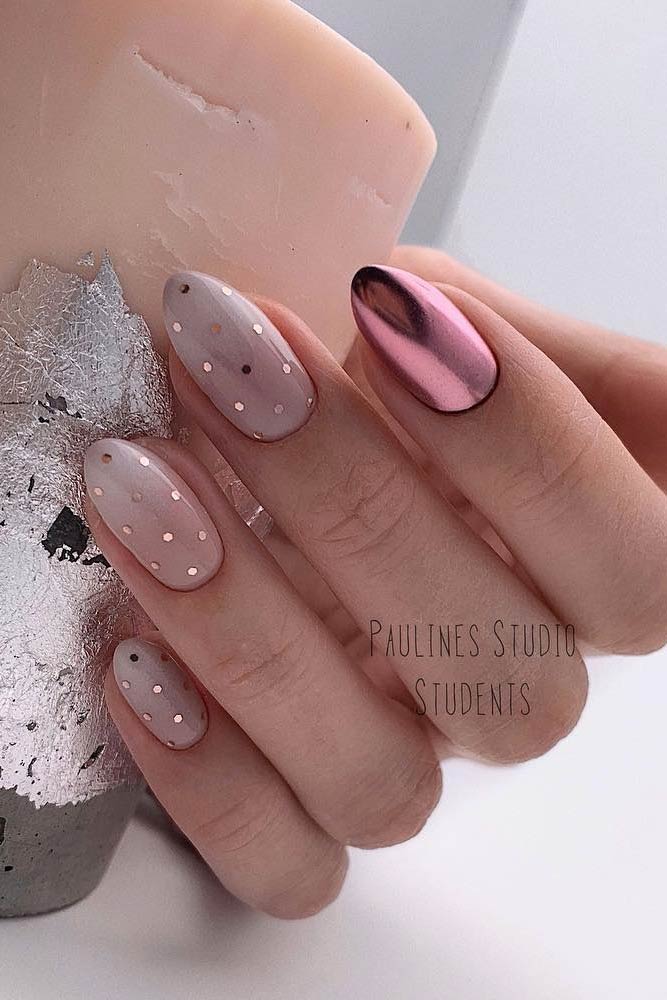
15. Classy Ombre Nails

16. Ombre Nails With Gradient Art
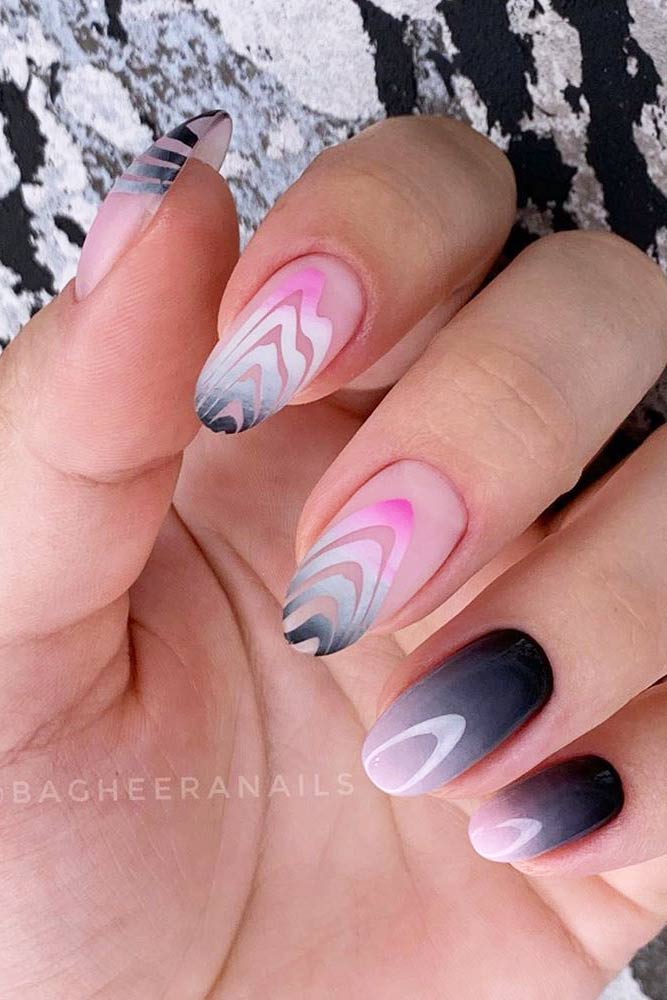
17. Day And Night Ombre Nails

18. Pink And White Ombre Nails
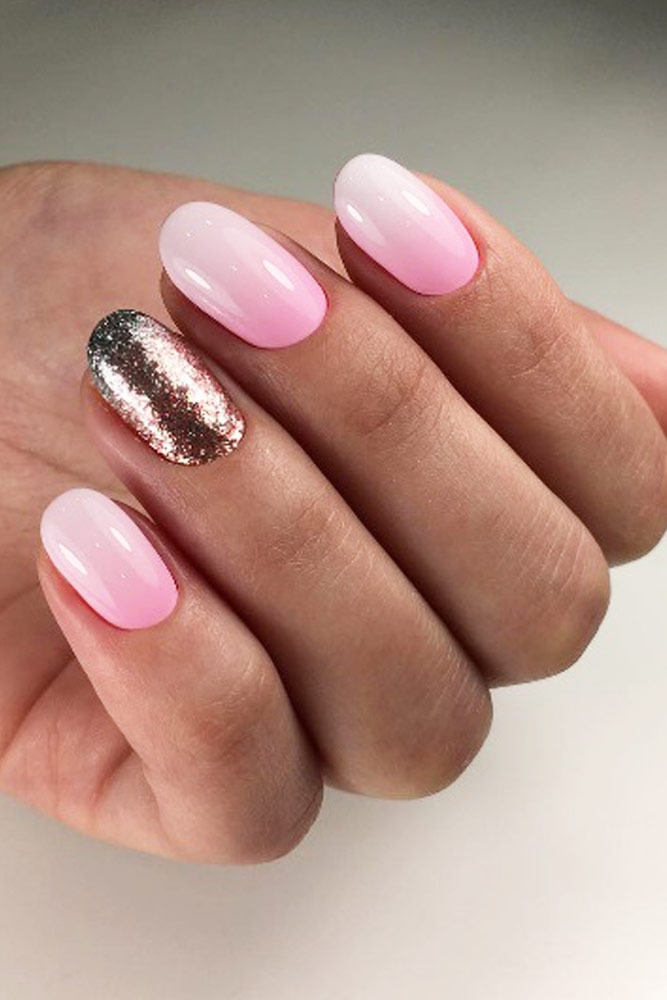
19. Pink With Blue Ombre
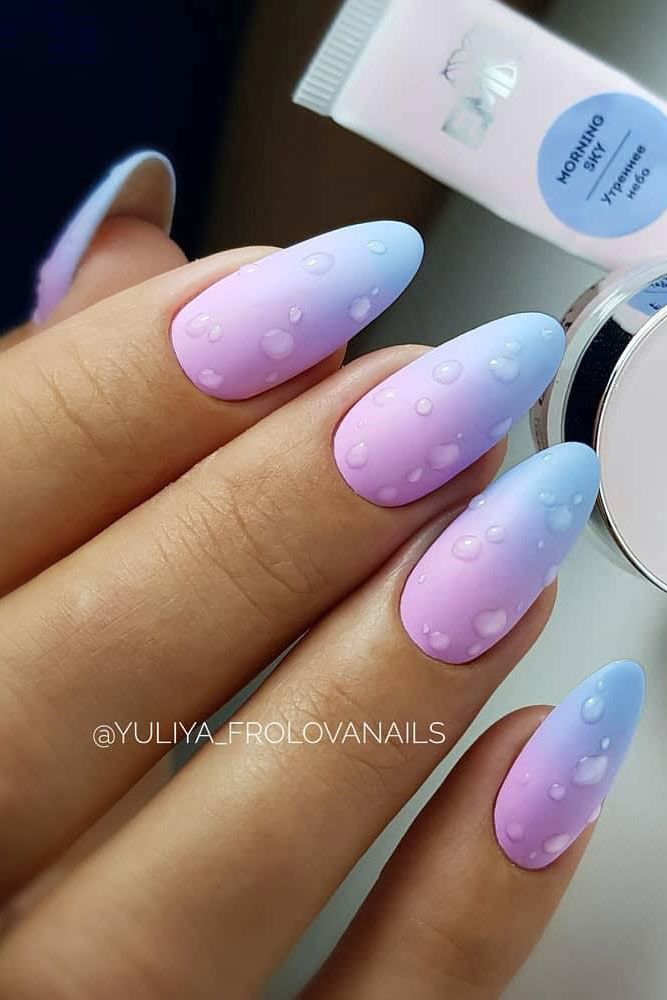
20. Purple Ombre Nails

21. Summer Sunset Ombre Nails
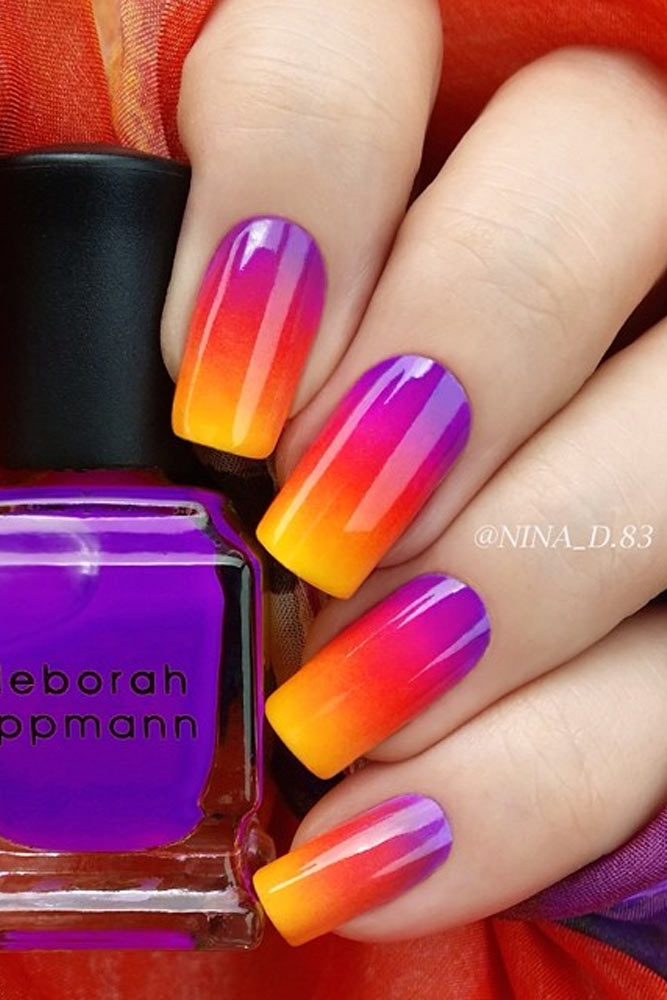
22. Rainbow Ombre Nails
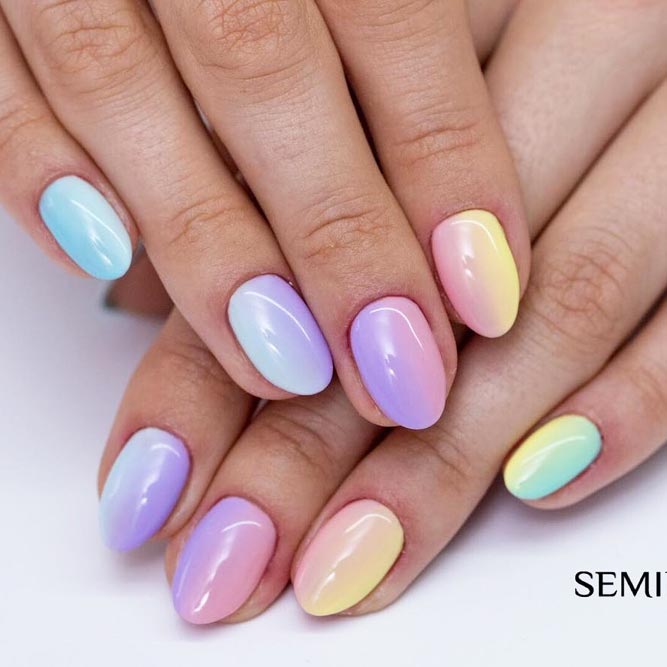
23. Lavender Ombre Nails

24. Summer Sky Ombre Nails
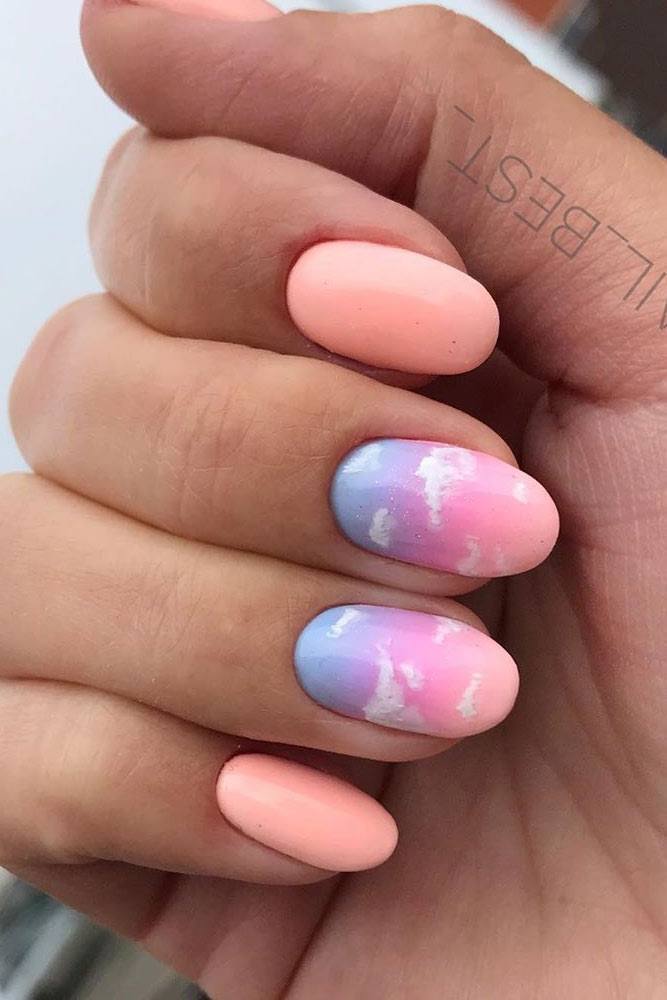
25. Summer French Ombre Nails
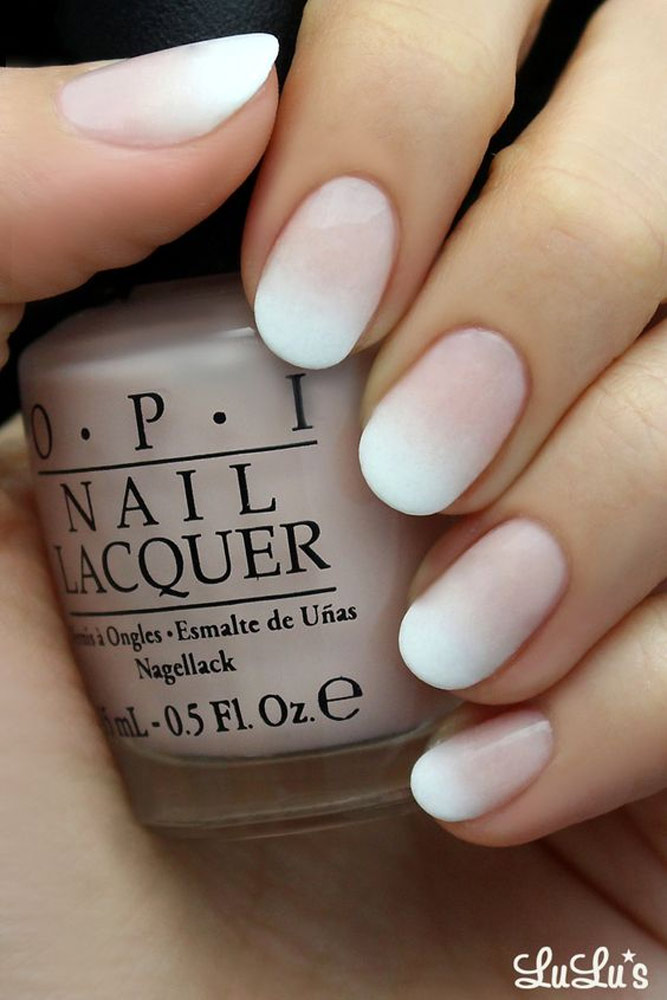
26. Rose French Ombre Nails
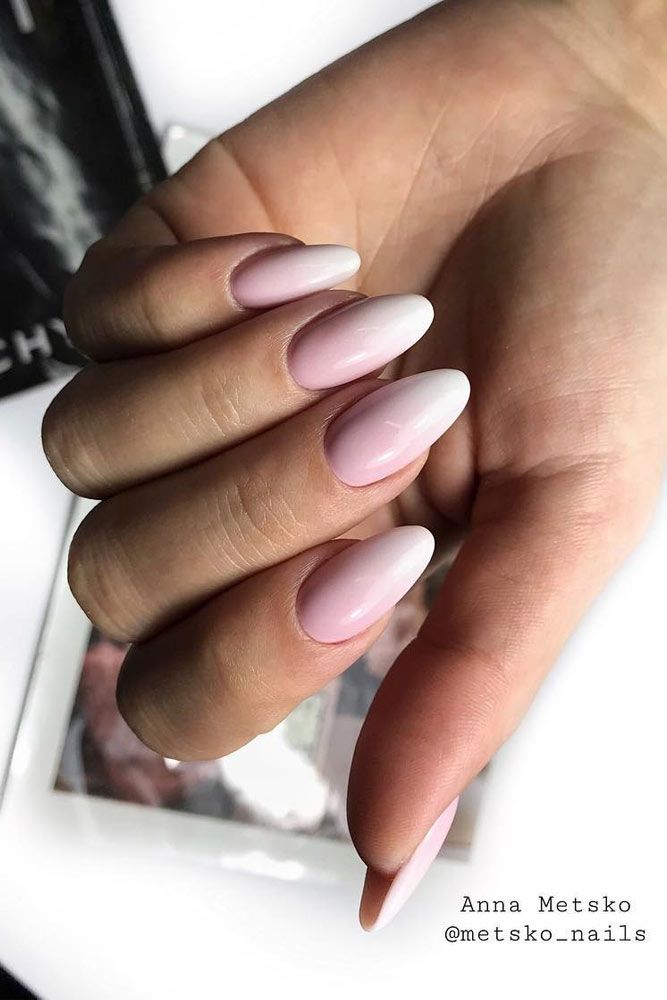
27. Soft Pink Ombre Nails

28. Bronze Summer Ombre Nails
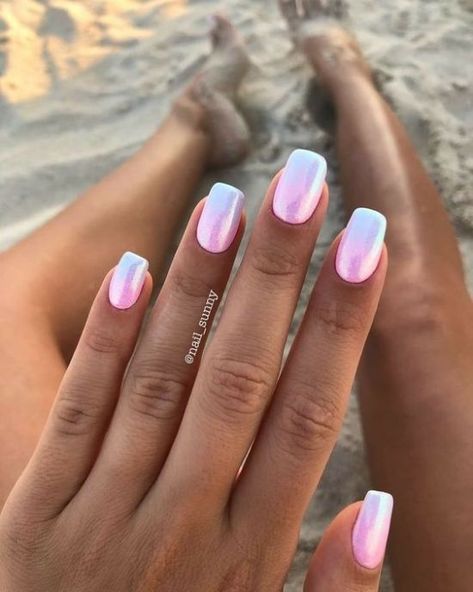
29. Light Ombre Nails
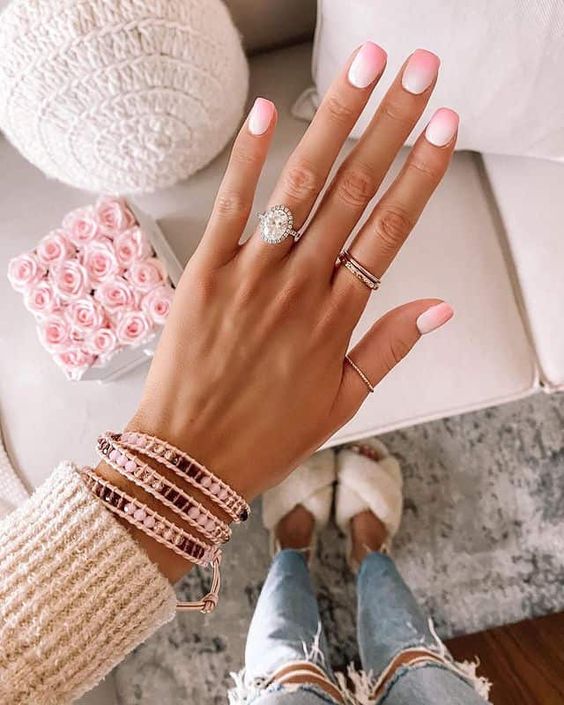
30. Fluorescent Pink Ombre

31. Summer Orange Ombre Nails

32. Starfish Nails
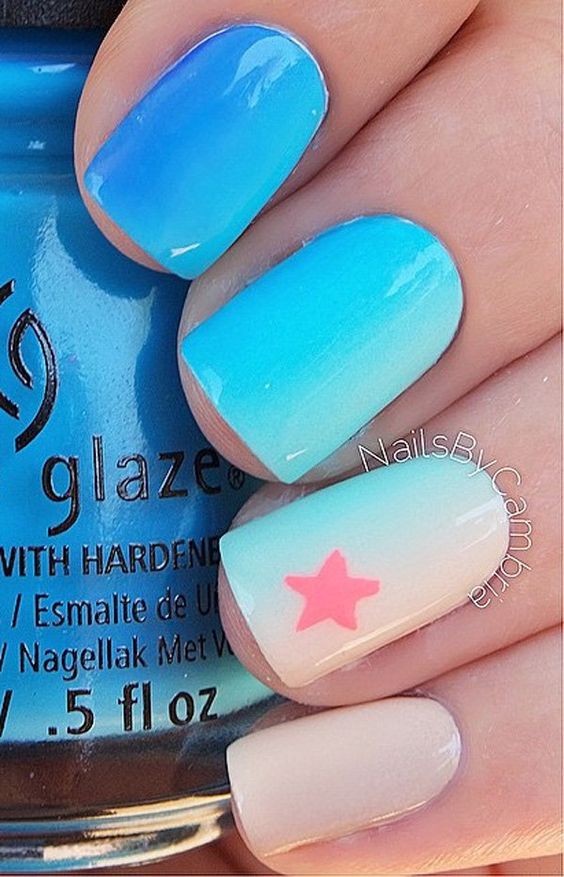
33. Pastel Ombre Nails
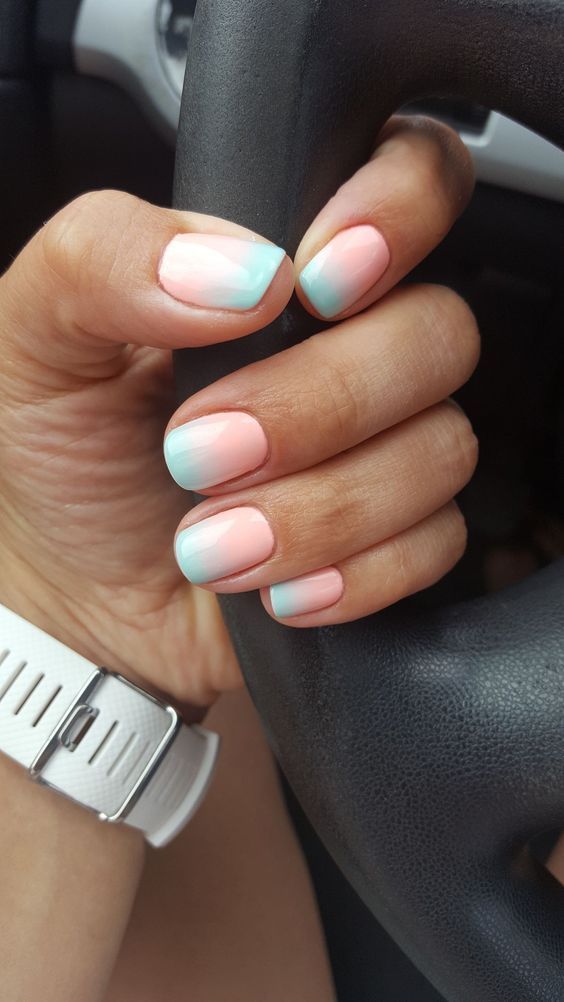
34. Emerald Black Ombre
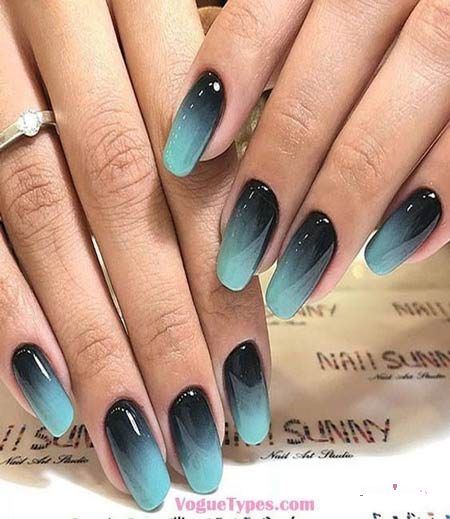
35. Palm Tree Ombre Nails
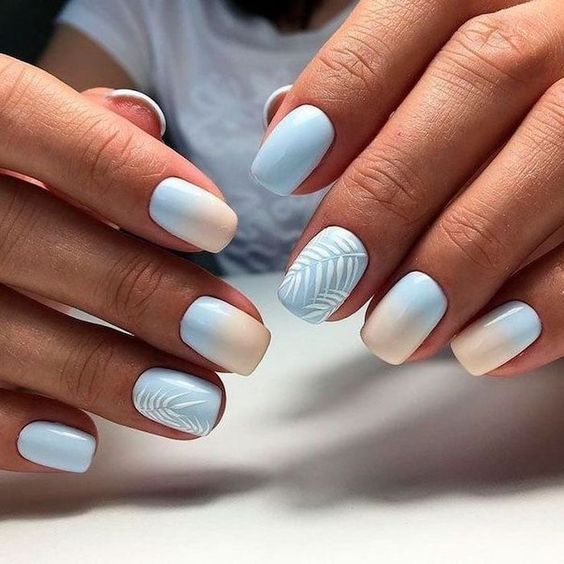
36. Mermaid Ombre Nails

37. Summer Ombre Nails

More Nail Design Inspiration
Our 23 Favorite Fall Ombre Nails To Rock This Season
25+ Gorgeous Green Christmas Nails You Will Love this Festive Season
33+ Gorgeous Ideas for 4th of July Nails
5 Ways to Rock Dip Nails in 2022
20+ Trending Stylish Purple Ombre Nails You Will Love
23+ Cutest St. Patrick’s Day Nails Designs for Inspiration
59 Stunning Christmas Nail Ideas You Will Want to Try Right Away

