Does your necklace collection resemble a snake’s nest?
Most of us don’t think of getting a necklace organizer until one day we open that drawer and spend 20 mins untangling the necklace we want to wear.
Before things get out of control, there’s good news – you can get a simple necklace organizer for a few dollars or make one yourself.
Most of the organizers can be mounted to a wall, so you can keep them inside your closet or on the door of your wardrobe. If you have a walk-in closet, you can dedicate a small space in the corner to hang all your jewelry and all-time favorite evil eye necklace.
If you only need a new home for a few of your favorite ones, a simple standing organizer for your beauty corner or desk will do the job perfectly. Best of all, they don’t cost a fortune!
Below is the ‘best selection of necklace organizers from Pinterest – get inspired by some of these dollar-store ideas, DIY the whole organizer yourself, or simply organize your jewelry drawer better with these practical tips.
33 Easy Necklace Organizer Ideas
Rather than buying expensive jewelry organizers, why not make your own from thrifted and repurposed items?
Not only are DIY necklace organizers pocket-friendly but they also add personality to your living space.
Below are some super easy necklace organizer ideas you can do-it-yourself using pieces you may already have or find easily in a second-hand shop.
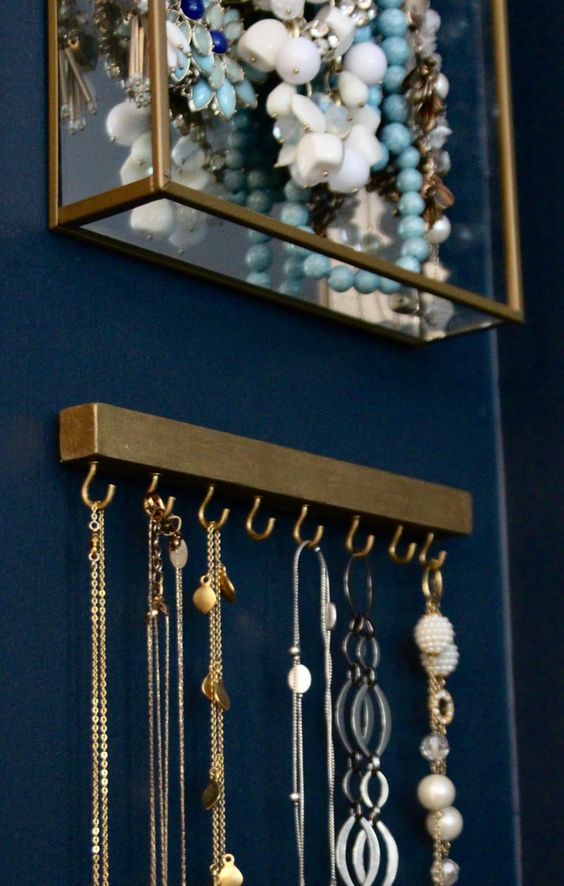
1. Simple Modern Necklace Organizer
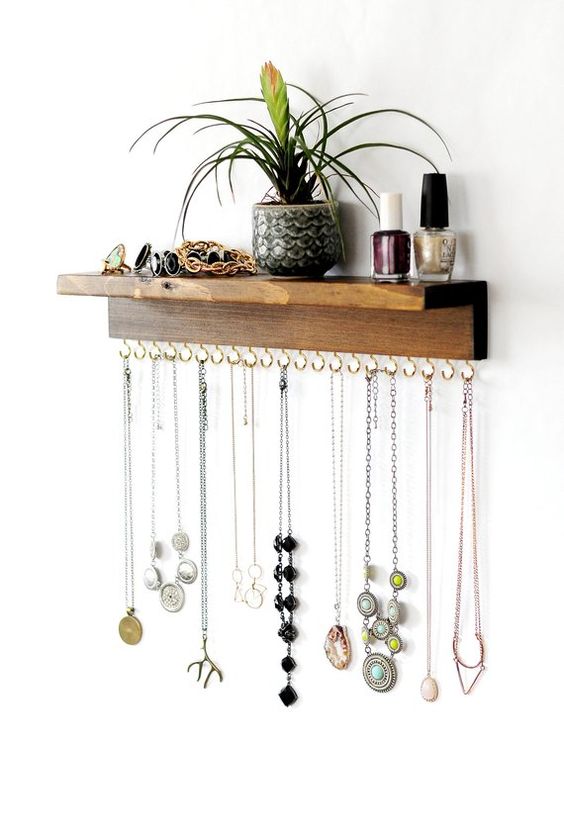
2. Wall Necklace Holder with Shelf
Get one here.
3. Necklace Organizer for Drawer

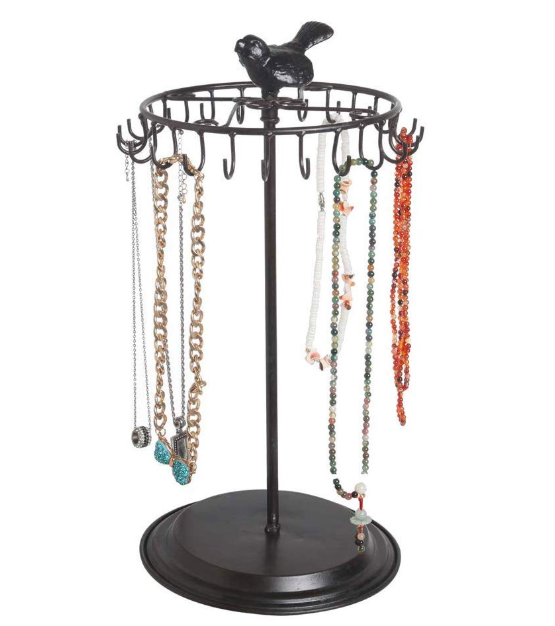
4. Rotating Necklace Organizer
5. DIY Shower Curtain Hooks Organizer

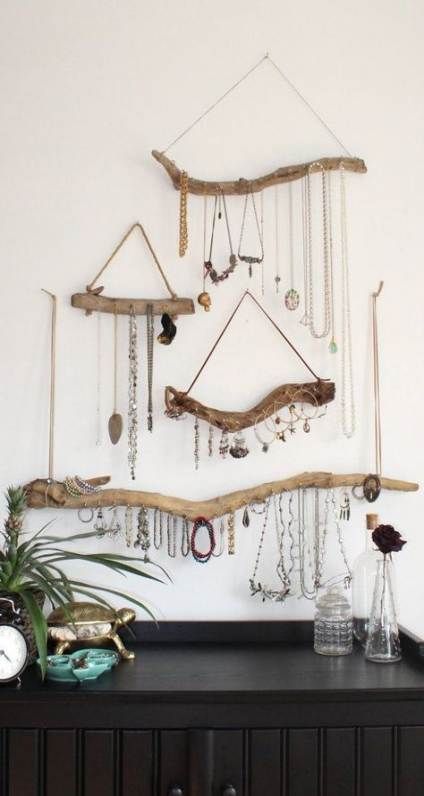
6. Tree Branches for Boho Look
7. Minimalist Necklace Organizer

8. Simple Necklace Stand
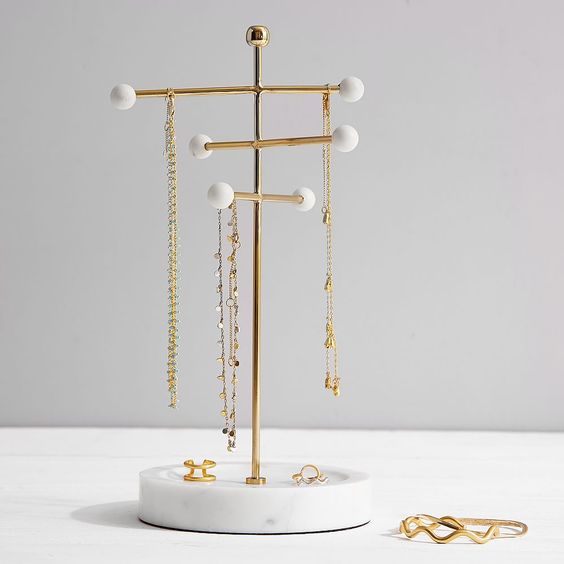
9. Another DIY Option
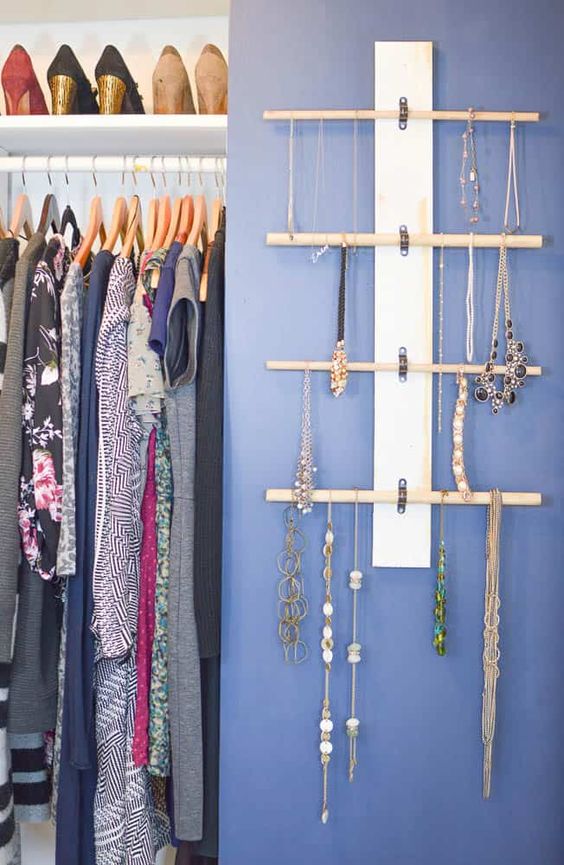
10. Rustic Necklace Organizers

11. Quirky Necklace Display
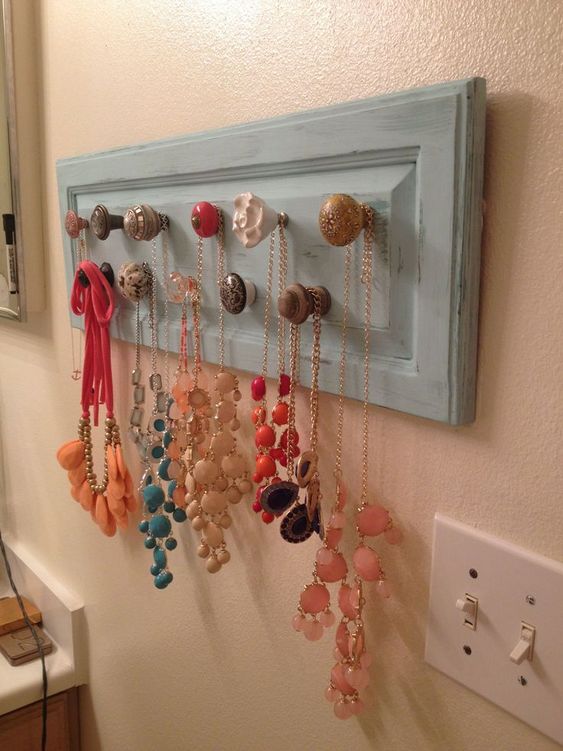
12. Minimalist Branch Necklace Organizer
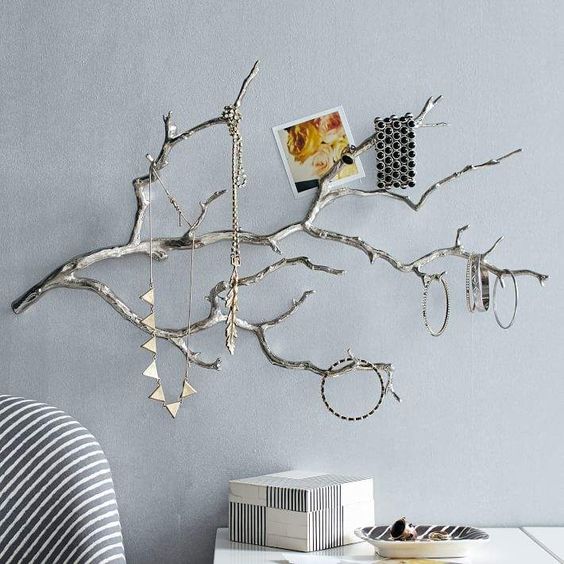
13. Dollar Store Idea

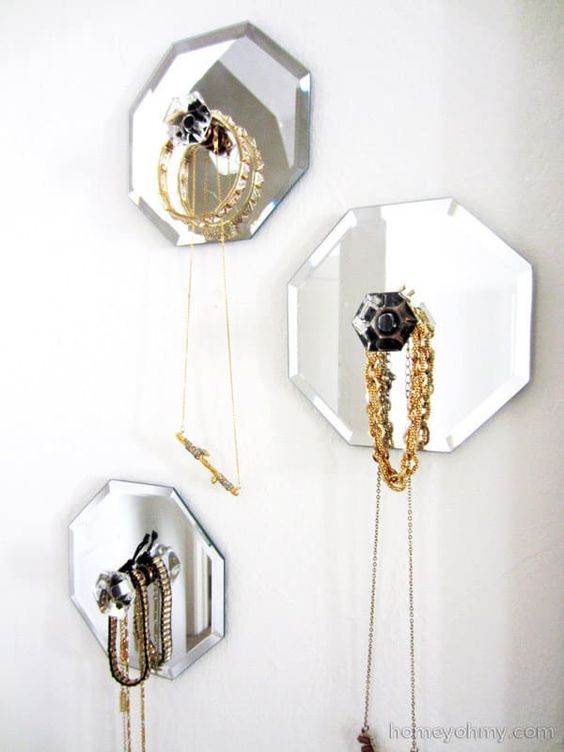
14. Glass Hooks Organizer
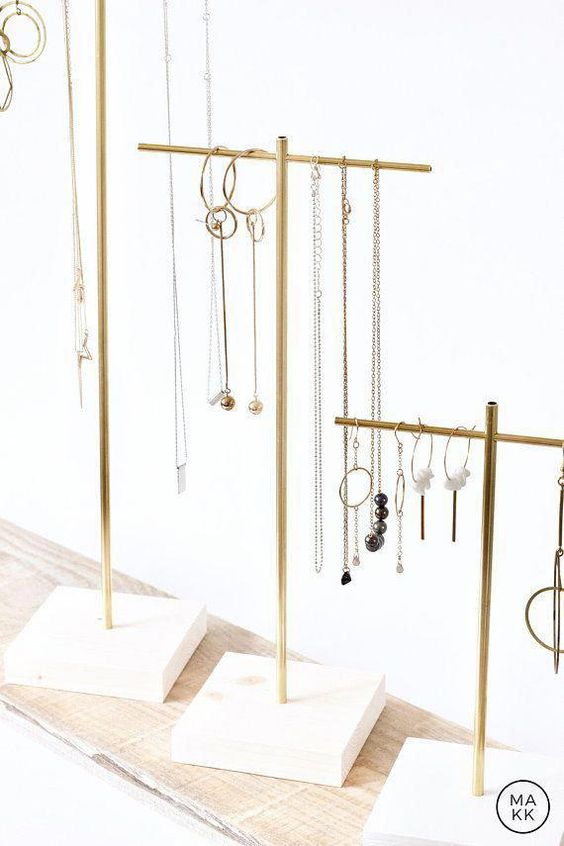
15. Minimalist Necklace Stand
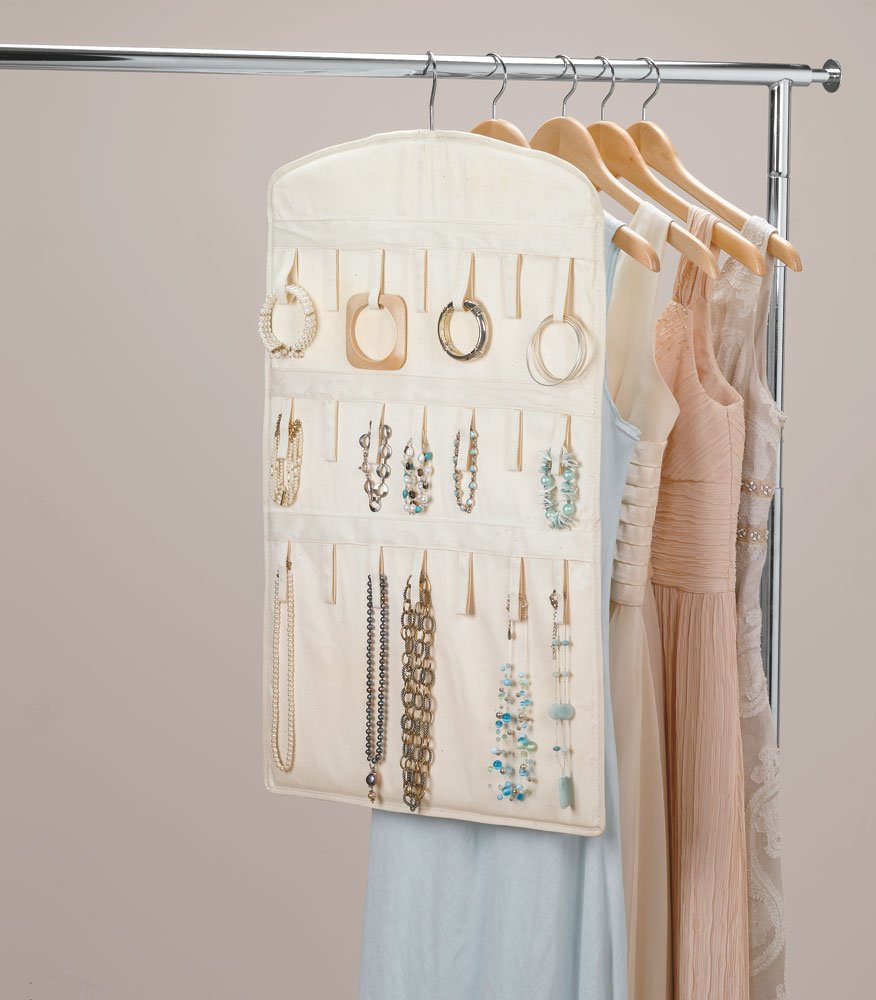
16. Canvas Necklace Organizer
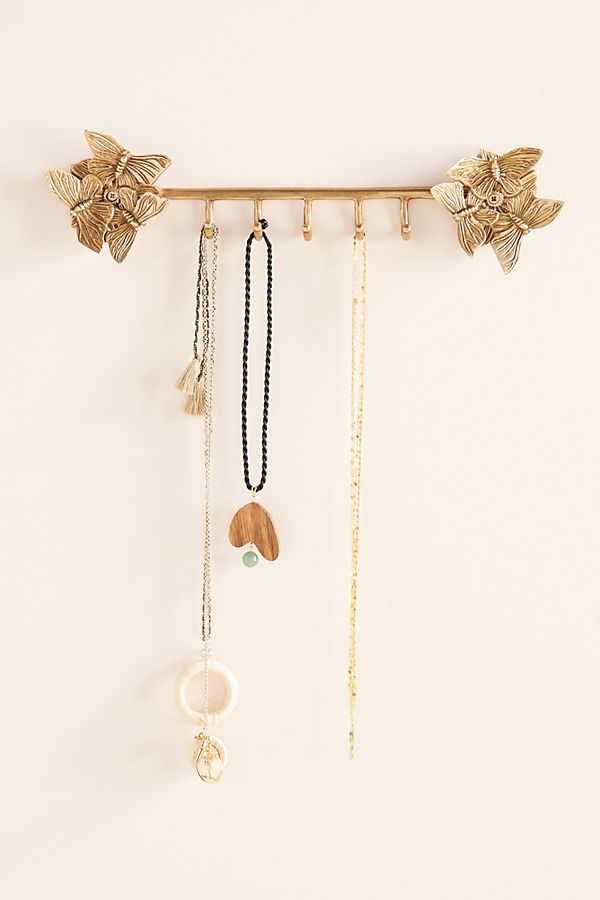
17. Arrow Necklace Organizer

18. Beautiful Butterfly Necklace Organizer
19. Multi-Functional Necklace Organizer
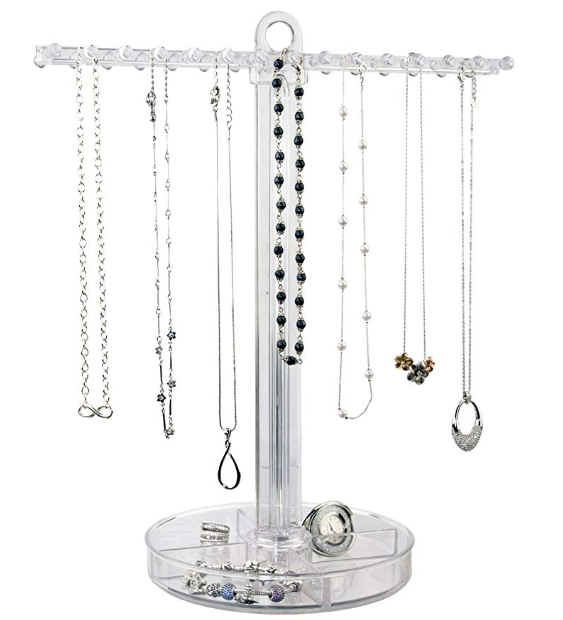
20. DIY Blend-In Organizer
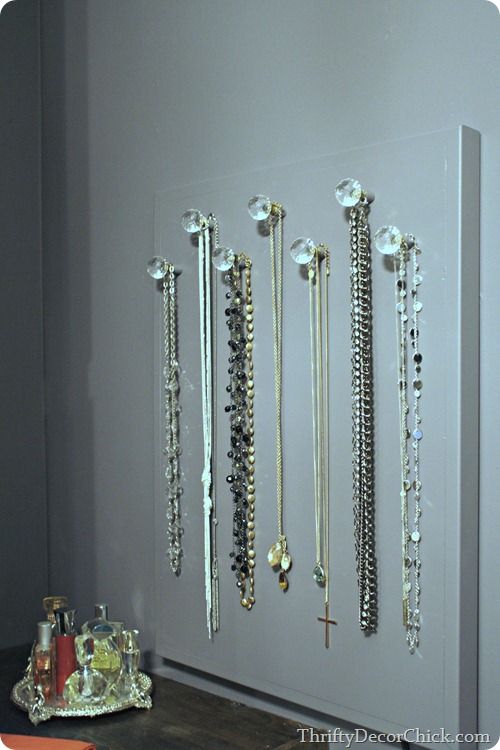
21. Modern Organizer
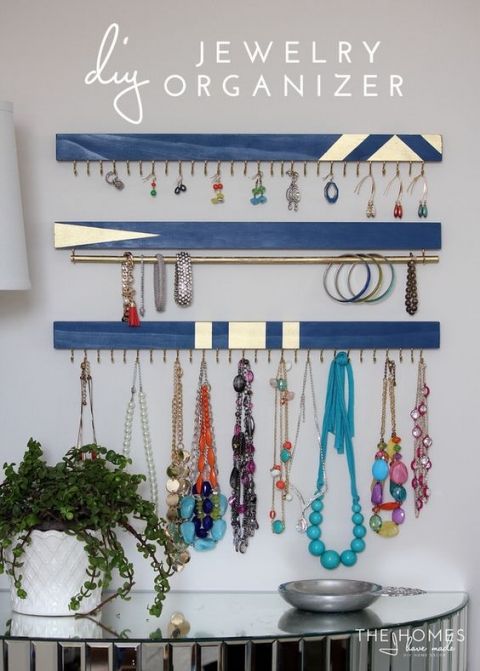
22. Jewelry ‘Home’
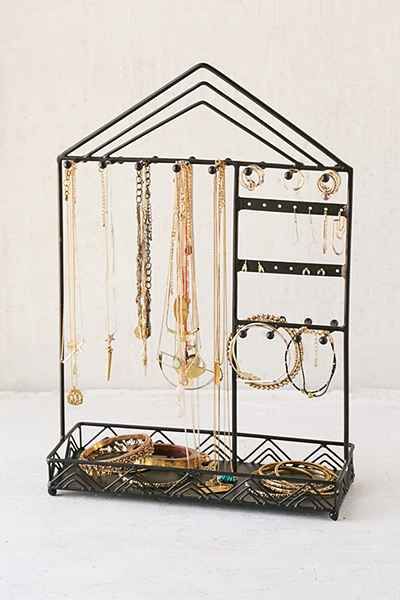
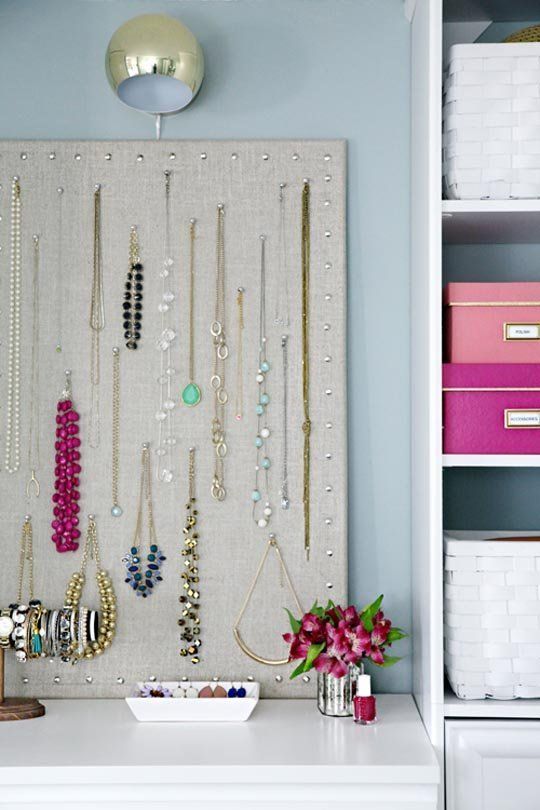
23. Pin Wall Organizer
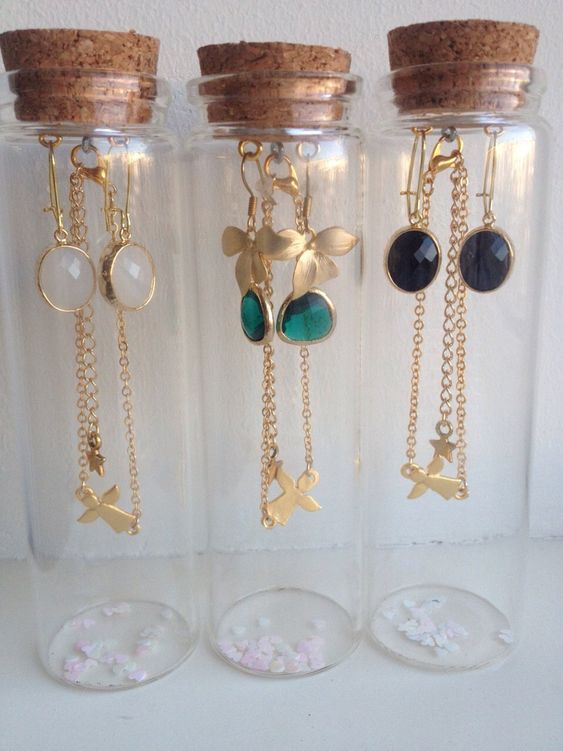
24. Glass Jar Organizers
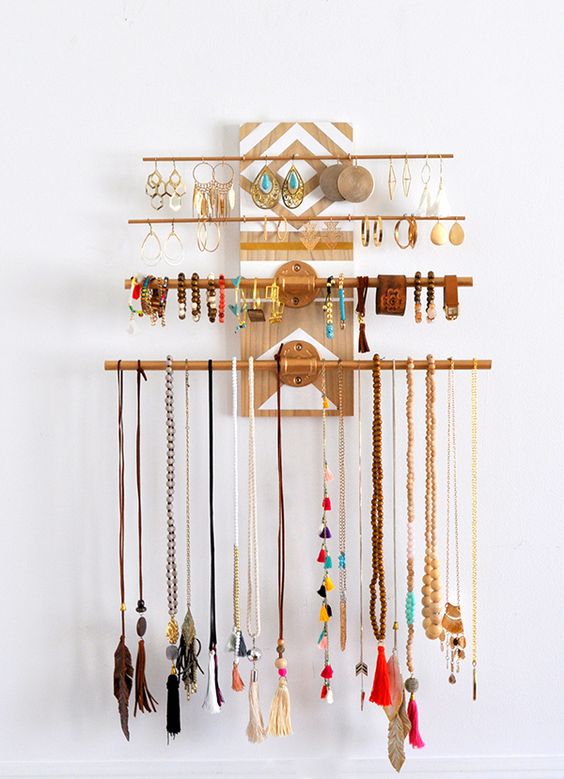
25. Industrial Wall Jewelry Organizer
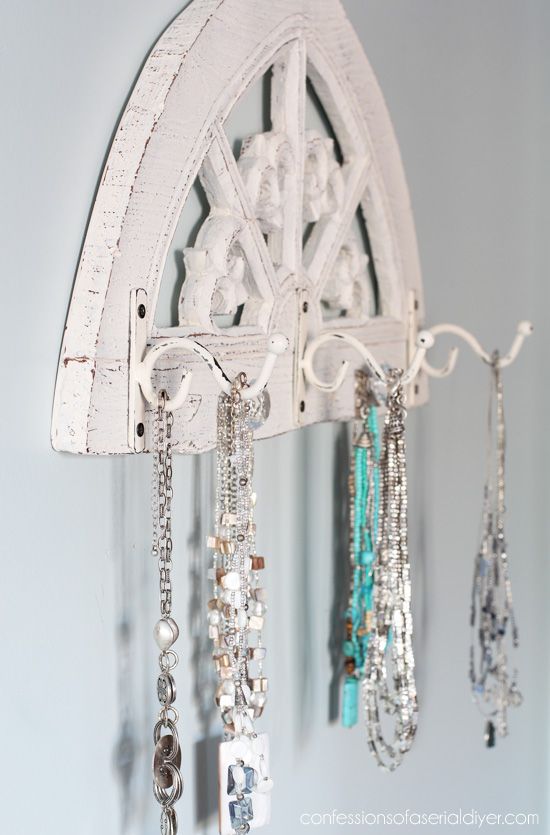
26. Necklace Holder
27. For Small Jewelry Collection

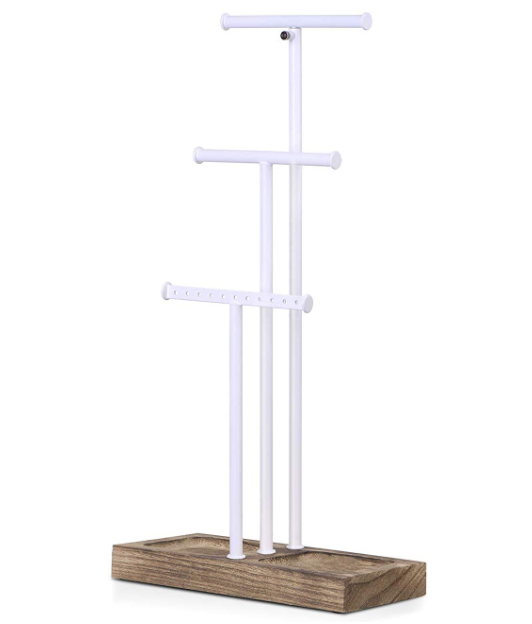
28. Three Level Multi Organizer
29. Burlap Necklace Organizer

30. Repurposed Mirror Frame

31. Vintage Tennis Racket

32. For Wine and Jewelry Lovers

33. Reused Candle Holders

Why Do It Yourself Necklace Organizers?
Before delving into the ideas let’s see why it’s better to make your own necklace organizers:
- Saves Money- Crafting is often cheaper when compared to acquiring new ones.
- Creative repurposing of inexpensive items found at thrift stores is very possible.
- Personalized Touch- This will help you choose the right style and preference for an organizer.
- Eco-Friendly: By reusing we decrease garbage amounts helping nature recover itself.
- Fun and creative: It is exciting and fulfilling making personal holders which allows one to express his/her artistic thinking as well.
Simple Ideas for DIY Necklace Organizers
Picture Frame Organizer
What You Will Need:
- Used picture frame
- Paint (optional)
- Hooks/small nails
- Wire/ribbons/string
Instructions:
- Prepare the Frame: Get yourself an old picture frame from a thrift store.
- If you want, give it a coat of paint that matches your room decoration.
- Add Hooks or Nails: Secure small hooks or screws along the top edges or inside rim of the frame. These will hold your necklaces.
- String Wire or Ribbon: To enhance usage, run wire or ribbon across the frame then attach clothespins or tiny hooks for hanging necklaces on them.
It can be hung on walls just like any other artwork piece though it acts as an organizer too.
Cork Board Organizer
Materials Needed:
- Corkboard
- Fabric (optional)
- Push pins/hooks
Instructions:
- Decorate the Cork Board: In case you want, cover your cork board with fabric for a more decorative look.
- Glue or staple the fabric securely.
- Add Pins or Hooks: Use push pins or small hooks to hang up your necklaces.
Cork boards are incredibly versatile and can be tailored to fit any space imaginable.
Branch Organizer
What You Will Need:
- Strong branch
- Abrasive paper
- Paint/varnish (optional)
- Hooks/twine/cord/string
- Screw/nails
Instructions:
- Prepare the Branch: Get a tough branch and clean it up by sanding off rough surfaces.
- You may paint or varnish it if you wish.
- Attach Hooks or Twine: Having nailed tiny hooks all along its length makes a hanging place for several necklaces.
- Mount the Branch: Nail screws through it onto walls or hang from pegs.
This rustic-themed organizer compliments every room in the house.
Hanger Organizer
Materials Needed:
- Wooden hanger
- Hooks/eye screws
- Paint/decorations (optional)
Instructions:
- Decorate the Hanger: Make your wooden hanger as colorful as you like with paint or drawings on it if necessary.
- Attach Hooks or Eye Screws: At the bottom of this hanger, screw in some eye screws and hooks for holding necklaces on them.
- Hang up The Hangers: Put it in your closet where you can also have wall hook organizers for clothes storage purposes too.
A space-saving yet stylish solution is having hangers around that serve multiple purposes at once.
Cheese Grater Organizer
Materials Needed:
- Metal cheese grater
- Spray paint (optional)
- Hooks/ribbon/string/wire/cord/twine/thread/fabric strip/band etc…
- Hang the Necklace with the Grater by attaching small hooks and ribbons.
Mount the Grater either by placing it on a flat surface or mounting it to a wall.
It is a fun way of repurposing an item that is commonly found in every kitchen.
Drawer Knob Organizer
What You Will Need:
- Wooden plank
- Decorative knobs for drawers
- Drill
- Paint or stain (optional)
How To Do It:
- Prepare the Board: Get a wooden board and paint/stain as desired.
- Attach Drawer Knobs: In any pattern, drill holes and attach decorative drawer knobs from your choice.
- Mount the Board: Secure this on the wall.
This stylish organizer can be turned into something unique with different kinds of knobs.
Vintage Jewelry Stand
Materials Needed:
- Vintage candles, plates, cups or other containers
- Epoxy glue
Instructions:
- Assemble the Stand: Using epoxy glue, attach vintage plates or cups to candlesticks so that you have a tiered jewelry stand.
- Let it Dry: Allow for complete drying before using your jewelry stand again.
Consequently, this strategy brings retro aspect to your home décor while also breathing new life into old items we would otherwise discard .
Ladder Organizer
Materials Needed:
- Small ladder or step stool
- Paint or decorations (optional)
- S-hooks are included in ths purchase upon request
Instructions:
- Decorate the Ladder: Paint or decorate the ladder as preferred.
- Add S-Hooks: Hang necklaces on ladders’ rungs using S-shaped hangers in order to keep them untangled,
- Position the Ladder: Place the ladder against a wall or fit it into any corner of your room.
By providing height and visual interest, this organizer makes dull spaces attractive..
Tips for Creating Your Own DIY Necklace Organizer
Plan Your Design
Before beginning make sure you plan out how you will design and arrange everything.
Try taking into account where it should go and how many necklaces you are going to use.
Gather Materials
Thrift stores, garage sales, or your own house should make for good stops when looking for materials.
Things that can be re-purposed creatively would be a prime consideration in this case.
Personalize It
Through unique arrangements, colors as well as decorations the original style can be brought out.
This ensures that the necklace holder is not just functional but it is also an expression of your personality.
Be Practical
Ensure the holder is easy to use and reach.
The purpose here is to keep your necklaces organized and free from tangling; so practicality counts more than anything else.
Conclusion
Getting creative with repurposing thrifted items into a necklace organizer helps save money and take care of Mother Nature’s resources.
When crafting yours, there are numerous ways of personalizing it whether by using an old frame or branch that is sturdy enough or even going for a vintage ladder.
On the other hand, if you want to do something artistic yet functional get a few ideas because creativity combined with functionality results in a great piece that will help you stay organized while keeping your necklaces within sight range at all times.
So gather your materials, get inspired, and start making your perfect necklace stand today!
More Organizing Ideas and Hacks
33+ Unique Ways to Organize Photos on a Wall You’ll Love
30+ Super Practical Makeup Organizer Ideas to Finally Declutter Your Beauty Supplies
How Do I Organize My Car Console?
How to Organize Car For Road Trip With Toddlers
20+ Hacks to Organize Your Car Like a Pro
7 Fantastic Hacks to Organize Your Recipes Once and Forever
Home Office – How To Creatively Organize Your Work Space
30+ Shoe Organizer Ideas to Save Space & Organize the Mess at Home
30+ Genius Pencil Organizer Ideas
Love it? PIN it for Later!
Featured image source





I think its available at etsy.